Turn An Old Fence Board Into A Gorgeous Countertop Organizer
We may receive a commission on purchases made from links.
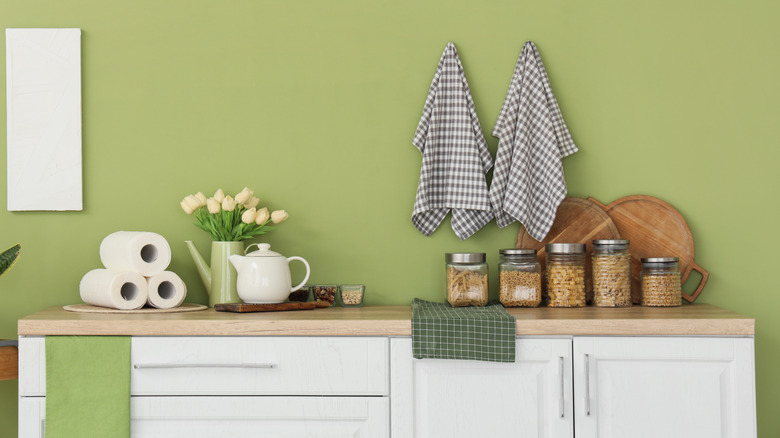
Countertop risers are a simple way to add a daily dose of cuteness to your countertops and to keep items like bottles of dish-washing soap and sponges looking neat and orderly. These useful accents get a decorative boost if they're made from upcycled materials, like the boards from an old fence, particularly if your style leans toward country or rustic decorating schemes. And it's not just storage for cluttered kitchen countertops. You can use the riser wherever you need some organizational help for the counters, like in the bathroom or laundry room.
The basic building blocks of this DIY shelf riser are the boards from a broken-down, rough-hewn fence. As far as texturing goes, using a couple of boards from a fence means that Mother Nature plays a big role in the riser's design. A major design thrust in 2026 is decor that appeals to the senses, largely in response to a life that feels very screen-heavy. In other words, the rough texture of the aged fence boards offers a direct juxtaposition to the at-a-distance feeling that comes from being glued to a screen too much of the time.
Completing this job requires some tools and materials that'll help you turn the fence board into something more. The major items on the list are a bleach-based cleaner, rubber gloves, a measuring tape and pencil, a nail gun and finishing nails, and a WORX cordless jigsaw to cut the boards with. Finally, just because you're going with the natural texture on this, doesn't mean you're going colorless, either. As such, you'll need the stain color of your preference and a sponge brush to apply it.
How to make the riser from a fence board
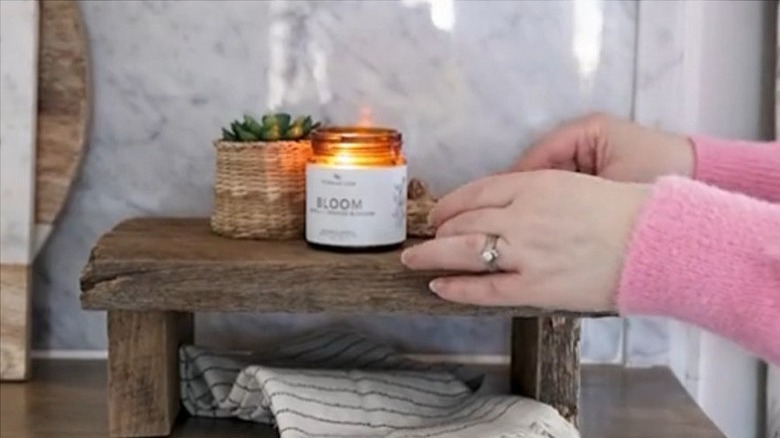
From a piece of fence board, cut three pieces – one that'll be the shelf of the riser and two of the same size that become the legs. If you'd like to have a multiple-riser set-up, cut extra boards for that, too. In this case, you'll make separate risers of different sizes and heights to stack above the lowest one. After those are cut, wipe the boards down with a cleaner like Clorox Free & Clear multi-surface cleaner and some rags. If you're planning on using the risers for food display purposes, like for a batch of cupcakes, you want to make sure that the boards are extra clean. This is true even if you'll cover the risers with protective paper doilies or something similar. It's better to be safe than sorry, so clean them well.
Once the boards are clean, you can apply a coat or two of stain. This is the time to uplevel the piece a bit without changing its central character. You might want to add some decorative stencils that are related to the room you're using the riser in. For example, if it's earmarked for the bathroom, a SLGIFT stencil offers a sweet touch. Although elements like unpainted cabinetry are coming back in vogue, a simple painted touch like this still makes sense, as the piece isn't completely covered in paint. The stenciling is more like adding a logo to something. Subtle. Cute. Not too much. The last step is gluing and nailing the legs on the bottom of the riser and topping it with your knick-knacks.