How To Trim An Agave Plant After A Freeze
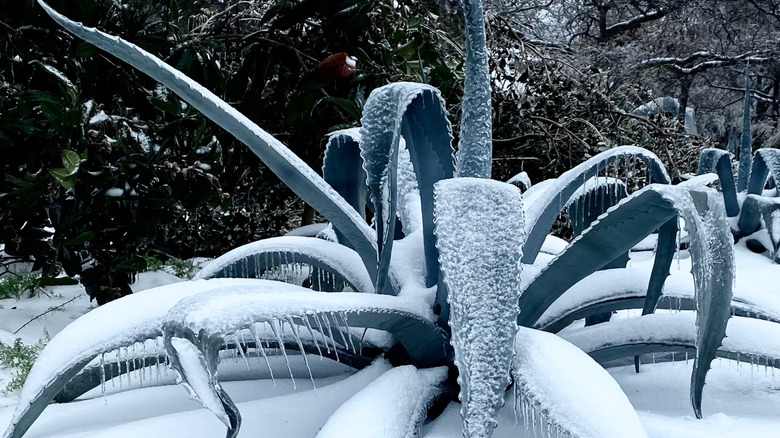
Walking out to your garden to find your favorite century plant looking like a heap of soggy, gray mush is a heartbreaking sight for any gardener. Most people would be tempted to grab a pair of clippers and start cutting away the mess to make it look decent again, but acting too quickly is actually one of the worst things you can do for a frost-bitten Agave americana. These succulents, which grow well in USDA Hardiness Zones 9 through 11, are filled with water that expands and bursts the plant's internal cells when the temperature drops.
This damage shows up as black bruising or leaves that appear as if they've been dipped in boiling water. But while it looks terrible, that dead tissue acts as a protective shield for the heart of the plant. By leaving the damaged outer layers alone for a bit, you are providing a helpful barrier that safeguards the sensitive growing center from any additional freezing temperatures that might happen before spring arrives. Learning how to care for an agave plant after a freeze requires patience since it can take some time to see new growth.
Clean up the dead leaves using proper safety gear and sharp blades
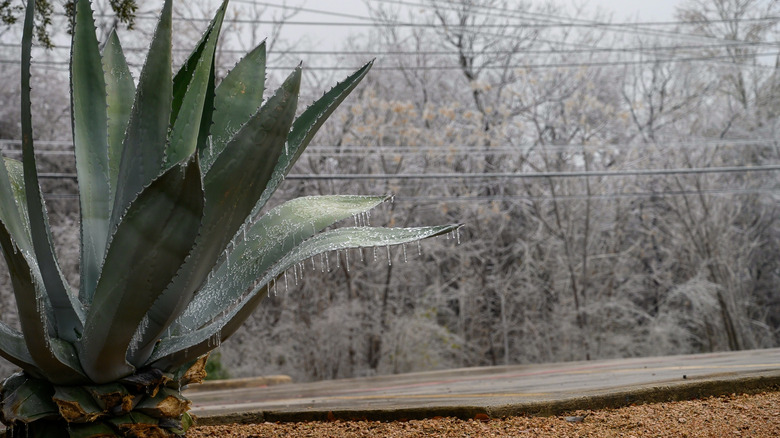
Once the danger of overnight freezing has passed and the weather is warm, you can finally tidy up your plant. While agaves can stand the winter in warm, dry climates, a sudden cold snap can leave them looking ragged. Because agave leaves contain irritating sap that can cause painful rashes or blisters, you should never handle them without gloves. In addition to thick gloves and long sleeves, eye protection (to guard against spikey spines) is also needed for this job. When it comes to tools, a sharp utility blade or a small hand saw is usually more effective than pruners because agave leaves are fibrous and tough.
Begin at the very base of the plant, removing the bottom-most dead leaves first. Slice them off as close to the main stem as you can to keep the trunk looking neat and organized. If you see a leaf that is only damaged at the very tip, you can trim off the brown part, following the original shape of the leaf so the cut isn't obvious. Make sure to leave as much green material as possible, since the plant relies on those healthy sections to generate the energy it needs to recover from winter.
Check the center for firmness to see if trimming the plant is worth it
Before you spend any energy on maintenance, you need to find out if your agave is still alive. The health of the succulent depends on the crown, which is the center point where new growth begins. You can test this by gently pushing on the base of the middle leaves to see if they feel solid. If the core is sturdy and still shows its natural green or silvery color, odds are excellent that the plant will pull through. On the other hand, a center that feels like a sponge or emits an unpleasant odor usually means the plant has rotted through and cannot be saved.
Another quick test is to give the central "spear" a very light tug. If it slides right out of the plant and looks slimy at the bottom, the damage is most likely permanent. For plants that are still firm, you should wait until the mushy, water-soaked spots on the leaves have completely dried out. This transition from wet to dry helps seal off the plant's vascular system, making it more difficult for bacteria or fungi to enter the plant once you eventually start cutting. Despite their sensitivity to heavy freezes, the high water content in agave leaves make them one of the best plants to have if you live in a fire-prone region because they are naturally flame-resistant.