How To Repot A Spider Plant So It Thrives All Year
We may receive a commission on purchases made from links.
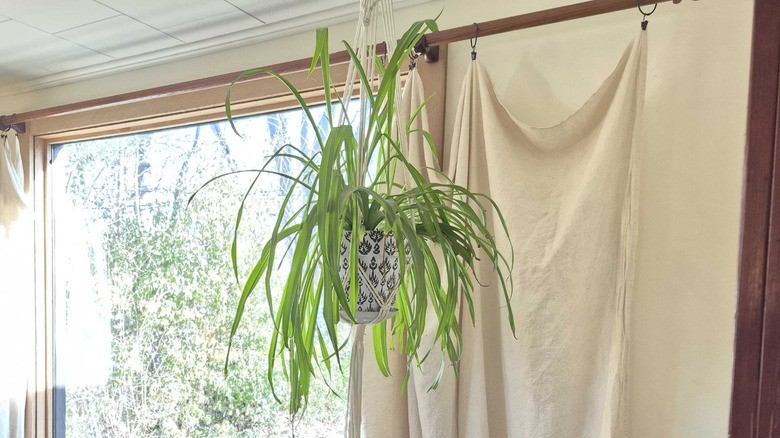
"Spider Queen" is the name of my large, hanging spider plant that I have grown since she was a wee pup. I have a lot of houseplants, but she's one of my favorites and not just because of her cool name. A friend gifted me a few pups (a term for the plantlets that grow on the stem). I rooted the pups in water and transplanted them in soil, but ultimately, my Spider Queen was the sole survivor. You'd think, as a Master Gardener with decades of experience growing houseplants, I would have more success. The reality is, I've learned the most from my failures, and I get to share that knowledge with you.
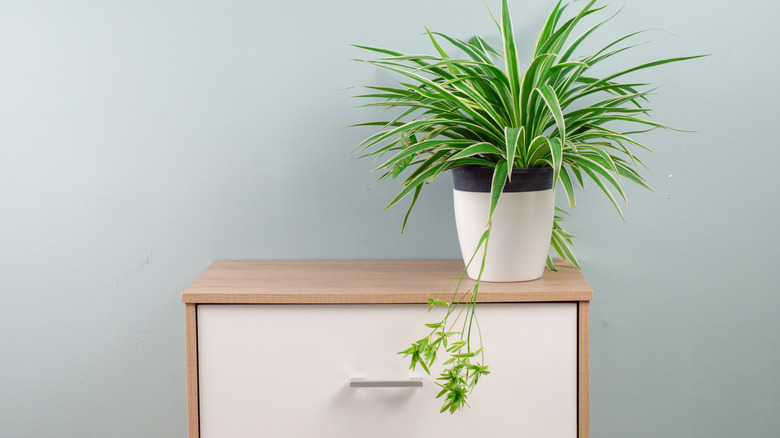
Spider plants (Chlorophytum comosum) are low-maintenance, making them the perfect indoor houseplant for folks new to growing and those of us who tend to be a bit neglectful. They aren't picky about soil, don't need much fertilizer, and even tolerate occasional drying out. With minimal care, they will still grow and thrive, which means they'll eventually need to be repotted into a slightly larger planter, with fresh, nutrient-dense soil.
Check drainage holes to see if spider plants need repotting
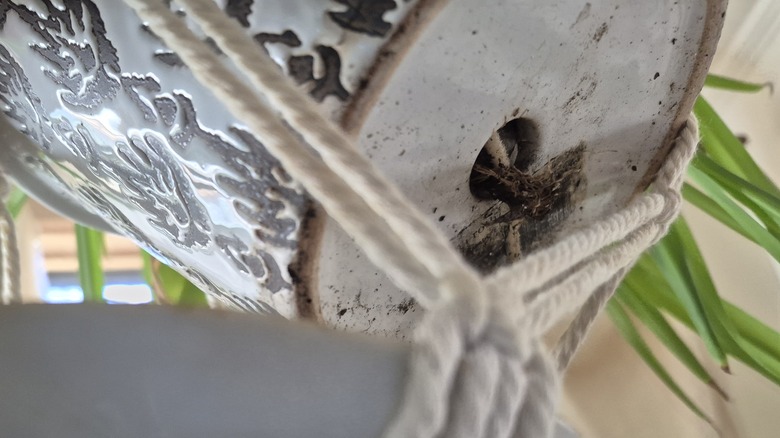
Before you gather your potting supplies for your spider plant, you'll need to make sure it actually needs repotting. Like many other common houseplants – pothos, snake plants, and peace lilies – spider plants like to be root-bound. However, every plant has its limits. When greenery becomes extremely root-bound, it can't absorb nutrients in the soil, and as roots fill in the pot, soil escapes out of the drainage holes or it becomes compacted. Either way, the plant will begin to show signs of distress.
The fastest way to tell if your spider plant has outgrown its pot is to check the drainage holes. If you see roots growing out of them, that means they're reaching for extra space. Due to a lack of access to nutrients in the soil, you may also see the leaves turning yellow or brown. These signs can also appear if your spider plant isn't getting enough water because the potting medium can't hold onto moisture. If you water your plant and it goes straight out the bottom instead of being absorbed, it's definitely time to give the spider plant more room to grow and some fresh potting soil.
Maximize a spider plant's repotting process with the best timing, pot, & soil
Spider plants are more likely to rebound from transplanting stress during their active growing season in spring and summer. If your plant is really suffering, you can repot it at any time of year, but expect it to take a while to produce new growth. Repotting during this period of semi-dormancy may also slow the plant's ability to produce pups or blooms.
It may be tempting to jump a few sizes up to give your spider plant's roots more room to grow, but remember that they like to be root-bound. Giving a spider plant too much root space can also trigger it to spend more energy on growing roots rather than the full, glorious foliage you love. Just move your plant into a pot one size up; if it's in a 6-inch container now, transplant it into an 8-inch pot.
Because spider plants aren't too picky about soil, a standard, high-quality potting mix works well for these beauties. They like a well-draining blend that retains some moisture, so Miracle-Gro's Tropical Potting Mix is an excellent choice, but any standard houseplant blend should do the job. Put enough soil in the bottom of the planter to allow the crown of your spider plant to be about 1 inch below the pot's top. Fill the planter so the soil is level with the crown and tamp it down gently. Water thoroughly until it runs out of the drainage holes. Most commercial soil blends include fertilizer, but plan to start fertilizing in about six months with high-quality plant food like Epsoma. Place your spider plant in a spot that gets some indirect sunlight and watch it continue to grow and thrive.