The Forgotten Home Upgrade That's Affordable And Simple

An often neglected architectural detail in your home that could greatly boost appeal is the humble window trim. Whether interior or exterior, window trim is akin to a piece of jewelry on a thoughtful outfit, a subtle, sometimes overlooked detail that ties the entire look together and makes the home feel properly dressed. When intentionally curated, exterior window trim can boost curb appeal, possibly increase your home value, or add more character by honoring the building's architectural charm. On the other hand, interior window trim, or casing, coordinates with your design scheme and wall trims or moldings to produce a more cohesive look. If you're looking to spruce up your space, you might consider adding instant charm to a boring window with a beginner-friendly DIY trim. And the best part? You could achieve a fresh look for under $150, making it a more reasonable home DIY project that could have a long-lasting impact.
Interior trims are both decorative and practical. While many of us might pass by our windows, viewing the trim as a solely functional piece for covering gaps between the wall and window, updating your trim to better align with your interior design could have a dramatic impact. Choosing trim pieces that suit your style or the existing architecture of your home offers a cohesive appearance. Additionally, finding the right stain or color could either draw attention to this often overlooked space or create a neutral backdrop for other aspects of your design.
Add more character to your home by upgrading window trim
If you're down for an affordable DIY, you could update your window trim so that it stylistically and architecturally complements the room. Building your own trim gives you ample opportunity to make the space your own and invite more character into your design. Before you start, consider the aesthetics of your home's architectural style. For example, a Craftsman-style house might have trim that is thicker, features cleaner lines, and appears simple yet might include layered edges. These pieces might be painted white or feature stained wood instead.
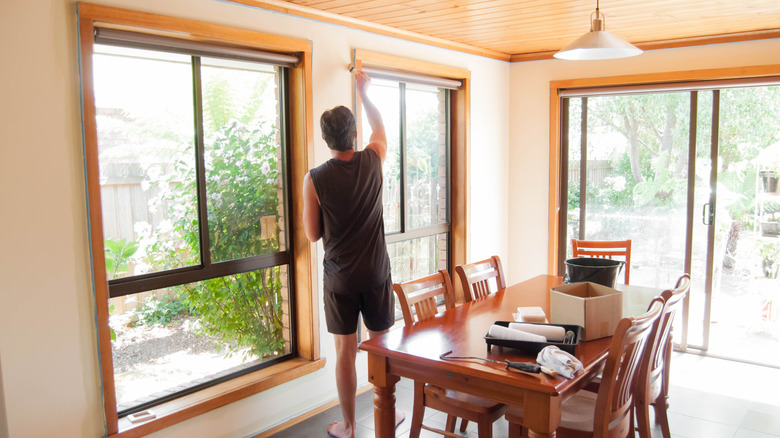
Once you've nailed the style, take measurements and create a mockup of your trim. You'll likely use 1-by-2s, 1-by-4s, and 1-by-6s to create the casing. Nails, a hammer, cutting tools, caulking, sandpaper, and wood filler are also tools you may need to complete the project. Start by cutting wood to create the window sill. A 1-by-6 could make a good sill, but just be sure to cut it with roughly five inches of overhang on each side to suit the frame. Use nails to keep it in place. Next, you'll cut and place the framing pieces on the sides of the window, stopping just at the top of the glass to leave room for the header. Once complete, attach the header and then the window apron or the part beneath the sill. Use wood filler and sandpaper to smooth the trim and caulking to fill the gaps before you paint or stain the casing.
Don't want to build a new frame? Update your window trim with paint or stain instead
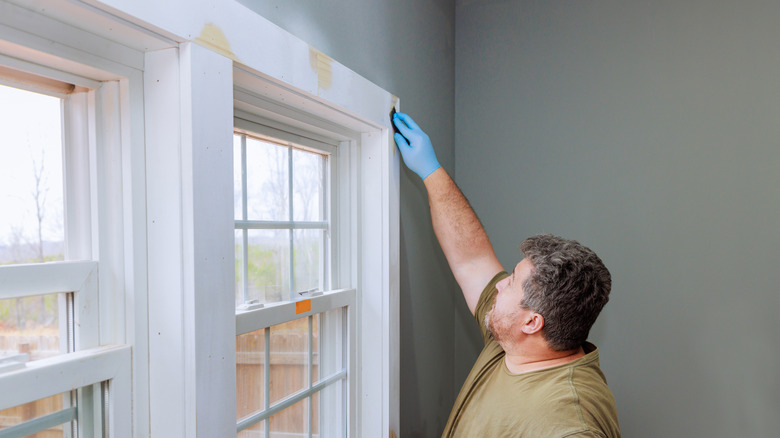
While you could DIY your window trim to give your home a chic instant upgrade, not everyone needs to swap out existing trim to achieve a curated look. An alternative is to change up the paint or stain on your window trim to better suit your space. Painted trim can either draw attention to your window frame or allow it to blend in with the walls. For example, to create a standout feature, you might choose to paint your window trim in your room's accent color. Or, for a blended, color-drenched look, you might paint the trim the same color as the walls. Further, for a more cohesive look, consider matching your window trim to your baseboards, crown molding, or door trim. A genius hack to ensure the cleanest results every time when painting window trim is to prevent any uneven strokes.
Another method of updating your window trim is to change up the wood stain. Wood trims can appear cozy and suit more rustic home designs, like Craftsman-style homes or some rustic farmhouse aesthetics. Changing the stain might better highlight the wood grain, bring more warmth to your space, or better match your flooring or other millwork.