How To Turn A Dollar Tree Bowl Into A Stunning Tabletop Candle
We may receive a commission on purchases made from links.
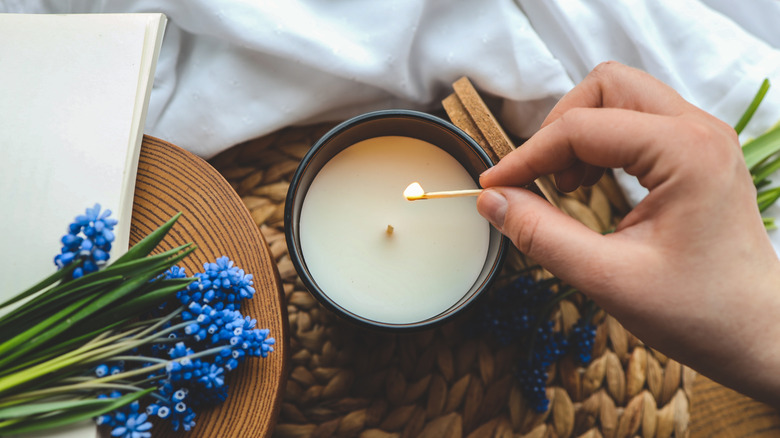
Candles have an amazing effect on a room. The soft, flickering light is comforting and warm when lit, but even an unlit candle used as decor makes a room feel cozier. Add in the lovely fragrances and containers, and the popularity of candles makes sense. However, candles with unique containers or ingredients can get expensive, even if you follow all the tips for making your favorite candles last longer. To get the look of a luxury candle without the high price, you can create your own decorative candleholder and candle using Dollar Tree glass bowls, paint, and candle-making supplies.
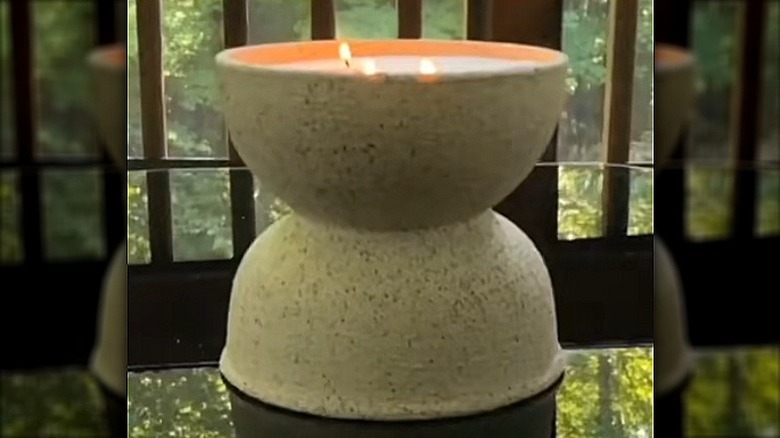
When completed, this DIY project's glass candleholder has a gorgeous hourglass shape with a stone finish that you can fill with your preferred wax and scents. Candleholders with a similar look can cost around $20, but you can make a custom one, complete with a candle, for nearly the same price. For this project, you need two matching glass bowls and plain white pillar candles that you can get from Dollar Tree for $1.25 each. These 6-inch clear glass bowls are great if you don't plan to light the candle. Otherwise, for the top section of your candle holder, you'll need to find a bowl with heatproof glass that is at least 3 millimeters thick, has no bubbles, cracks, or other imperfections, and can withstand temperatures of at least 200 degrees Fahrenheit without cracking. Making sure the candle is safe is an important part of this DIY. Additionally, you need super glue, candle wicks, white chalk paint, and a textured stone finish spray paint, like the Rust-Oleum stone textured spray paint, which costs about $10 to $15.
How to assemble your candleholder
Assembling this candle is fairly simple. All you need to do is flip one of the bowls upside down and apply glue to the base of the bowl. Then, place the second bowl on top right-side up. Adjust the bowls so they align perfectly, and wipe any excess glue from the outside of the bowls. Allow the glue to cure completely, which usually takes at least 24 hours.
Once the glue is set, you can begin painting the bowls. Clean and dry the bowls thoroughly to help the paint stick to the smooth glass surface. Rubbing alcohol or diluted vinegar is great for the cleaning process because they will not leave the film that some commercial glass cleaners do, but be sure to rinse thoroughly before drying, no matter what you use. Next, you can mix your chalk paint to get the pigment you want and brush on a coat using a paintbrush. You will probably need a few coats to get enough coverage. Whites, grays, and beiges are ideal for an elegant, expensive-looking style.
To add the stone texture, it is best to follow the instructions on the can. Typically, this involves shaking the can before applying a few light coats of paint in sweeping motions from a distance. If you plan to light the candle, avoid painting the inside of the top bowl with both the chalk paint and the stone texture spray, as it can be a fire hazard. Finally, apply a clear top coat over the spray paint once it is fully dry to protect it.
How to fill your candleholder and test for safety
With the candleholder complete, you can finish the job by adding the wax. To prepare your candleholder, you'll need to insert the wicks. Wicks should be about 3 millimeters in diameter for a 6-inch diameter container, and you will likely want three wicks. Create a triangular frame using pencils, chopsticks, or any other thin sticks that can sit on top of the jar and hold the wicks up. Tape them together and to the jar, and insert the wicks. The metal wick holder should sit at the bottom of the bowl, and the wicks should be wrapped lightly around the sticks.
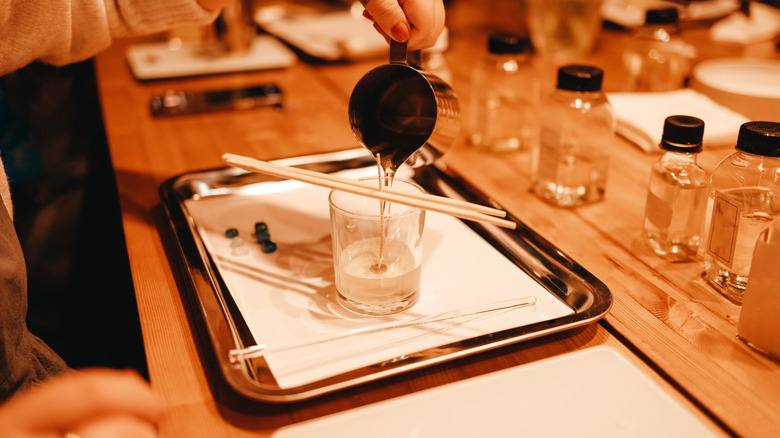
Then, simmer a pot of water, place a heatproof jug with a pouring spot inside the pot. Ideally, you want the jug to float slightly when placed upright inside it. Add the candle, and allow the wax to melt before removing the wick. Remember that you can reuse old spices to craft the best homemade candles for every season or add oils to change the scent if desired. Just make sure they are safe for candles if you plan to burn them. Use tongs to lift the jug out of the water, and pour the wax into your prepared bowl carefully around the wicks. Allow the wax to cool, and consider trying the decorative candle tip that has TikTok divided to finish the look.
Fire safety is extremely important with DIY candles, especially when using materials not designed for candle making. Before burning your candle regularly, test it by trimming the wicks to about 5 to 10 millimeters and supervising the candle while it burns for at least 4 hours to ensure there is no damage to the glass.