DIYer Shares Clever Storage Solution To Say Goodbye To The Eyesore Of Shoe Clutter
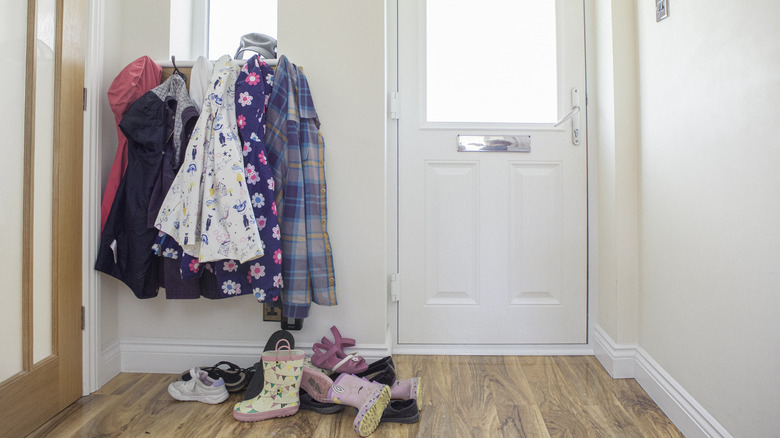
You've probably seen those shoe racks that hang from the back of your door, so the storage solution is hidden from view when the door is open. But have you heard about behind-the-door shoe storage? Now, you might be thinking that all your footwear cannot possibly fit behind the doors in your home. Well, there is one DIYer who shared a clever solution on TikTok that uses built-in vertical storage shelves that will blend seamlessly into that space.
Before you dive into this DIY, it is important to note that installing built-in cabinetry is not a simple project for beginners. That's not to say that beginners can't give it a shot. However, since you may be cutting into the wall and adding a feature that needs structural integrity, beginners should proceed with caution. Take the time to measure and survey the space to ensure you account for any potential barriers and supplies you may need to perform the job. While you can complete this project with standard household tools and a bit of help from the hardware store's lumber cutting service, there are some tools worth investing in for woodworking projects at home.
How to fix the eyesore of shoe clutter with built-in behind-the-door storage
The DIY, shared by @sylviashares, uses shallow shelving with support bars that hold shoes vertically on the shelf. This creative use of space makes it easy to keep shoes organized and out of sight. Start by measuring the space and designing the shelf to determine the amount of lumber needed.
Before proceeding, use a stud finder to identify and mark the studs to avoid making costly mistakes when cutting into drywall. Remove baseboards or molding that interfere with the installation space. Cut your wood according to your design and measurements. Remember to subtract the width of the wood for the frame when cutting inner shelving. In general, the project will require a rectangular frame, shelving, and support bars to hold the shoes made from dimensional lumber and a backing made from plywood or similar sheets.
When it comes to installation, you have two options. You can either cut into the existing wall and install the new shelving inside, or you can install the shelving to fit directly behind the door without obstructing the door's function. This option is not as difficult, and can work for renters, but is not nearly as sophisticated as a recessed shelf. Both options require precise measurements and careful design to ensure the shelving is safe, secure, and functional. If you are cutting into the wall, use a drywall knife to carefully remove the marked section before assembly. From there, for both options, you simply construct and paint.
How to make your DIY built-in shoe storage project affordable
Purchasing new equipment and the materials needed for this project can be pricy, but that doesn't mean you can't cut costs. Start by building the shelving to fit in the space and make the most out of your storage by rotating the shoes. As you budget, consider the tools, materials, and extras needed to complete the project. To avoid unnecessary spending, take inventory of items you already have. Generally, a project like this will require a measuring tape, carpenter's pencil, drop cloth, nails or screws, stud finder, drywall knife, square, level, drill or hammer, lumber, table saw, paint, and paint brushes.
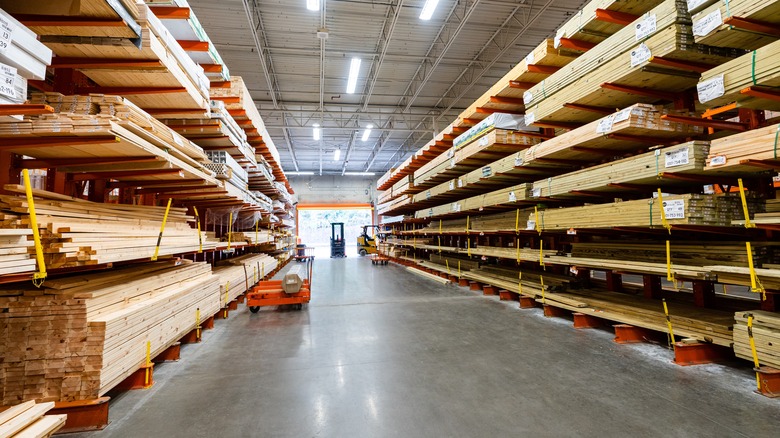
When shopping for lumber (and other items for that matter), you can use a genius thrift flip to make built-in shelving more affordable than a full DIY. Upcycling old lumber, nails, and screws is a great way to save some money. If you don't have lumber, you can thrift it and other building materials from stores like Habitat for Humanity. According to their customer FAQs, Habitat for Humanity offers usable building materials for up to 60% less than retailers. You may even be able to source your paint supplies from restores as well. The other item that makes this DIY costly is a saw. If you purchase your lumber at a hardware store, you can usually have it cut. However, if you thrifted your lumber, you could rent a table saw from your local hardware store for under $50 for four hours, which is far less expensive than purchasing a new one.