Turn An Old Shoe Into The Cutest Cement Planter With A Crafty DIY
We may receive a commission on purchases made from links.
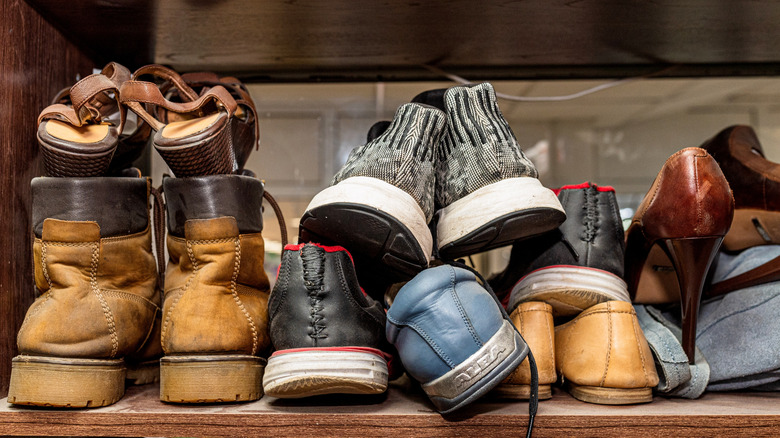
Did you know you can turn an old pair of shoes into a simple birdhouse or high-heeled shoes into stylish bookends? In fact, there are countless ways you can upcycle worn-out shoes around your house and garden. Let's face it, you can't keep wearing your favorite pair of sneakers forever. Eventually, you need to retire your shoes when they stop being functional or go out of style. That day may come sooner than you hoped. On average, everyday shoes only last a few years with regular care, even if they are good-quality. Some shoes only hold on for six months to a year. Luckily, your old shoes don't have to go completely to waste. You can turn them into a quirky flower pot by dipping them in cement and painting them however you wish.
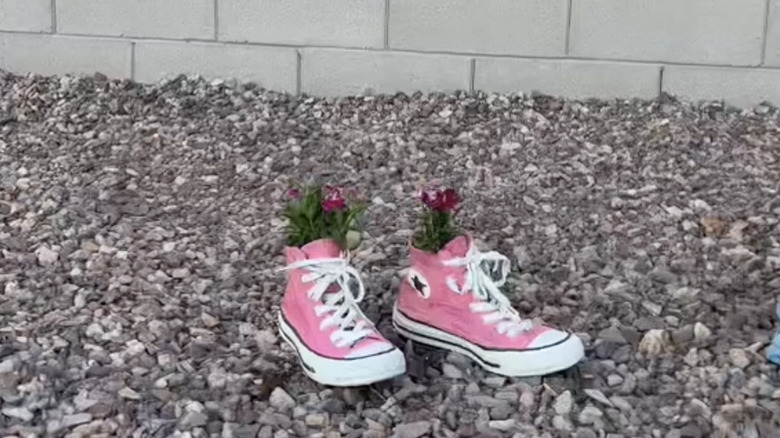
Ready to fill your garden with the cutest mix of shoe-themed décor? Creating a cement planter from old shoes is an easy DIY that beginner and experienced crafters will get a kick out of doing. Once you decide which pair of shoes you want to transform, you'll clean them thoroughly and then dip them in cement while still damp. When the cement has cured, you can drill some drainage holes and paint the preserved shoes to match your interior or exterior aesthetic. While this DIY is relatively simple, you still want to make sure you get all the steps right — it's especially important when mixing the cement. Poorly mixed cement won't set properly. The last thing you want is a planter that's more soggy shoe than hardy cement flower pot.
Planning and gathering materials for your old shoe DIY planter
Selecting quality products is a vital step in preparing to transform old shoes into a cement planter. Luckily, for this DIY, quality doesn't mean expensive. With a bit of research and careful product selection, this could be one of the most affordable garden projects you'll embark on all year. First, select the shoes you will be using for this project. Pretty much any type of shoes will do, as long as they have enough space to hold whatever species of greenery you plan to plant inside them. Make sure they're closed-toed shoes, though. It would be hard to contain soil in sandals! However, if the shoes are particularly greasy or oily, they may be too hard to scrub clean. Consider using a different pair in this case.
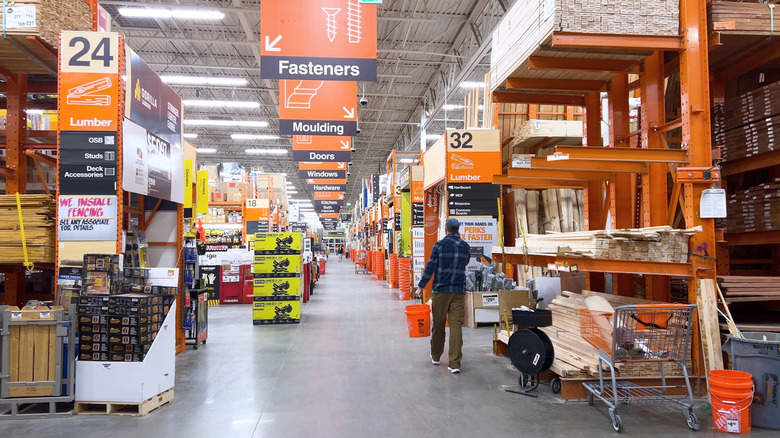
Next, make a hardware store shopping list for any supplies you don't already have on hand. Include laundry or dish soap, a scrubbing brush, a large plastic bucket, a masonry trowel, and an electric drill. You also need to get the right type of bonding agent and cement powder. There's a danger in confusing concrete and cement, since concrete has far more applications than its similar-looking counterpart. Volume-wise, you need enough cement powder to fully coat the shoes inside and out. Since planters are exposed to water or, outdoors, the weather, use SikaLatex R Concrete Bonding Adhesive and Acrylic Fortifier, which costs about $10 for one quart at Home Depot. Expect to pay about $21 for a 10-pound bag of Akona Instant Anchoring Cement Powder. That's it!
How to DIY your concrete shoe planters
Before you get started, make sure the shoes are cleaned and ready for dipping. If the shoes are not completely cleaned of debris, oil, and grease, they may not bond correctly with the cement, resulting in cracking or flaking. Remove the shoe laces. Depending on the aesthetic you are going for, you can thread them back through the holes later, before dipping the shoe in cement, or you can leave them off. Scrub the shoes thoroughly with a dry scrubbing brush or an old toothbrush. Then wash them with laundry or dish soap to remove any grease and stuck-on dirt.
When the shoes are clean but still damp, you can mix the cement. For this DIY, you don't want to mix the cement according to the manufacturer's instructions because it will be too thick. You won't be able to dip your shoes in it. Instead, make a thin cement bonding slurry by mixing one part acrylic latex cement bonding agent with one part water in a large plastic bucket. Add the cement powder until the mixture reaches the consistency of cake batter or spreadable (not melted) butter. Mix well and dip in your damp shoes. Let the cement set for 24 to 48 hours before decorating and drilling drainage holes.
Use a waterproof paint, like FolkArt Outdoor Gloss Acrylic Craft Paint, even if you're going to use the planter indoors. Replicate the original shoe design or go for glamor with metallic gold paint. Paint them a bright color and stencil patterns around the rim and sole. These Felixcraft Three-Inch Flower Stencils cost just $10 and fit the garden theme well. You could wrap them in glittery silver aluminum foil or, if you like the neutral hue of cement, simply leave them unfinished.