Upgrade Your Storage Cubes With An Affordable DIY Cardboard Box Hack
We may receive a commission on purchases made from links.
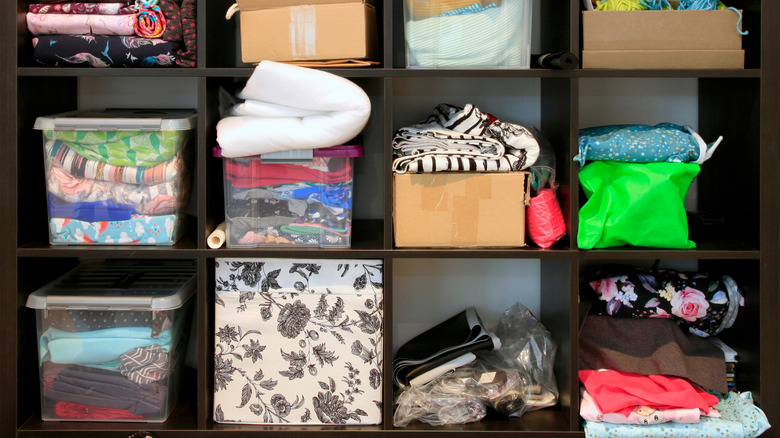
Cube storage organizers are game changers for keeping a room tidy because they maximize vertical space. Unfortunately, if you simply pile items into the cubbies or fill them with cheap fabric bins, a cube organizer may not look quite as tidy as you hoped it would when you bought it. Thankfully, there is a simple way to make cube storage look more mature for your adult home, whether you use them in your linen closet, the kitchen, or your home office. You can elevate the look of this stock-standard shelving system without overspending on cute storage solutions. Repurpose some filing boxes — or any sturdy cardboard box — by attaching a stylish wood face to the front. With similar natural wood bins selling for $20 each at Target, you'll definitely save some money.
For this DIY project, you'll need some Bankers Box Basic Duty File Storage Boxes or any other sturdy cardboard boxes you prefer. Measure your cubbies and the boxes to make sure they'll fit — the boxes should be at least 1 inch shorter than the depth of the cubbies. Get a large ½-inch thick red oak plywood panel from Home Depot; if it's big enough, you'll be able to face multiple boxes with it. You'll also need a 1-inch by 3-inch wood board, sandpaper, wood stain, a drill, and some screws. If you want to make hand holes, you'll need a Forstner bit or a jigsaw. If you prefer to use cabinet pulls or knobs, get a style that matches your existing décor. Finally, you'll need something to reinforce the cardboard box, such as some pieces of corrugated cardboard and clear duct tape or epoxy glue.
Preparing the wood facing for your DIY cube storage bins
You need to cut the large plywood panel into smaller squares — they're the wood faces of your DIY storage boxes. You can do this yourself, but it's often easier to get it done in-store when you buy the panel. Stores like Home Depot and Lowe's offer this service to customers for free. Before heading to the hardware store, measure the cubbies of your cube storage organizer or the cardboard boxes you're modifying. Check, too, that the cardboard box will hide neatly behind the face. Share those height and width measurements with the store clerk who's cutting the panel. Common cube storage organizer cubby dimensions are 11 inches square and 13 inches square. For storage cubes to fit inside, they typically need to be at least ½ inch smaller on each side.
If you want to cut a hole handle into the wood faces, do this first. Measure and mark the cutout using a carpenter's pencil. Use a Forstner bit to create a circle. To create an oval, cut out two circles with the Forstner bit and draw straight parallel lines from one circle to the other. Then use a jigsaw to cut along the lines, finishing the handle. Sand any rough edges. If you prefer to use handle hardware, you can add them after staining the wood and assembling the storage box. Staining the plywood is straightforward. Sand the surface of the wood and apply the stain according to the manufacturer's instructions. Allow the stain to dry completely — anywhere from six to 36 hours, depending on the product. One helpful tip savvy DIYers will want to know before using wood stain is that most surfaces look best with an oil-based stain.
Reinforcing and putting together your wood-faced cube organizer storage bins

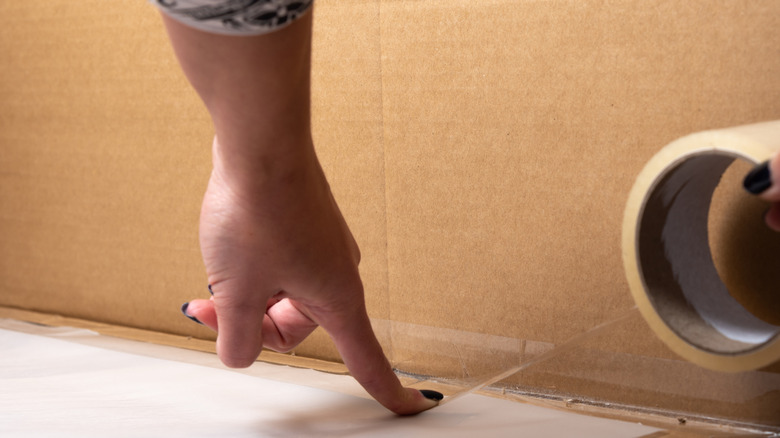
With the wood faces prepped, you can move on to reinforcing the cardboard boxes. When choosing a cardboard box for this project, you should have already selected for strength. However, since the wood face and the items you'll store in the box are likely heavy, some extra help won't hurt. Check the boxes inside and out for weak points — often the seams and corners. Reinforce these areas with pieces of corrugated cardboard attached with Duck Transparent Duct Tape or epoxy glue. Add more duct tape on the outside of the box. (Transparent works best because its relatively invisible.) If you plan to store really heavy items in the boxes, cover the bottom of the box with a piece of cardboard. Finally, if you plan to use these bins in a humid room, spray the cardboard with a moisture-resistant sealer, like Krylon Gallery Series Artist and Clear Coatings Aerosol.
@buildandcreatehome Pretty, functional, easy, cheap...what more can you ask for?! 😍 #homediy #organizationhacks #ikeahacks #shelfie #learnontiktok
Now that your cardboard boxes are sufficiently reinforced, it's time to get making this storage solution you can DIY from cardboard boxes for a more organized home. Lay your cardboard box front side-down on the wood face, making sure it's positioned correctly. The height and width of the box should be equal to or smaller than the wood faces so that no cardboard is visible. Attach the 1-inch by 3-inch wood board inside the front of the box using an electric drill and two screws long enough to penetrate through the board, the box wall, and most of the way into the wood face. If you decided to use handle hardware, screw it on now. Then simply slide your new storage bins into the organizer.