Say Goodbye To The Eyesore Of Utility Bins With A Sleek DIY Solution
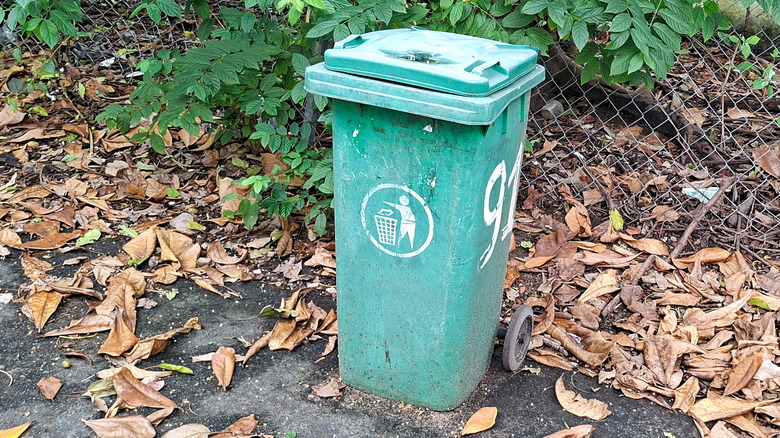
Having utility bins visible from the street is a bit of an eyesore. Even if you make them sparkle with a Dollar Tree essential, they are still something that most people would prefer not to see. Fortunately, it's relatively easy to create a sleek DIY solution that will hide them without making them difficult to get at. Although you can buy pre-made, free-standing screens, prices start at around a hundred bucks for a single panel, and you'll want two to hide your bins properly. DIYing screens is more budget-friendly, especially if you have more than one bin, plus you'll have something custom-made to fit.
This project uses materials you should find at any hardware store. You'll need some two-by-two for frames (choose pressure-treated lumber that is resistant to rot and insect attack), some concrete mix, and some lattice paneling. Wooden versions can be painted or stained to match your home, or there's pre-colored vinyl that is virtually maintenance-free.
To build the DIY utility bin screens, you'll make a simple wooden frame in an L-shape, then attach the lattice. The only tools you need are a cordless drill or driver and some kind of saw. You could use a handsaw, but a jigsaw or circular saw will save a lot of effort. Check out the safety tips for circular saws if you haven't used one before.
How to build a sleek DIY lattice screen to hide your bins
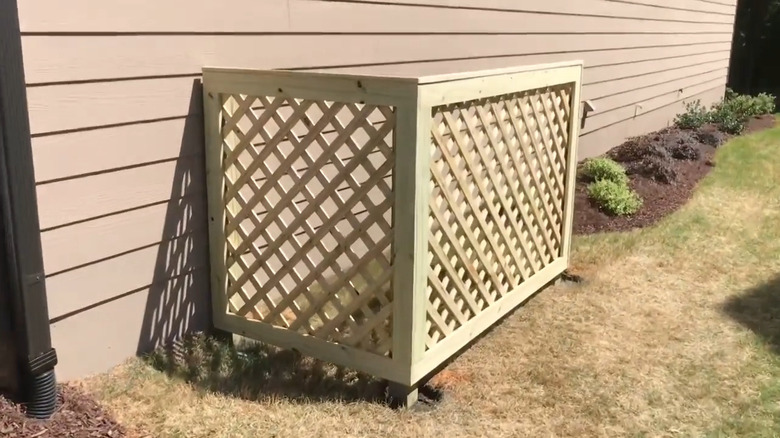
Measure the height and width you need the screens to be to hide your utility bins. You need three vertical pieces of lumber to form the frame and four horizontal ones (a top and bottom for each side). If you're making a double-wide to hide two bins, you can add another vertical halfway along for extra support. Cut your two-by-twos — the vertical pieces should be a height of around 48 inches to hide outdoor bins — and set them into holes in the ground with concrete. Once set, fix your horizontal pieces to the posts using rust-resistant galvanized screws or liquid nails. The upper horizontal can go at the very top, but the lower one should go a couple of inches up from the bottom so it isn't resting on the ground.
Once the frames are assembled, cut the lattice to size and screw it onto each side. If you're using vinyl, set the torque on your drill/driver to a low number so you don't accidentally drive the screws right through. Paint or stain the lumber (and the screens if you used wood), and for a finishing touch, add decorative finials to the tops of the uprights or install trim around the edges of the frame. If you've got any pieces left over, be sure not to throw them away. There are lots of ways you can repurpose lattice around the house.