Start This Slow-Growing Herb Today And Enjoy A Fresh Harvest By Spring
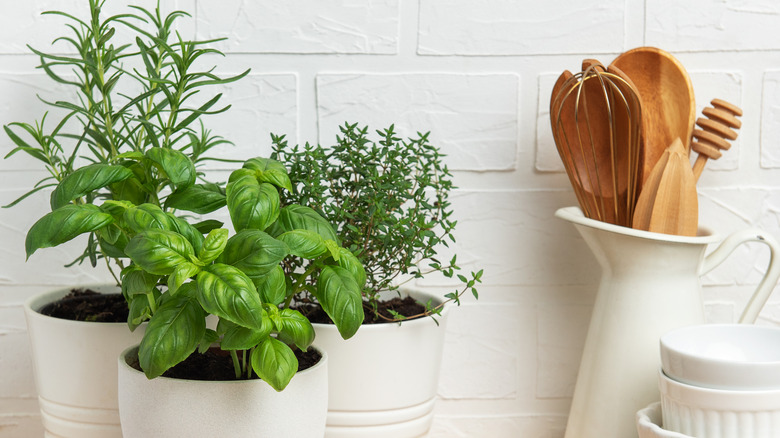
There's never enough time to plant everything you want to get a spring harvest, but there will be enough thyme if you start this herb in the winter — see what I did there? As a Master Gardener with decades of gardening experience, I consider common thyme (Thymus vulgaris) a must-have for any garden because it has so many benefits. A perennial in USDA Hardiness Zones 5 through 9, it's nice to have around for fresh or dried herbs, and creeping thyme also makes a wonderful ground cover that prevents weeds and provides erosion control. In the summer, when it produces masses of tiny little blooms, this aromatic herb supports many types of pollinators, including native bees and butterflies. By planting thyme indoors in late winter from cuttings or divisions, you will be able to harvest a few sprigs in late spring.
What about starting this Mediterranean herb from seed, you may ask? It's possible, and I almost always recommend starting seeds instead of buying plants, but woody herbs are an exception. Seeds from plants like sage, lavender, rosemary, and thyme are extremely difficult to germinate, even for experts. They need very specific conditions, germination rates are extremely low, and those that do sprout will take about a month. Woody herbs also grow slowly, so you won't get a spring harvest even if you start thyme seeds extra early. So, in this case, skip the seed packet, and grab a few fresh sprigs from the grocery store or dig up a dormant section of a friend's plant — with permission, of course.
Rooting thyme sprigs in the winter
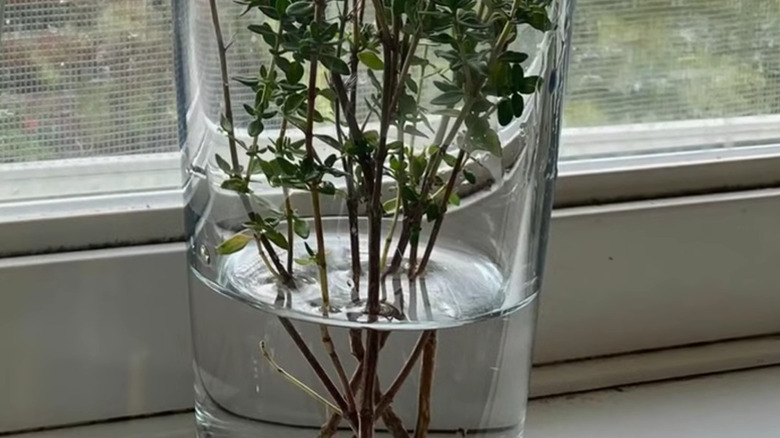
The easiest way to start a new thyme plant is by rooting cuttings, and those packages of fresh thyme at the grocery store make a great start. Because common thyme is so, well, common, it's very likely that the species you're getting is the same kind that will grow as a perennial in your region. Cut about ¼ inch off the bottom of each sprig to open the tissue up for maximum water absorption, and remove the leaves from the bottom 3 inches. Place your sprigs in a clear jar or glass and fill it with fresh water just below the lowest leaf. Using a clear container will help you ensure the water stays clean while keeping an eye out for emerging roots.
Thyme cuttings don't need a lot of sun to produce roots, but a warm spot in a window is a good place to put your propagation sprigs. If that's not an option, just put the jar anywhere there is some light and where you will remember to replace the water every few days to prevent pathogens from growing. Once your sprigs have roots that are ½ to 1 inch long, plant them in a pot with high-quality potting soil and keep it moist but not soggy. Place your young thyme plants in back in their warm, sunny spot. After the last danger of frost has passed, you can move the planter outside or transplant your thyme into its permanent home in the garden.
Transplanting dormant thyme divisions
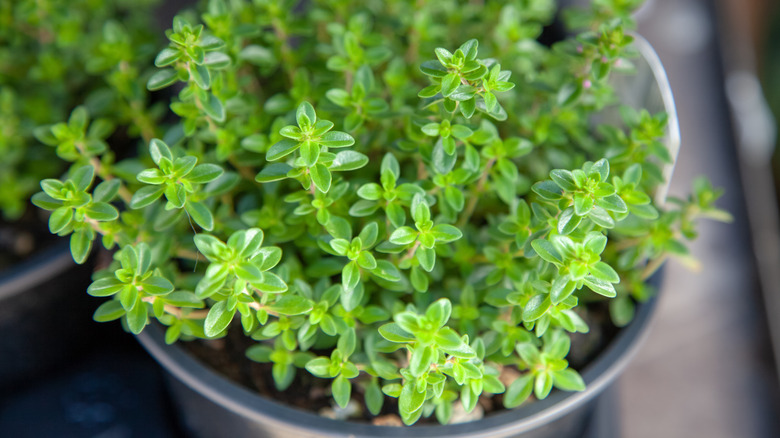
If you live in a warmer region where the ground doesn't freeze, you can divide common thyme plants while they are dormant. Because thyme roots and stems grow so densely, a pointed trowel or garden knife is ideal for this task. Loosen the soil around the roots and pull up a clump, cutting the roots and stems as needed to separate them. If they are extremely intertwined, you may need to cut them with garden shears. Cut the old growth down to about 3 inches tall to encourage healthy new growth in the spring. Place your division in a small planter and cover the roots with soil. Keep it indoors near a sunny window until the last chance of frost has passed, ensuring it stays evenly moist. You will likely see it break dormancy and produce new growth even before spring arrives.
Like plants started from cuttings, you can continue growing your thyme in a container or transplant it in the ground. Once established, this herb is exceptionally drought-tolerant. So, water it about once a week for the first few weeks after transplanting, then watch it grow and harvest as needed. Like many herbs, common thyme prefers lean soil, so skip the fertilizer, although you can work a few inches of compost into the planting area to improve the soil.