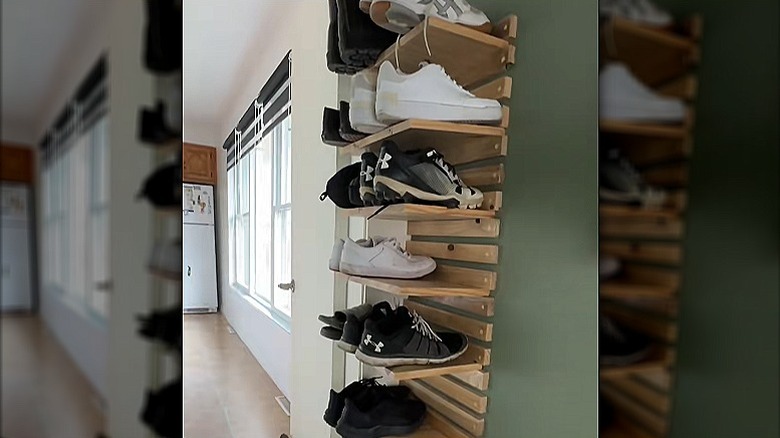
This Creative DIY Storage Rack Is A Neat Way To Keep Shoe Clutter Organized
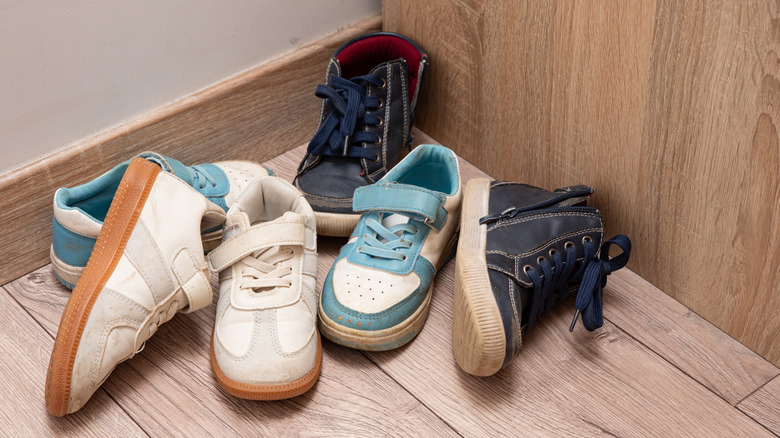
A lot of people kick their shoes off in the garage at the end of the day to avoid tracking dirt into their homes. This is one of the reasons a garage can become cluttered, which, for many people, is a source of stress. It's also not safe to leave shoes on your steps, because they become a tripping hazard. You can always purchase a shoe rack, but if you have an interest in carpentry, why not build your own? This creative solution for keeping shoe clutter organized is made up of horizontal wooden segments, which are attached to the wall and hold flat boards in place. The most unique aspect of this shelf is that you can move the flat pieces, adjusting for the amount of vertical space you need.
You'll need several ½-inch by 2-inch boards. The number depends on how high you want the shelf to be. You also need a pack of at least five 10-inch by 10-inch square wooden panels that are 1 inch thick. Plus, you'll want to grab a nail gun or drill, a measuring tape, a pencil, a level, and a saw. This project should only take a couple of hours to complete, and you don't need to be an experienced carpenter. You simply need to cut the ½-inch by 2-inch boards into 10-inch-long pieces and attach them to the wall with either nails or screws. The trick is spacing them properly so that they will hold the square wooden shelves in place.
How to build your shelf
The first step is to cut your ½-inch by 2-inch boards. You can either use a table saw or a hand saw. Either way, follow the proper safety precautions, like wearing protective goggles. Mark those boards every ten inches and cut them. Then you want to place them against the wall of your garage (where you want your shelf to be) and use your level to make sure that the first piece is flush with the ground. Mark the spots on the wall with your pencil, and space the next ½-inch by 2-inch board exactly 1 inch above the board that preceded it. After you place your marks, screw or nail the rungs into the wall. The last step is to slide your panels into place.
Once you finish, you'll see that this shelf offers the illusion that it is freestanding, which makes it a good conversation starter. You can apply a stain to the wood (preferably before you build your unit) to give it a more interesting look. If you're a little more confident in your carpentry skills, you can build a similar storage rack in a more prominent part of the house, such as your bedroom, office, or home library. It's a great place to arrange books or even plants, but for heavier items, you might want to add some struts to the shelves to support the extra weight. If you're not crazy about this design, there are plenty of other multifunctional DIY shoe racks to look into. You can also just purchase a shoe organizer, which can slide in anywhere you might need it, including a closet or laundry room.