16 Important Steps To Consider When Restoring An Old Home Or Farmhouse
We may receive a commission on purchases made from links.
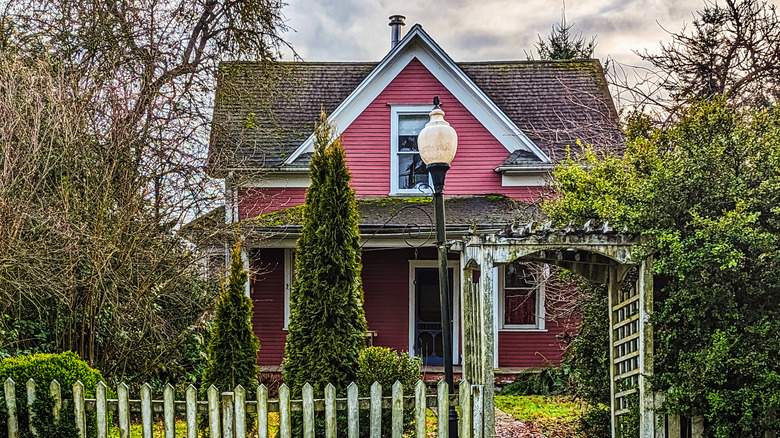
Restoring an old farmhouse is a dream for many people, but it is not without challenges. And there's way more to it than just updating old finishes and giving everything a lick of paint. It's part construction, part restoration, and part archaeology. You'll likely encounter hidden structural and moisture problems and potentially hazardous materials, all of which can blow up your budget and timeline.
With old home restoration, you have to remember that these old buildings are simultaneously fragile and tough. Generally speaking, timber frames and solid masonry can still have centuries of life left in them. But they don't always respond well to modern materials or construction methods, nor do they take well to rushed work, short cuts, and heavy-handed remodeling. Aside from the hazards of lead, mold, and asbestos, as well as structural issues you may encounter, you've also got to remember to check and budget for core systems like plumbing, gas, electrical, and insulation standards.
Clarify historic status, permits, and zoning
Before you start taking out walls, replacing windows, making additions, and so on, you need to confirm whether the property is in a historic district, is formally listed, has a preservation order on it, or is in a protected landscape. All of these conditions affect what kind of work you're allowed to do to the property. Historic status can affect exterior appearance, window types, structural changes or additions, demolition, and interior alterations. Check with your local planning or zoning office and historic preservation commission.
If there is some kind of special status on the property or the area it's located in, dig deeper and find out, firstly, which parts of the property are covered and whether there are any specific design or construction guidelines you need to follow. For example, some properties may sit within a historic district, where only the exterior of the main building and landscaping features have specific requirements.
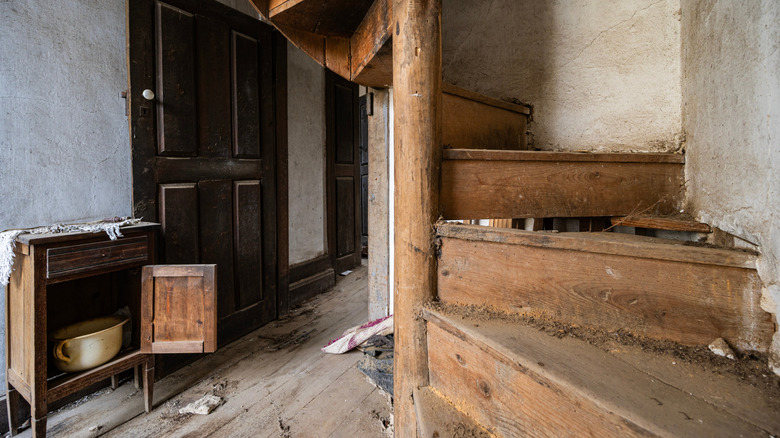
Start with a structural and moisture assessment
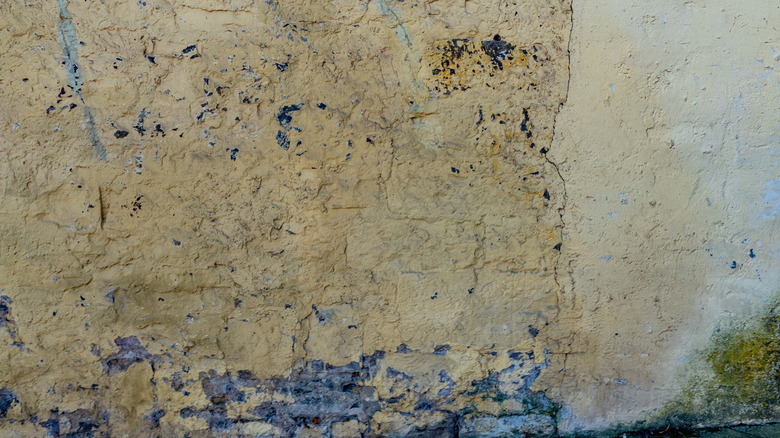
Older buildings might, at first glance, look in pretty good shape, but they can be hiding sagging framing, decayed sills, extensive insect damage, long-term leaks, and persistent mold and damp. Just slapping a cosmetic upgrade on top of core stability issues and chronic damp will not solve your problem. Worsening problems will continue to progress and your cosmetic mask will fail. Painting over mold, for example, won't help a tiny bit. Mold is a living, growing organism and it'll just push through the paint in short order.
You can spot obvious signs yourself, like stained plaster and drywall, mold that won't go away, musty smells, peeling paint on masonry, bubbled paint, efflorescence on basement walls, and rotted trim that all indicate serious issues. It's a good idea to have a qualified home inspector who is experienced with historic homes come take a look so you can identify key issues with foundations, moisture, roof structure, and other core issues early on.
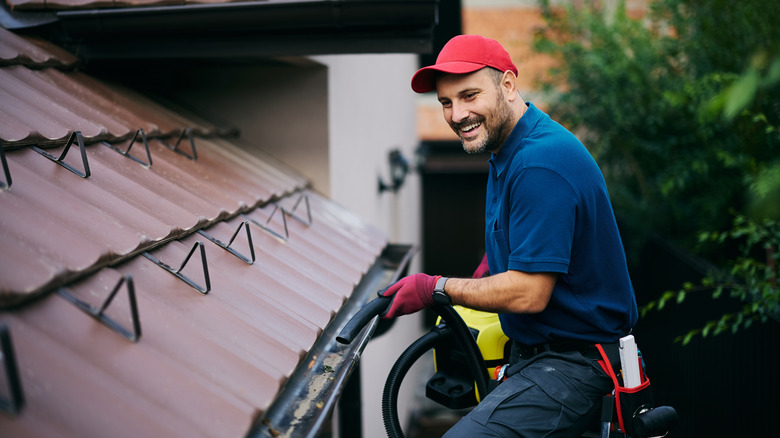
Stabilize roof, gutters, and site drainage first
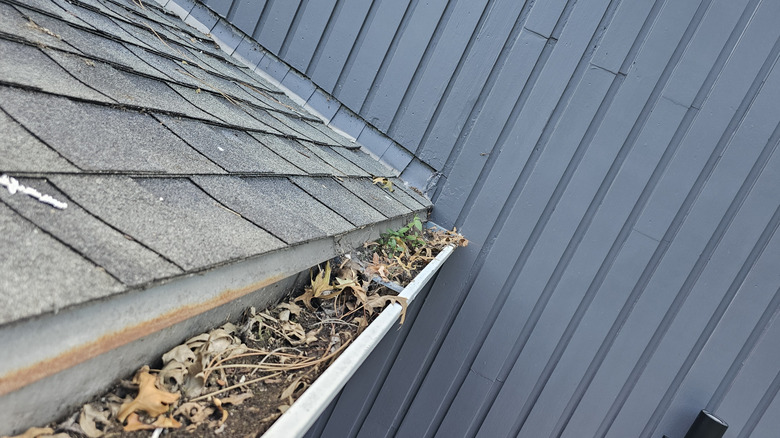
Moisture is the enemy of old buildings, so it makes sense to first tackle the things that can affect moisture the most. That's your roof, gutters, and drainage. Leaky roofs, broken, missing, or clogged gutters, and poor grading can all cause moisture to run down walls or against the foundations, letting water into walls and basements. None of your other fixes make any difference long-term if moisture is still infiltrating the property.
Inspect the roof for cracked or damaged shingles, but also remember to check the flashing around chimneys and valleys. You may be able to repair the odd leaky roof tile by yourself. Make sure the sheathing isn't soft and that the rafters aren't sagging. In extreme cases, you may need a roof replacement or considerable reconstruction work, which is costly, but should last for decades. Replacing guttering and soffit boards is much cheaper and prevents moisture spilling over and running down the walls, accumulating right against the foundation. Even if they don't need replacing, they'll almost certainly need cleaning, and you can also install gutter guards to prevent further debris accumulation.
For downspouts, you may want to consider adding extenders, like these PlusGutter Flexible Rain Gutter Downspout Extensions, that let water out further away from your property. Then comes grading. If the property isn't well-graded, instead of rain and storm runoff being directed away from your house, it can run toward it, gathering near the foundation. So, regrading or a French drain may be necessary to prevent further moisture issues.
Identify and manage lead-based paint risks
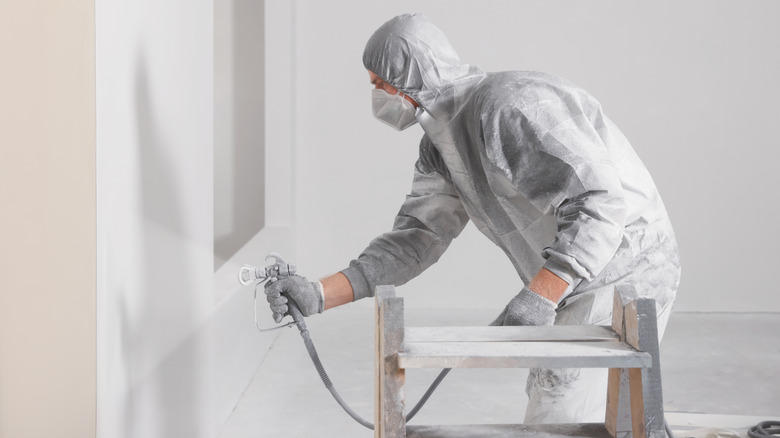
Pre-1978, most homes had lead-based paint, especially on trim, windows, doors, stair balustrades, treads, and siding, and often on old metal railings and radiators, too. Lead paint creates dust that's potentially harmful over time, even just when disturbed through regular use in high-friction or impact areas like stair treads. It becomes even more dangerous when you're sanding or demolishing without taking proper precautions, as the fine lead-polluted dust contaminates floors, soil, and air. Plus, it can settle into cracks between floorboards, get into ductwork, and contaminate soft furnishings.
You can get a professional inspection done that includes lead testing, and you can also do your own tests with screening kits. If lead is identified, it's important you plan lead-safe work practices. Protective steps for painting over lead include containment and dust control, which includes plastic sheeting with zipper doors and very careful and thorough cleanup. You'll need full personal protective equipment (PPE) while you're working in those areas, as well. It's also a good idea, if it's within budget or there's heavy or widespread lead paint, to hire certified lead abatement contractor.
Check for asbestos and other hazardous materials
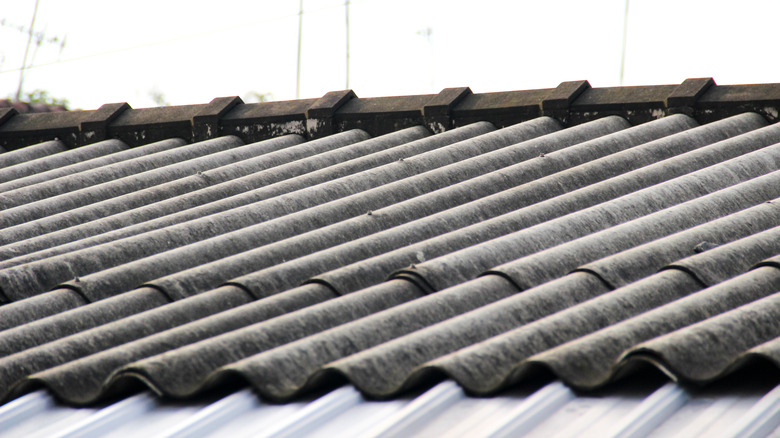
Old houses often have asbestos lurking in them. Siding, roofing materials, textured ceilings and walls, pipe and boiler insulation, adhesives, and floor tiles all contained asbestos before we realized the danger. Because of its fire retardant nature, it was also common behind fireplaces, heaters, and electrical panels. If you just go in and start demolishing or cutting stuff and disturb something containing asbestos, you release those deadly fibers into the air. Scraping, sanding, grinding, cutting, and general activity can cause these fibers to disperse.
You need professional asbestos lab testing to identify whether any suspect features or materials actually do contain asbestos before you start any remodeling. And, if it's present, you'll need to hire certified asbestos abatement specialists. Some asbestos-containing materials can be safely left in place if sealed or covered appropriately, but others need professional removal. This isn't something you should risk DIYing, as you can contaminate the air and pretty much every hard and soft surface in your home.
Document and protect significant historic features
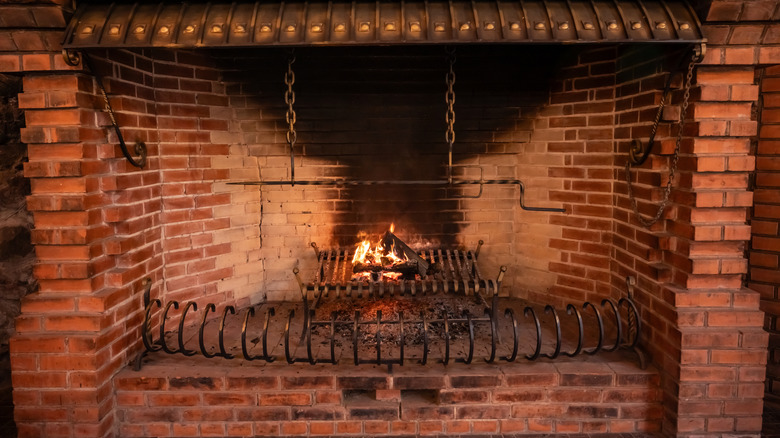
If you've got a historic building, there's a good chance that you want to save as many of the period features as you can. Otherwise, you'd have chosen an easier project. Original staircases, moldings, doors, windows, flooring, mantels, fireplaces, hardware, and exposed beams that all tell the story and the history of the home are important and should be preserved if possible.
Photograph everything you want to keep and prepare a simple inventory of which elements must be preserved in place, which can be removed and then replaced later. During actual work, shield anything you want to save with rigid protection. Tarps or dust sheets don't give enough protection. Use hardboard and rosin paper to box in stairs, and wrap newel posts and mantels. And, for removable items like hardware, clean and restore them carefully, and wrap and label every one so you know where it came from.
Set a realistic budget, schedule, and contingency
Old buildings almost always need work, and frequently conceal surprises that require more work and more money than you originally planned. Outdated wiring, hidden moisture or decay, or noncompliant additions can all derail your carefully planned budget. So, factor in these unwanted surprises when you're planning. Many older properties have decades of undocumented changes, so there's no telling what lurks beneath the surface.
Set your budget to cover the absolute essentials, like structural fixes, weatherproofing, electrical, plumbing, and HVAC systems. Then move on to working in the things that are nice to have, like high-end finishes and kitchen cabinetry. These extras are all flexible, and if work comes in to-budget or under-budget, you can splurge a bit. If, however, as is often the case with old houses, they throw a few surprises your way, you can go with more budget-friendly nice-to-haves. It's also a good idea to assume you'll have some unforeseen issues, and put 10% to 20% of your budget toward these surprises.
Plan for code and life-safety upgrades
Many older homes just don't have the safety features many of us expect today, nor are they up to current building codes. You'll find rickety, steep, narrow staircases with no proper handrails or guardrails, limited egress from upper floors and basements, and inadequate or non-existent carbon monoxide and smoke detections systems. They also commonly lack proper fire separation between units or garages, basements, and living spaces. This is most often because the home and the changes predate modern expectations and building codes.
You'll most likely need to speak to your local planning office, so you know where modern standards must be fully met and where there are exemptions or flexibility for historic homes. It's also worth consulting a construction professional with historic home expertise for things like egress windows, fire protection, and structural changes.
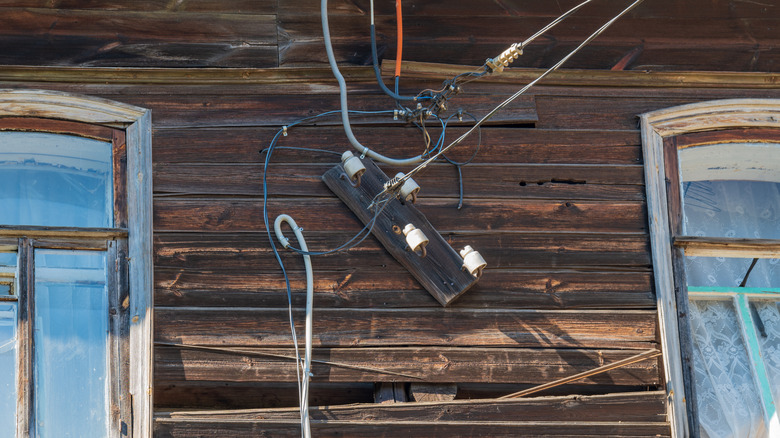
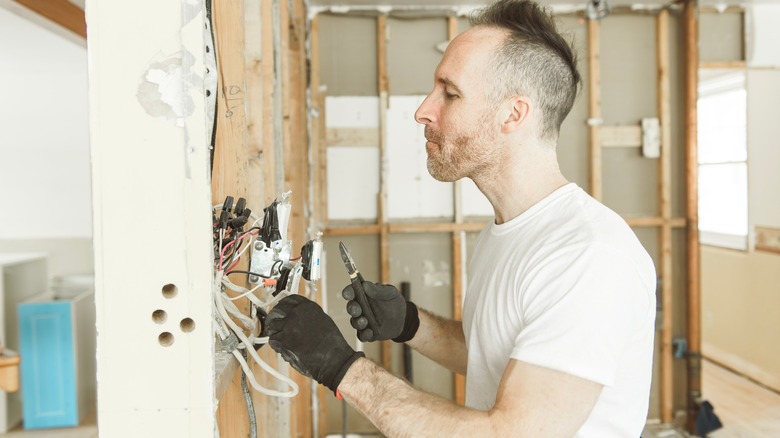
Evaluate and modernize the electrical system
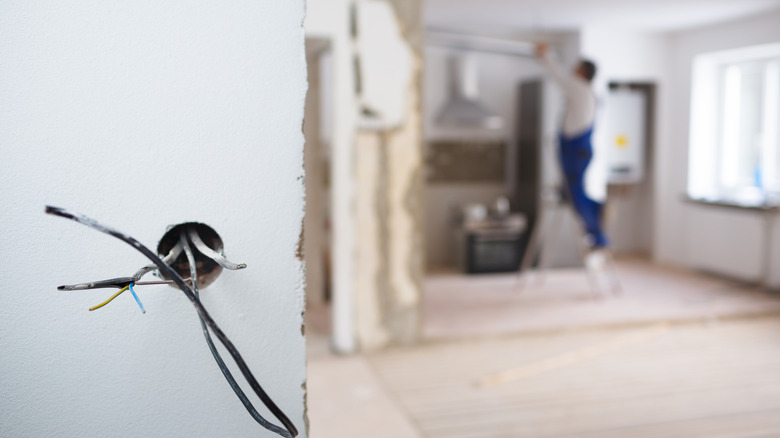
In historic homes, it's all too common to find very dated wiring methods, like knob and tube systems. Ungrounded, and therefore unsafe by today's standards, circuits, undersized panels, and old systems that were never designed to handle today's electrical loads are common issues. Couple that with loose, ageing connections and insulation, and DIY splices and repairs, and there's a real risk of electrical fires and the potential for dangerous shocks.
Don't attempt to DIY this. Have a licensed electrician survey the property and assess load capacity, panel condition, wiring safety, outlets, and grounding. They'll be able to advise you on the upgrades necessary to bring the house up to modern electrical safety standards. They can replace hazardous wiring and outdated systems, like knob-and-tube and cloth-wrapped cabling. A professional electrician can also add grounding and protection, resize circuits, and upgrade panels to plan for future loads.
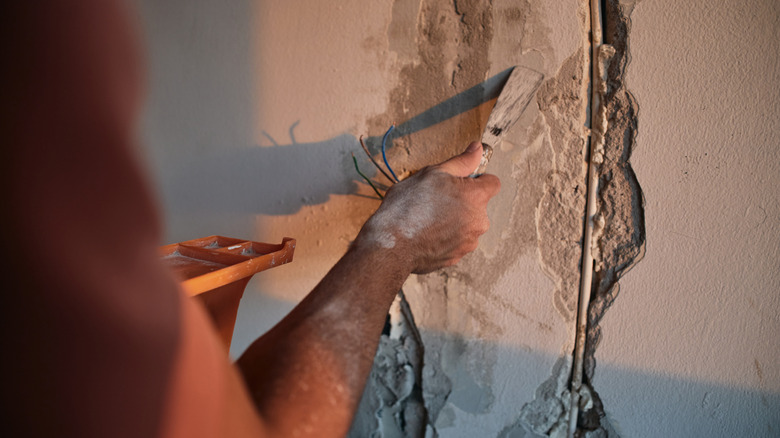
Assess plumbing, septic, and water quality
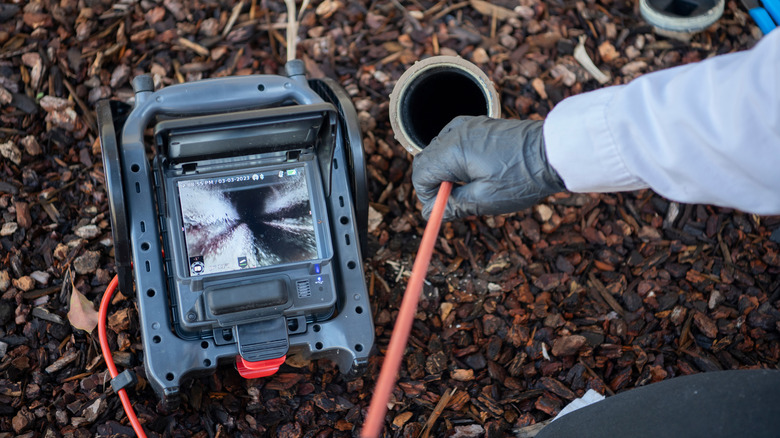
With an old home, you'll likely find some distinctive plumbing quirks that aren't safe or suitable for modern living. Galvanized lead piping was in common use until 1986, when new installations of it were banned, but existing lead piping was permitted to remain. So many older homes still have lead water lines. You may also find mixed generations of plumbing materials as newer materials were used to repair or replace sections of old pipes. Any of these are all good reasons to replace your plumbing. Root incursions, creative DIY repairs, inadequate venting, failing septic systems, and untested private wells are all common issues in older properties, especially rural ones. Septic system leaks and contaminated soil, and well water, can pose significant health concerns, too.
Have a professional come out and assess the state of the home's plumbing. Have a video inspection of drains and pipes to look for roots, damage, and leaks. Get the well water tested and have the pro inspect the septic system to make sure it's in good condition and safe. Again, this isn't something you can skip or DIY, as it's a matter of health, safety, and continued wellbeing. Plus, the worse a plumbing problem gets, the more costly it becomes to fix.
Improve insulation and air sealing without trapping moisture

Old walls and roofs behave differently than modern ones. They need ventilation to "breathe," so fully sealing them as you'd do with new builds causes condensation and traps moisture. This could potentially cause significant long-term issues like rot and mold, especially if small leaks are still present. Solid masonry, lime plaster, and old wood framing cannot be treated the same way as modern cavity walls with vapor barriers.
Air seal obvious gaps like attic hatches, vents, and penetrations, and upgrade attic insulation to improve overall energy efficiency. It's also worth getting a whole-house energy assessment and advice specific to historic homes to find the best air sealing and insulation type and strategy. The best compromise of comfort, energy efficiency, and building preservation will depend on the age and materials of your property.
Repair original windows and doors where feasible
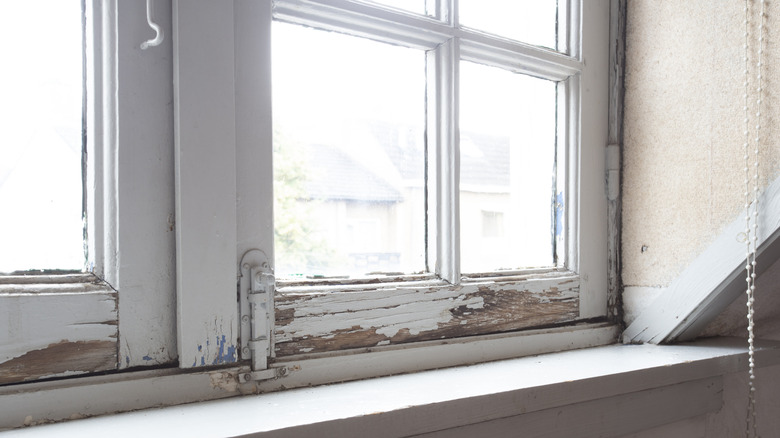
You don't always need to, nor should you, replace every window and door. If they can be saved with the right expert repair, then they probably should be, especially if you're intent on preserving as much of the original property as possible. Single-glazed windows and old wooden doors are frequently blamed for drafts with the recommendation to just replace them for modern ones that use modern technology and materials. But with historic properties, to preserve the original dimensions and appearance, careful repair plus, the addition of weather stripping, like Vitam Amo's Weather Stripping Sealing Strip, and gap-filling is likely a better solution.
For windows and doors where the damage is mostly cosmetic, like light rust on hardware, old, crumbling putty, and peeling paint, these issues are all fairly easy to fix. Even missing panes can be replaced without too much cost or trouble. And you can add secondary glazing alongside DIY weather stripping to improve energy efficiency. If, however, there's significant structural issues, like deep rot and badly warped timber, then replacement might be your only option.
Choose compatible materials and finishes
Not all modern materials are compatible with old homes. Impermeable coatings and sealants, and some types of cladding and siding, are bad for old homes, because they stop them breathing and trap moisture against walls and timbers. This can cause rot and water ingress, spalling brickwork, peeling paint, and decay. Particularly rigid and dense materials used today, because of their strength and durability, can cause issues when used alongside older materials, as they don't flex and move in the same way.
Where you can, use like-for-like, or at least use materials and techniques that are compatible with old homes. For example, choose mortars, plasters, paints, and even techniques that work with your property. Avoid water-proofing historic masonry unless it's recommended by a historic buildings expert, as this seals in moisture rather than letting the building breathe as it should.
Plan HVAC and ventilation for an older home
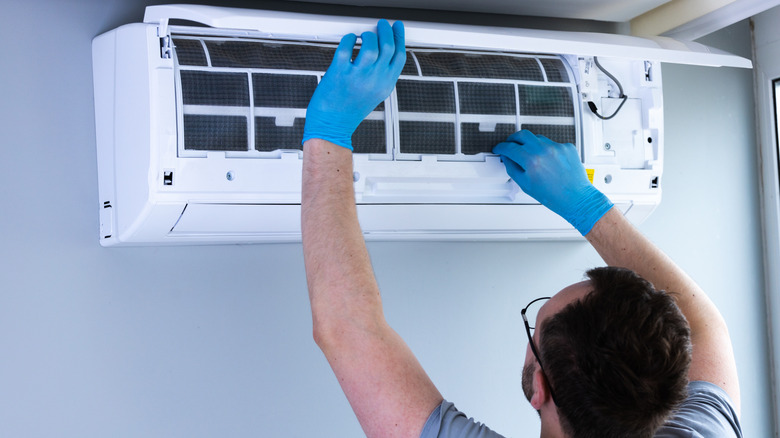
Older properties often have poorly designed, inadequate, or inefficient heating and cooling systems. They tend to have hot spots, cold spots, condensation issues, or make too much noise. This is compounded by low ceilings, irregular framing, and years of neglect. Plus, the design of historic buildings make installing modern ductwork challenging.
To get the best HVAC and ventilation system, you'll need to work with a specialist who understands historic construction. You'll also need to make sure the upgraded system is correctly sized. High-velocity mini ducts or ductless systems may be necessary, depending on the construction of your property. Otherwise, carefully planned conventional ductwork may be just fine.
Phase the work and manage dust and disruption
Plan your work smartly, especially if you're planning on living in part of the house while you update it. Starting random projects all over the place with no consideration causes chaos. It also increases the chance of unmitigated lead or asbestos contamination, and makes cleanup and abatement far more challenging.
Tackle the essential projects, like working with hazardous materials, major structural repairs, and electrical and plumbing work, first, one at a time. Only then move on to the nice, but not critical, tasks, like decorative work and finishes — again, taking just one project at a time. Make use of plastic barrier and zipper doors, negative air machines, and exhaust fans where you're doing hazardous or dusty work, and make sure you're wearing PPE. Work in tightly controlled areas to minimize disruption and safety hazards.
Commit to long-term maintenance after restoration
After all your hard work to bring your property up to modern standards, it's important to keep it that way. Many people don't realize how quickly an old property will slide back into a state of disrepair if neglected even for short periods. It doesn't take much to undo all the good work you've done. Clogged gutters, small leaks left without fixes, cracked or warped siding, and other relatively insignificant issues can quickly become major ones. There are also some jobs, like repointing old mortar and masonry that will be ongoing, as the older material crumbles and needs attention.
The best way to keep on top of long-term maintenance is frequent inspections of key areas like drainage, the roof, windows and doors, and your core home systems. You can do interim inspections yourself, then hire a pro for a more complete annual inspection. You can also do preventative tasks like installing gutter guards, like these 5-inch Raptor Gutter Guards, to prevent clogs. For older properties, be ready to tackle any small issue as soon as you spot so it doesn't spiral into a major, very costly problem.