Say Goodbye To The Eyesore Of Cleaning Supplies Clutter With A DIY Storage Solution
We may receive a commission on purchases made from links.
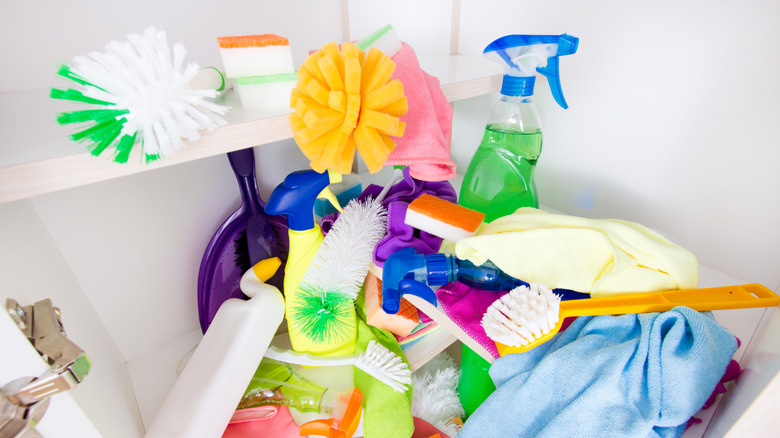
If only it were possible to do away with cleaning supplies altogether, but unfortunately they are necessary. What isn't necessary, however, is the need for them to be such an eyesore of clutter, sitting and waiting for your Cinderella moment. Decluttering your cleaning products is a great start, but you'll likely be left with a selection of mops, brooms, dustpans and brushes, not to mention the dozen aerosols and spray bottles. To corral this inventory, a fairly simple solution will do just the trick, as demonstrated by TikToker @crystelmontenegrohome, whose DIY broom closet lets you say goodbye to the chaos of cleaning supplies.
This clever storage upgrade, which involves building a large open shelving unit with custom compartments, is a ideal for a laundry room, mudroom, garage, or awkward hallway nook where cleaning supplies are in danger of piling up. What's particularly great about it is, aside from a little DIY know-how (not a lot; just some confident measuring and drilling), all it takes is a few sheets of plywood or melamine board, wood glue, screws, and some basic tools. The result is a unit that looks built-in and bespoke because of its designated tall compartment for brooms and mops, alongside adjustable or fixed shelves for sprays, detergents, and bins.
The tips and tricks to building this DIY broom closet with ease
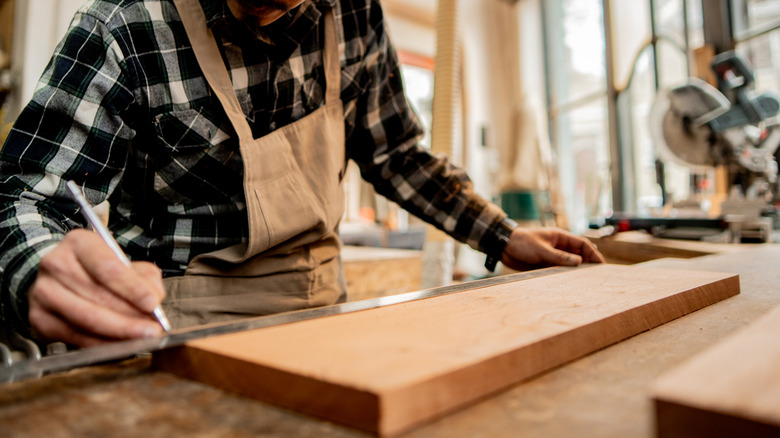
It's a straightforward method with customized compartments, which means knowing the specs is crucial. As well as measuring the size of your cleaning tools, you'll need to know the measurements of the space you're working with and the placement of any fixtures or fittings you might be covering up that you still want access to (a section of the backing you eventually attach will need cutting to provide this access). Only then can you source the materials; hardwood or plywood will do, so it pays to know which material is better: hardwood or plywood? Either cut the boards to size yourself or there's always the option to have them pre-cut at your local Home Depot.
@crystelmontenegrohome DIY Broom Closet Build: Hiding the Cleaning Chaos We're knee-deep in a whole house reno, but I hit pause on "make it cute" to handle "make it FUNCTION." Because I was so over walking into my kitchen and getting greeted by a lineup of brooms, mops, and clutter. So I built a simple storage cupboard (aka a DIY broom closet) to corral the chaos and hide all our cleaning tools in one spot. Pretty can come later, but peace in the kitchen? Needed that today.
The floor is your friend here and there's absolutely no need for a proper workshop. Assemble the frame on the floor using wood glue and a nail gun, securing the base and one of the side panels first before attaching vertical dividers and the final side panel. Pre-drilling screw holes when working with either will help you to avoid splitting the material, and sanding the edges you bond with glue will help the adhesive stick. Once the shelving compartments are fixed in place, attach a backing panel for stability, then lift the unit upright and position it against the wall.
How to turn this temporary DIY hack into a long-term storage solution
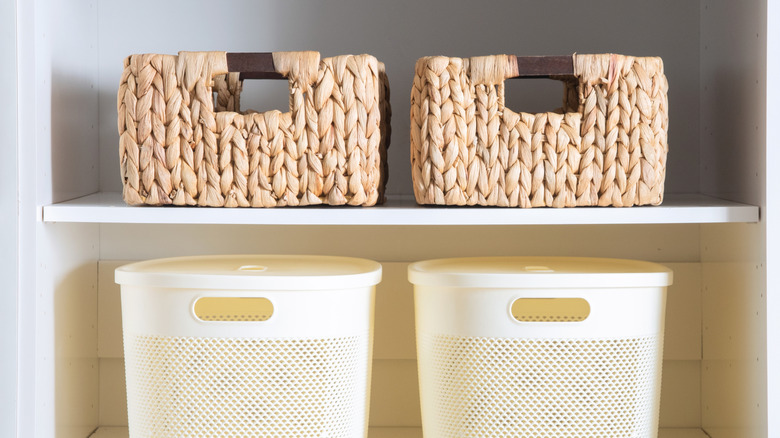
DIYer crystelmontenegrohome admits this particular piece isn't necessarily a long-term solution. But that's not to say this couldn't be upgraded to become a mainstay storage unit in your home. A door that closes the setup is the most obvious solution. Although, keeping at least one open vertical section will probably make daily access easier and prevent that "out of sight, out of mind" approach to cleaning. Another hack that would make the duty of cleaning more bearable is to ensure you're not storing your cleaning products all wrong. Add storage bins to group similar items together, and using adhesive hooks or removable strips to items will make them easier to grab.
Also consider anchoring the unit securely to the wall, which is essential when it comes to safety. To do that, you'll need to know how to find the studs in your walls — the vertical wooden beams behind the drywall that provide the structural support needed to hold weight. Once you've located them, you can secure the unit properly using heavy-duty L-brackets (such as the Romeda Store 16 Pcs Stainless Steel Corner Brace Sets for $5.99, which will allow you to secure the closet in various places). After screwing the brackets into both the wall studs and the back of the broom closet, you'll have a finished piece that isn't just great at solving the eyesore of cleaning products, but it's secure and sturdy for the long haul.