Turn An Old Wooden Box Into A Trendy Bedside Statement Piece
Sometimes, the most seemingly simple item gets overlooked during your thrift store excursions. All of the shimmering crystal glassware captures the eye over something as plain as a wooden box. However, DIYers often get clever turning forgotten thrift store finds into stunning pieces of home decor. One such example is transforming a plain wooden box into a gorgeous bedside table. TikToker @iamhayleystuart shared the process of this transformation, resulting in a statement piece that looks trendy and also repurposes an old box into something more functional. By adding a few furniture legs and a fresh coat of paint, you can give new life to an old box.
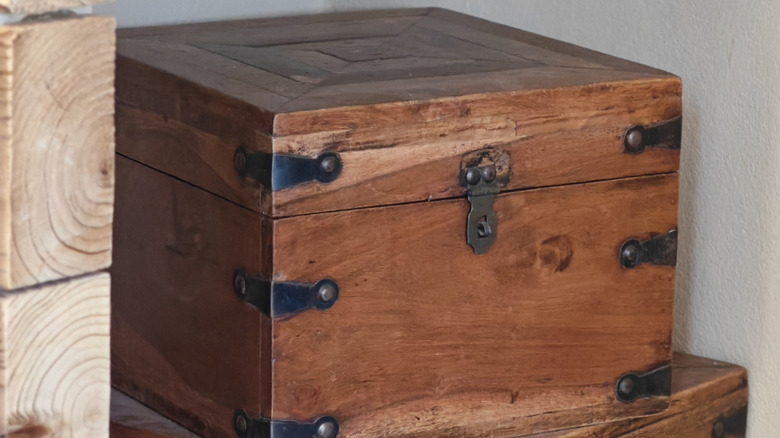
The great thing about this DIY is that you could use almost any wooden rectangular box as the main piece. For example, a wooden crate could also be a good substitute for this project. However, it's important to note that a small box may not be ideal as it won't have enough space for the added table legs and may not provide much storage space inside. Large boxes could also pose some challenges, appearing too bulky in the space or not fitting between your bed and your bedroom wall. You may want to stick to standard nightstand dimensions with a width of 21 to 29 inches and a depth of 12 to 30 inches. Still, if you're searching for a creative nightstand idea to elevate your bedroom using affordable supplies, this could be a great fit for you.
How to upcycle a wooden box into a fab nightstand
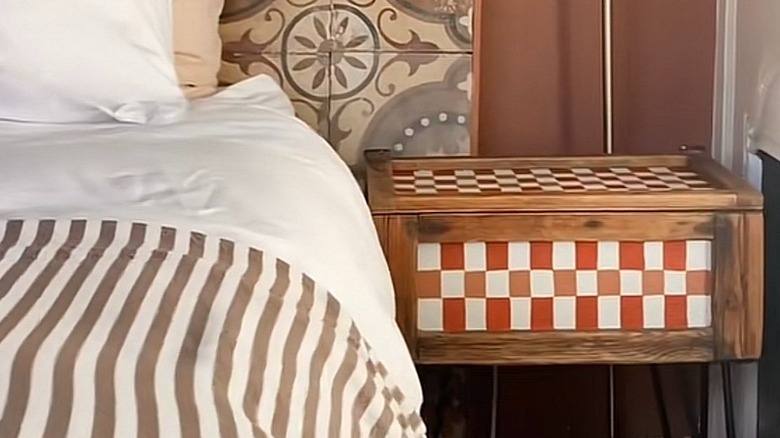
Once you've sourced your wooden box, start by cleaning it with a gentle cleanser. A damp cloth with a small amount of dish soap is best for wooden materials to prevent warping or damage. After it has dried, it's time to start sanding. Use medium to fine grit sandpaper and carefully sand the surface. Next, you can use a shellac primer and furniture paint to coat the faces of the box. The creator chose to leave the trim pieces and edges unpainted for a more tailored look. They also chose to create a checkerboard pattern by stenciling the outlines with a pencil and ruler. Then, they used a different color of paint for the checkerboard pattern.
Depending on your wooden box, you may have to get creative with the painted details. Boxes with inlays, onlays, or other decorative elements may not provide a flat surface fit for painting the checkerboard pattern. Alternatively, you can skip the paint and try an affordable DIY to upgrade thrifted furniture instead, such as resurfacing the item or opting for a wood stain to highlight grain details. Once finished, you could add a sealer for greater durability. Then, use a drill to attach table legs. The creator used hairpin legs for their setup. This DIY is fairly affordable. You could source primer, paint, sandpaper, and table legs for less than $100. Depending on your local thrift market, your wood box could also be very affordable.