Save Leftover Scrap Wood To DIY The Cutest Mini Cutting Boards
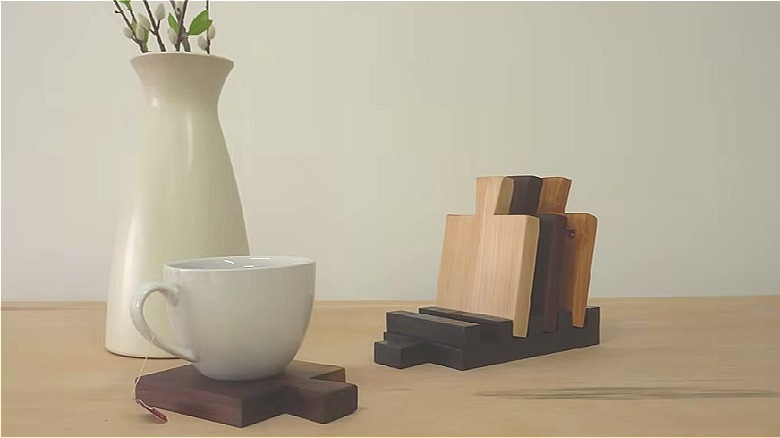
If you're a DIY pro, odds are you have a growing collection of scrap wood taking up space. Scrap wood doesn't need to end up in the trash or collecting dust in your tool shed. There are a range of ways to reuse scrap wood pieces of all types and sizes, including repurposing wood scraps into handy storage organizers, bookends, laptop stands, and more. If you have smaller pieces of wood in need of a new life, consider repurposing them into mini cutting boards that can double as unique coasters or charcuterie plates. These mini wooden cutting boards also make excellent gifts for the holidays, birthdays, or as a housewarming present.
Of course, you could certainly buy a wooden cutting board, but many handmade cutting boards can cost between $50 and $100. Making cutting boards yourself is a thoughtful and cost-effective way to use up scrap wood. This project requires a few basic tools and supplies that most DIYers should own, including a miter saw, jigsaw, sanding supplies, and sealer. With these supplies in hand, all you need is your scrap wood of choice and an afternoon to create custom mini cutting boards that are perfect for personalized gifts, home decorations, or entertaining friends.
Create custom mini cutting boards from scrap wood
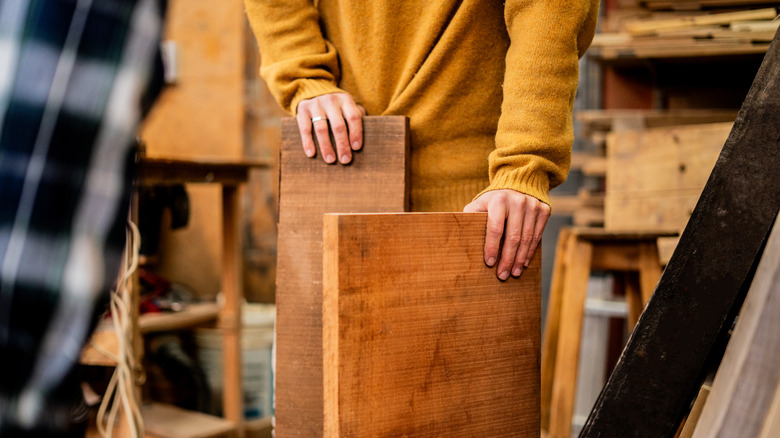
To start, look through your collection of scrap wood and find the wood you'd like to repurpose. There are a few factors to consider when choosing wood for your project. A solid board is best for this DIY, but it can be either hardwood or softwood. Plywood isn't ideal, as it's more likely to peel apart if it gets wet. Next, consider the size and shape you'd like your mini cutting boards to be, including any handles, cutouts, or other aesthetic features. Sketch an outline on the wood using a pencil or marking knife. You can use a miter saw to carefully cut along the straight lines of the outline, then grab your jigsaw to more easily cut around the handle shapes and any additional curves or cutouts. Repeat this process to create as many mini boards as you'd like.
Now that you have your mini cutting boards down into the correct shape and size, you'll need to properly sand them. Always start with a coarser grit and sand in the direction of the woodgrain. If you'd like, you can stain the boards or keep them unstained and let the natural wood color shine through. Finally, be sure to properly seal them to prevent moisture from damaging the wood when you use or wash the boards. You should choose a food-safe stain and sealer if you plan to use your cutting boards while cooking. Once your stain and sealer are dry, your work is done. All that's left to do is find the perfect spot to display your cutting boards so they're easy to show off the next time you have company.