An IKEA Desk Organizer Makes The Perfect Planter
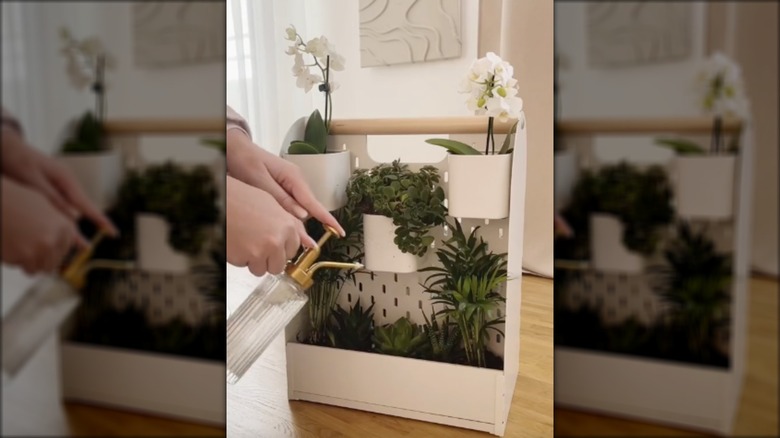
This one goes out to all the savvy DIYers who love IKEA hacks! If you're searching for your next favorite piece of home decor, look no further than IKEA's VATTENKAR desk organizer. This versatile portable organizer can be used in an array of different ways throughout your home. Believe it or not, that includes as an excellent planter. While there's no shortage of common household items you can turn into beautiful planters, the VATTENKAR desk organizer is particularly well suited for the job. With its convenient handle and built-in storage, it's perfect for small apartment dwellers craving more greenery.
Originally intended to help the work-from-home crowd move their office supplies from room to room, this organizer features two storage cubbies separated by a small peg board. It's compatible with the SKÅDIS pegboard so you can add on any accessories from that series. For this project, we encourage you to buy two to three SKÅDIS containers. At $5 a piece, it's a small upgrade that will make a big impact. You'll also need to carefully choose six to eight small plants to include in your desk organizer planter. Plants like the Chinese money plant, aloe vera, and string of pearls all do well in a tight space. There are some other considerations to keep in mind that we'll get into below. Ready to transform this stylish IKEA item into a planter? Let's get started.
Transform your desk organizer into a dreamy planter
As you select plants for this DIY, keep in mind how much light your space will provide. If you have a south-facing window, you're in luck. Tons of plants will thrive in your home. If you have less sun, consider using low-light plants such as a zz plant or pothos. Be sure the plants intended for the bottom container all have similar watering needs since they'll be grouped together.
Once you have your plants, fill the low front storage space with a layer of rocks followed by horticultural charcoal. This will keep your plants from sitting in too much moisture since this container doesn't have a drainage hole. Next, fill the space halfway with well-drained soil. Follow the same process with your SKÅDIS containers. Now insert your plants and fill in the gaps with more soil. Hang up your containers on the peg board in whatever configuration you find most attractive. You can also opt to store supplies like gloves, a mister, or shovels in the high front storage space behind your plants.
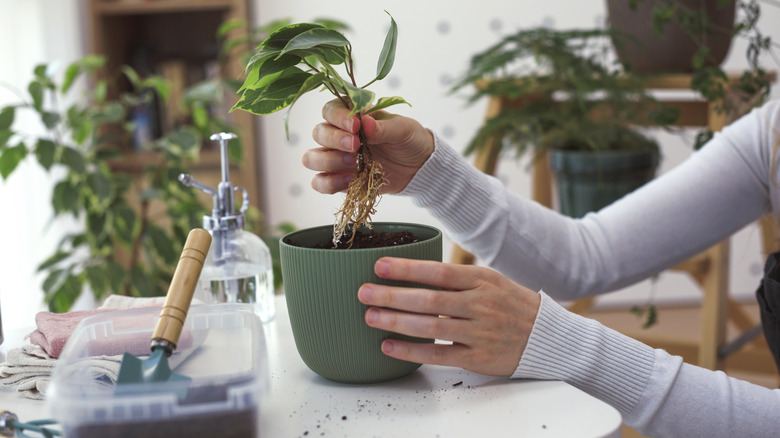
Taking care of your new planter is a breeze. Since there are no drainage holes, try not to douse your plants with water. Always check the soil to make sure it's dry at the top before watering. Your plants should be happy in their new home for quite a while, though you may eventually need to repot them. Keep an eye out for tell tale signs such as stunted growth and drying out faster than normal. With all this in mind, your new DIY planter will be an excellent addition to your home!