10 DIY Garden Sign Ideas To Add Whimsy To Your Yard

We may receive a commission on purchases made from links.
Garden signs are a wonderful way to bring whimsy into your life. Whether they're made of wood, mosaic, or fabric, they can help bring personality to your outdoor space. Not only that, but they can also be useful! Garden signs can be used as labels for seeds, helping you remember which herb or vegetable you planted in your garden bed. They can also act as a scarecrow to help scare birds and pests away, protecting your beloved garden from chaos. And of course, there's nothing like a good old "welcome" sign to make your yard more inviting.
The best part is that you can transform thrift store finds or other affordable supplies into a stunning DIY garden sign. All of these DIYs are doable at home, though some require a bit more technique than others. For example, signs made with wood burning or mosaic require a little practice. Some options might require a sewing machine, though that can be replaced by using a hot glue gun, instead. And in most cases, a bit of paint and wood glue is all you need. Since these signs all live outdoors, it's a good idea to use wood sealant or varnish to avoid water and humidity from getting into the wood and causing mold or splitting. Similarly, you can use a waterproof spray to protect fabric and avoid stains or mold.
And remember, DIY ideas are just a starting point. If you like the approach used in a DIY but don't like the shape, size, or materials, change it up! There are many ways to turn a DIY into something that's unique: Take inspiration from what's been done before, and create your own version. You can even use some of these ideas to create a budget-friendly address sign for your entry.
Make laminated labels
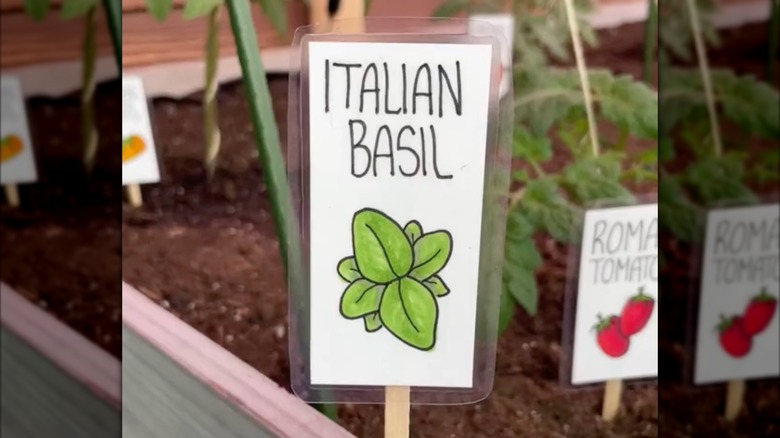
If you're an avid gardener, chances are you're planting more than one variety of herb or vegetable in your garden bed. To remember where everything is, you can create really simple variety labels with paper, pens, popsicle sticks (or wooden craft sticks from Veidia), and a laminator. Simply draw and write all of your herbs and vegetable varieties on pieces of paper (approximately 2 by 5 inches), run them through the laminator, and attach them to the popsicle sticks with glue. Now, all you need to do is poke the wooden sticks into the soil, and you're done.
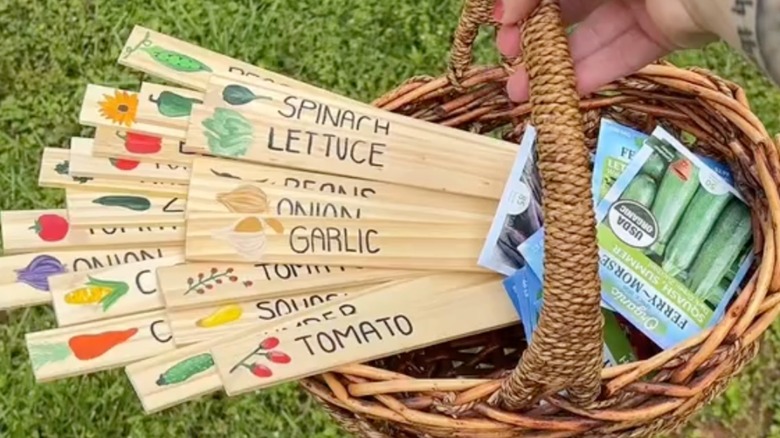
Craft wooden hand painted labels
If you like the idea of having small signs and labels to identify where different plants are, but don't have access to a laminator, don't worry. Instead, you can use small DIYDEC basswood sheets. Cut these to the shape and size of your liking with a saw or utility knife, and use some paint to draw and write the varieties of your choosing. When the paint is dry, attach a flat wooden stick to the back of the label with wood glue and let it set. Once done, stick your new DIY signs into the ground.
Utilize round wooden chips
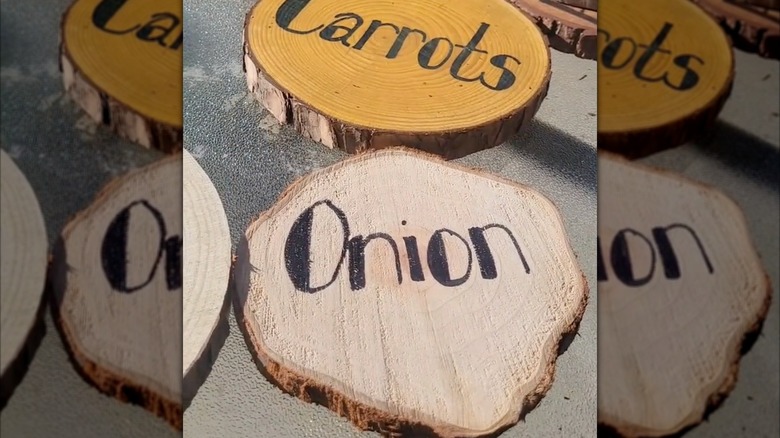
Yet another option is to use unfinished natural wood slices from Fumile and write on them with black paint or a marker. Attach each piece of wood to several stainless steel rods using glue. Because these pieces of wood are thicker, you can also hammer 14-inch nails into the back of them at an angle, which can help you prop the signs up in the garden. Or, you could simply place them on the soil, so that you can easily move them around like chips. This, of course, works best if you don't live in a windy area.
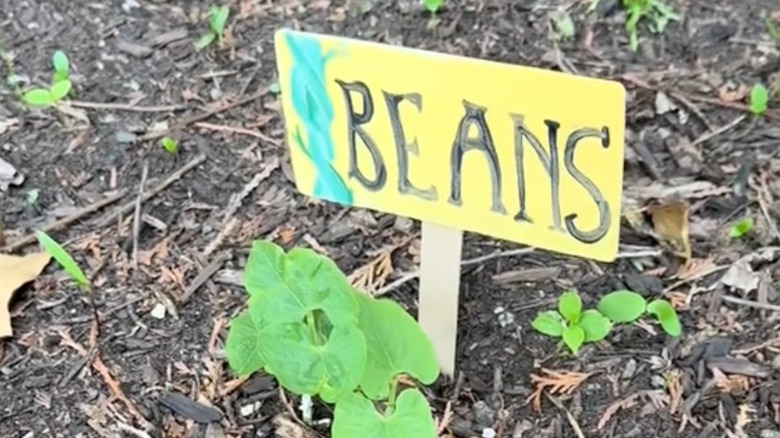
Make simple basswood labels
To avoid using any glue, you can create labels from one piece of basswood. For this, simply cut a "tab" shape from the wood. Start with a long rectangle, then cut off the two corners on one end to create a pointed triangle. On the squared end of the tab, write the name of the herbs or vegetables that you're planting, and stick the pointed end of the label in the ground. This is especially useful for windy areas because you can push it as deep as you wish into the ground, giving it more stability.
Hand paint your own welcome sign
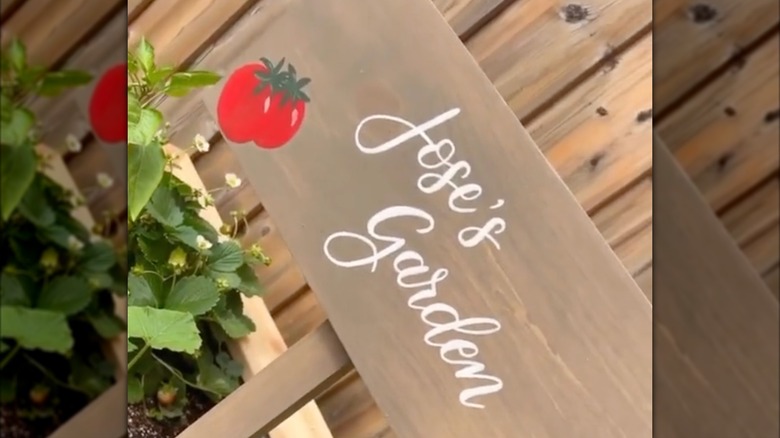
You can't go wrong with a "welcome" sign. To make one, use a rectangular piece of wood (1 or 2 feet wide), two sturdy flat pieces of wood to act as the legs, and a bit of paint. Decorate the rectangular wood piece with designs of your liking, and write "Welcome to my garden" on it. You can also replace "my" with your name or an affectionate nickname, like "welcome to Ashley's garden" or "welcome to meemaw's garden." Use wood glue to attach the legs, and stick your new sign in the ground.
Use wood burning for a long-lasting sign
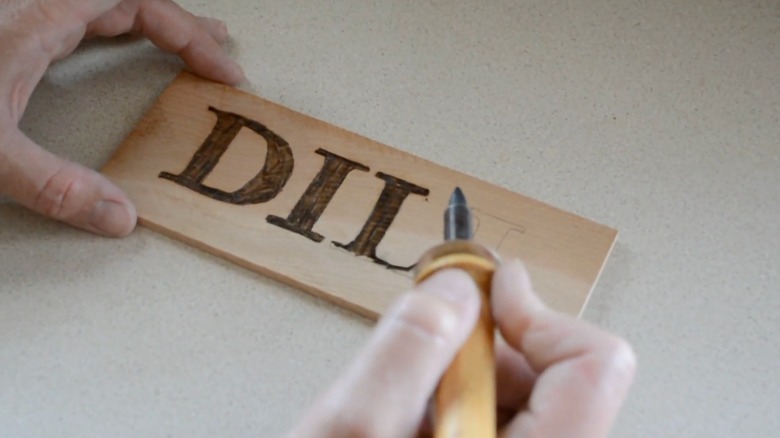
To make a unique sign, you could also use wood-burning art instead of paint. To do this, you'll need a pyrography tool. If it's your first time using one, use some scrap wood to practice tracing and drawing before tackling your garden sign. Once you're ready, use a pencil to draw the designs and letters on the wood, which will greatly help you create clean and straight lines. This type of personalized garden sign is also a great budget-friendly holiday gift idea for friends and family.
Create a whimsical scarecrow sign
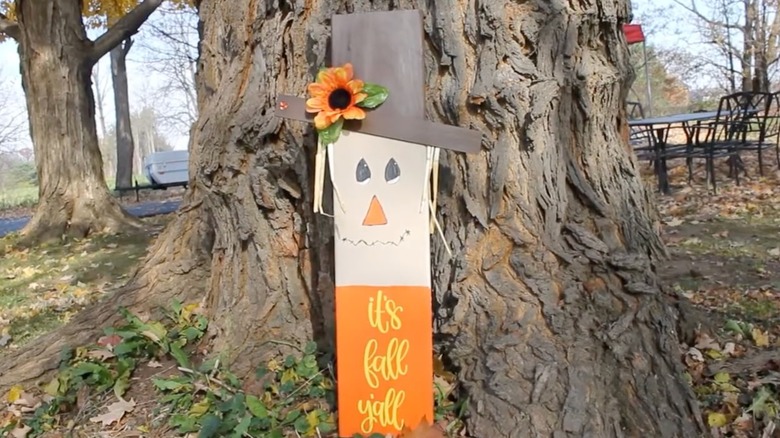
For something truly unique, create a scarecrow garden sign. For this, you'll need flat wooden pieces, a saw, and some paint. Use a long stake as a base (and body and face of the scarecrow). Out of smaller pieces of wood and glue, create a hat for the scarecrow, and use paint to draw the mouth, face, and nose. You can even glue some raffia to the head to act as the hair.
Repurpose an old wooden frame
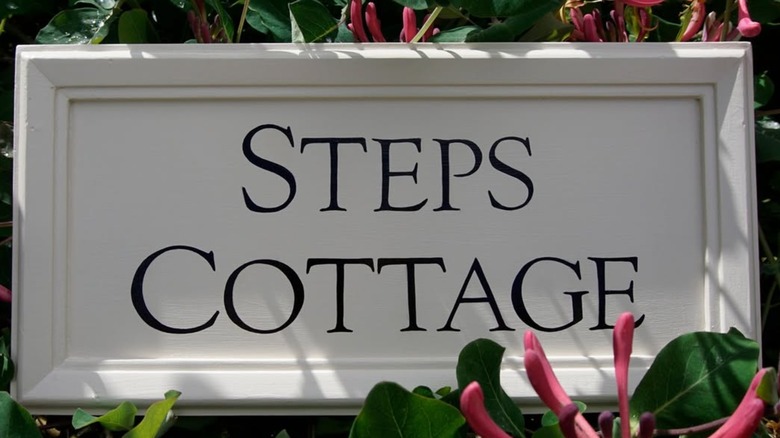
If you have an old wooden frame that you don't plan on using again, turn it into a garden sign. Detach the glass from the frame, and leave the backing in place. Then, use some paint to cover the entire thing, including the exposed backing and the frame. Inside, use a darker shade of paint to draw and write a message. You can glue or nail this frame to a solid structure, or thread a zip tie through the frame holder at the back and attach it to a fence.
Fashion a fabric flag
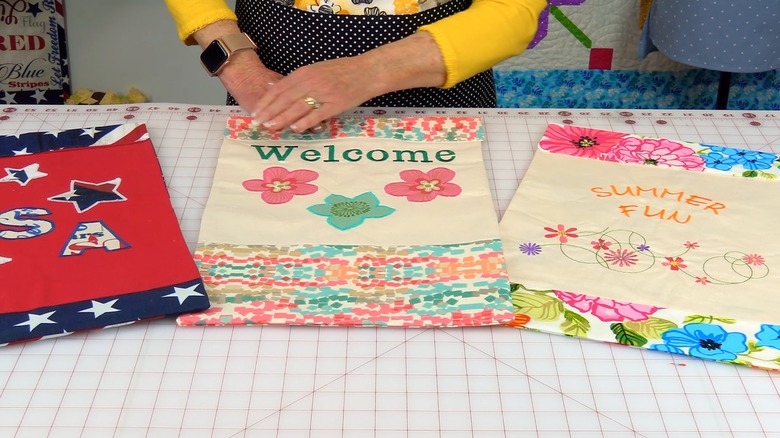
Another option to DIY your own garden sign is to use a traditional Esttop garden flag holder, but make your own flag to hang on it. Measure the length of the arm, and cut a piece of fabric of that same width. Fold the end of the fabric rectangle over to create a pocket where the rod can fit, securing it using a sewing machine or a hot glue gun. On the body of the flag, you can use fabric paint to draw and write the message of your liking.
Try your hand at mosaic art
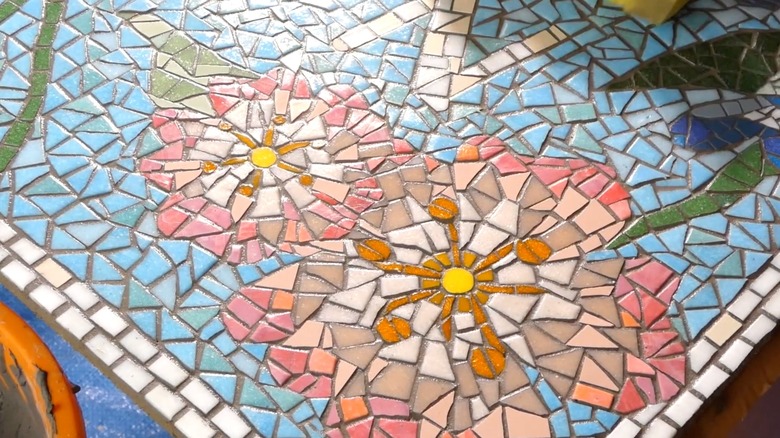
A fantastic way to make a unique garden sign is to use the wonderful art of mosaic. While this is a technique that requires a bit of practice, it looks stunning. For this, use a plank of wood as the base of your DIY, and broken or cut pieces of colored glass or ceramic tiles. Then, cover the wood base with tile adhesive and place the small pieces of glass and ceramic onto it. Keep in mind that a mosaic sign is heavy, so it will require heavy-duty hanging techniques.