Turn An Old Shoe Box Into A Clever Custom Shelf Unit
We may receive a commission on purchases made from links.
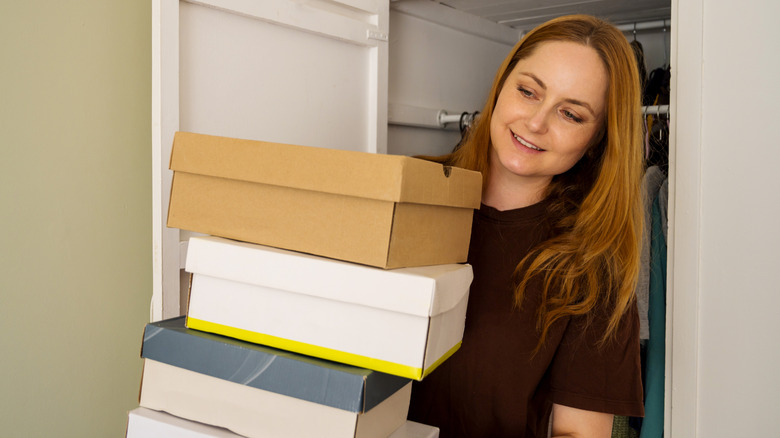
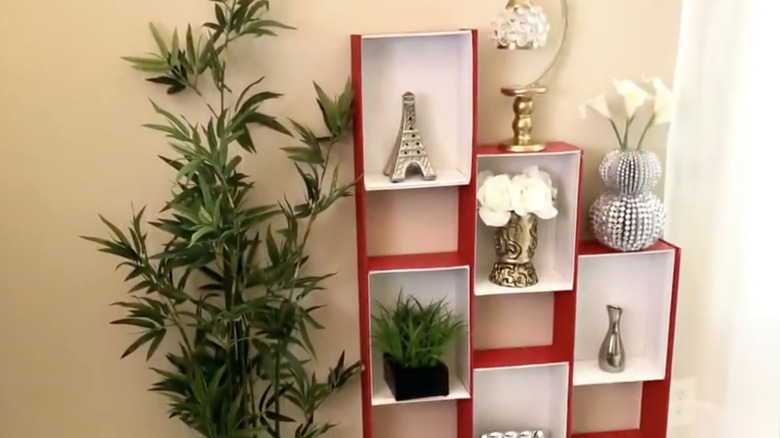
If empty shoe boxes are cluttering your closet, don't recycle them or throw them away. Instead, turn them into a clever storage solution. A genius way to use these tough cardboard containers is to build an elegant shelf, which you can use to display décor or other household essentials. You glue the boxes to long, flat boards, which will give the shelf structure. Each box forms an individual display cubby. The project should take you just a few hours to complete and the resulting shelves are pretty sturdy — as long as you don't put too much weight on them. It could, for example, be the perfect organizer for crafting essentials in your hobby room.
Collect at least seven shoe boxes and set them to one side. For the frame, you'll need a 2-foot by 4-foot piece of wood that's about ³⁄₁₆ inches thick. Cut it into two 48-inch by 4½-inch pieces, one 39-inch by 4½-inch piece, one 29½-inch by 4½-inch piece, and one 26-inch by 4½-inch piece. Do it yourself with a table saw or get it cut at the hardware store. You'll also need some foam board and white duct tape. For tools, get a pencil, an X-Acto knife, a ruler, and a hot glue gun. Finally, buy a can of acrylic indoor spray paint and a can of brush paint in the same color, and a paintbrush and foam brush. You'll need enough paint to cover most exterior surfaces of the shoe boxes and all of the wood.
How to assemble a shelving unit using old shoe boxes
Tape the edges of the shoe boxes and paint the boards with one coat. While the paint is drying (about 1 hour), measure and cut the foam board into seven pieces that fit the short side of your shoe boxes using the pencil, ruler, and X-Acto knife. Set them aside. Lay one of your 48-inch boards flat on the ground. Spread glue on the long side of a shoe box and attach it to the board, flush with one end. Glue a second box to the top of the board, then glue a third box in between them.
Attach the second 48-inch board to the other side of the boxes. Repeat the process for the 39-inch board and the 29.5-inch board, creating a stepladder-style shelving unit with three columns. Finally, lay the 26-inch board flat on the floor and glue the entire shelf to it. To finish, hot glue the pieces of foam board inside each box to strengthen the frame.
You could use this DIY shelving system to turn any closet into a dream storage space, using it to store lightweight items like socks, towels, jewelry, and personal care products. Alternatively, use it in the living room to display collectibles, books (only in the bottom cubbies), or even small houseplants in plastic pots. For some extra pizzazz or to highlight special items, illuminate some or all of the cubbies with some Tecomlight Stick-On Tap Lights. A four-pack costs just $16 and the temperature and color are adjustable.