How To Make Your IKEA Hemnes Shoe Cabinet Blend Seamlessly Into The Wall
We may receive a commission on purchases made from links.
If you've become frustrated in the past with tripping over the shoes in your entryway or struggling to fit them all into your hall closet, it's possible that you opted for the IKEA HEMNES shoe cabinet as a solution. The cabinet was designed to help collect and hide the clutter of your household's shoes in one sleek container. While the HEMNES is now no longer for sale, if you do have one of these in your home — or a similar piece that is currently available, like the GULLABERG — you may have noticed an issue. Those classic stark white, black, and brown IKEA colors can sometimes stand out too much in a space, particularly if you are someone who enjoys decorating with lots of bright shades or different patterns.
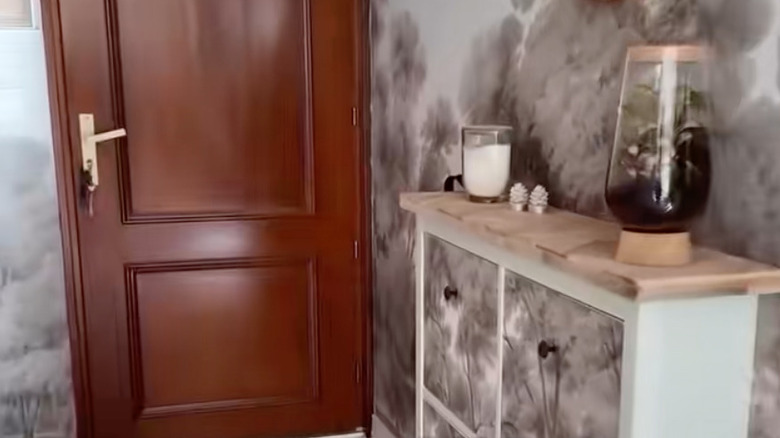
So, does this mean you need to retire your IKEA cabinet altogether in favor of another option? Not at all. There is actually a hack that can allow you to seamlessly blend your cabinet into the room itself by using an optical illusion, or "trompe l'eoil" as it is often known in art and architecture, meaning to "fool the eye." How can this be done? As shown by @alexia_s_world on TikTok, whose video was reposted for view by @ikeahacksandideas, you can transfer a section of the wallpaper from behind the cabinet onto the front of the piece, thus allowing the pattern of the wall to continue onto the furniture itself. This is a great trick for small entryways or rooms as it helps the cabinet blend into the space and feel less visually obtrusive. So, how can you try this easy and affordable IKEA hack on your own cabinet?
How to make an IKEA cabinet blend using wallpaper
To start this makeover, you may want to cut out the square of wallpaper behind the cabinet so that you can ensure the new piece you put on the cabinet is exactly the same section of the pattern. This will allow you to seamlessly blend the cabinet into the wall. To cut the wallpaper behind your cabinet without causing tears, use a sharp utility knife — like this OLFA Multi-Purpose Metal Handle Utility Knife — and an object with a flat edge to run alongside the knife as you cut. Once you have that piece removed, you can prepare the panels that will go onto the drawers of your IKEA cabinet, making sure the new pieces are the same part of the pattern as the section you just took off.
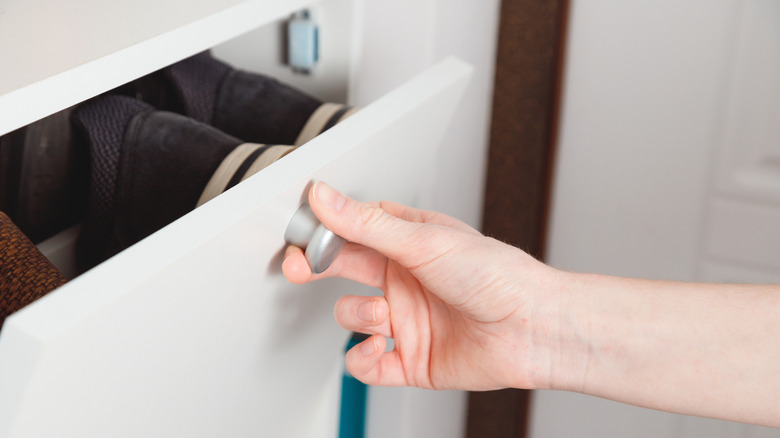
Then, simply remove the handles, take out the drawers, wipe them down to get rid of any grime, and apply the wallpaper. If you have a peel-and-stick wallpaper, this is as simple as taking off the backing and laying the paper over the drawer, making sure to smooth out any bumps or bubbles. Other kinds of wallpaper may require you to apply an adhesive to the surface or wet the paper to activate the bonding agent within the paper. Finally, reattach your drawer handles, or choose a different type of cabinet hardware to better suit the new surface of your cabinet. To really sell the blended look, you can also paint the sides of the cabinet or overlay a new wood or laminate top to truly immerse the piece in the room's decor.