How To Use Leftover Scrap Flooring To Keep Your Space Organized
We may receive a commission on purchases made from links.
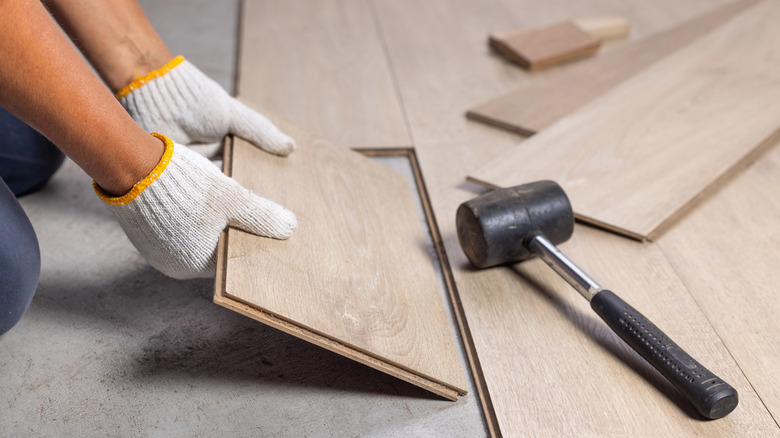
Hardwood floors come in various styles and compositions. Some affordable types of hardwood look more expensive than they are, while most premium-looking ones do come with hefty price tags. Regardless of pricing, it would be a complete waste to leave excess materials unused. With the right set of tools, you can turn these leftover scraps into organizing trays, which are useful for the bedside table and quite handy as TV trays. Creating a tray out of wood flooring scraps is not only resourceful, but it is also smart. Long-lasting hardwood floors are designed to be extremely durable, resisting decay and rot for a long time. Imagine having the same qualities for your trays?
If you have scrap wood flooring lying around the house, you should consider making trays out of it for your next DIY project. But before jumping into it, be sure to identify what type of wood your flooring material is made of first, so you will know which tools to use. A miter saw is the best option for crosscutting hardwood, engineered wood, and laminate flooring. But for other types and more intricate cuts, you will need a jigsaw for wood and a specialized cutter for laminate. As for engineered flooring, you will need carbide-tipped blades to handle its multiple layers. Other things you'll need for the project include a drill, wood glue, a brad nailer, nails, handles, and wood stain.
DIY an organizer tray with scrap wood flooring
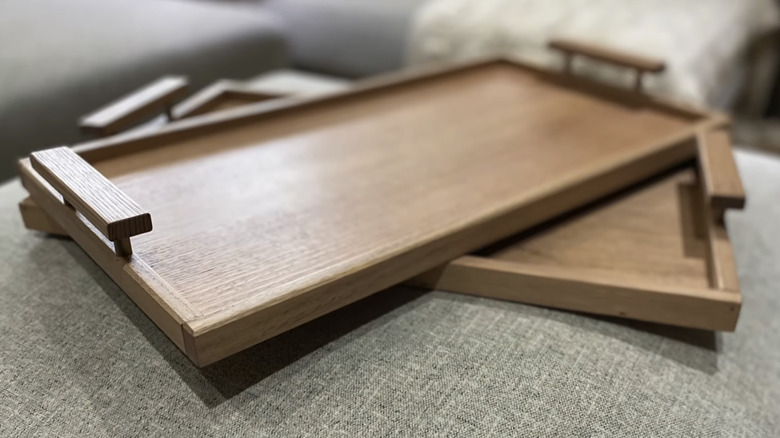
To DIY your own tray or organizer, start by making the base. It's up to you if you want a square or rectangular foundation, or even a circular one. If you are a beginner DIYer, though, it's best to stick to either a square or a rectangle. Using a miter saw, cut three hardwood flooring panels to the same length. Remove the tongues and grooves (if there are any) and start gluing the panels to a hardboard. Cut 1x3 wood boards to the exact length of the tray's sides and attach them, respectively, to form the rim or edge. Use a combination of wood glue and nails to do so. The rim will add depth to the tray and make it easier to attach handles for carrying.
Stain your assembled tray to enhance color and graining. One highly recommended stain for hardwood materials is the Varathane Premium Fast Dry Wood Stain in Dark Walnut, available for $10.49 for the half-pint can on Amazon. Once dry, attach handles to either side of the tray using a drill and screws. Consider this OVOV 2-Pack Copper Hardware if you want stylish handles that go well with farmhouse-style and minimalist spaces. Once completed, you can use it as an accessory when decorating your home on a budget. Top it with decorative items like souvenirs, keepsakes, ornaments, books, or tiny plants, and place the tray in the kitchen, living room, or bathroom. Or, you can also practically use it to store toiletries, towels, and other useful items around the house.