You'd Never Guess This Storage Basket Is Made From An Old Shoe Box

If you're a shoe lover, chances are you have dozens of shoe boxes in your home. What is there to do with all of them? Throwing them out will add to landfill waste. Sure, you can recycle them, but you can also turn shoe boxes into storage solutions for your knick-knacks, decorations, and possessions. Maybe you have dozens of watches you'd like to organize, or you'd love to put your old photos together in one spot. You can easily turn an old shoe box into a decorative storage basket to better organize your goods.
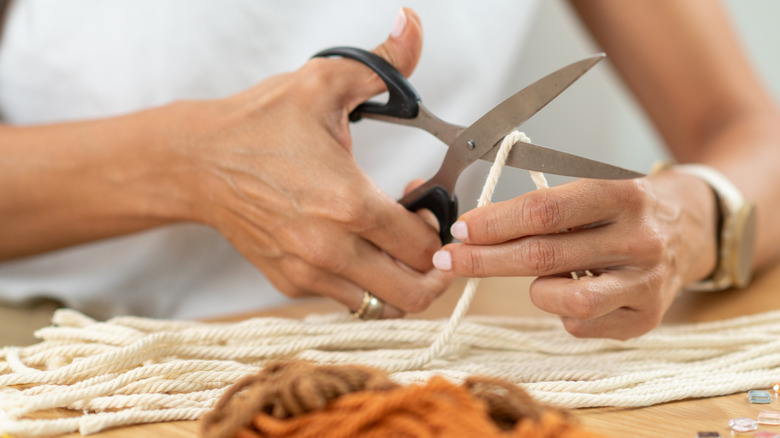
Start by finding plenty of jute rope. This craft has you wrap the rope around the box to create an interweaving pattern. You'll also need scrap cardboard, short wooden dowel rods, burlap, and decorative fabric. Dowel rods are available at most home improvement stores, or you can skip the store and DIY your own wood dowels. For tools, keep a box cutter and a hot glue gun with glue sticks nearby. For finishing touches, source decorative lace, fringe, or ribbons to line the seams with. All in all, this project shouldn't break the bank. Source cheap materials at the store, or use whatever you have on hand to make your custom storage basket.
How to assemble your shoe box basket
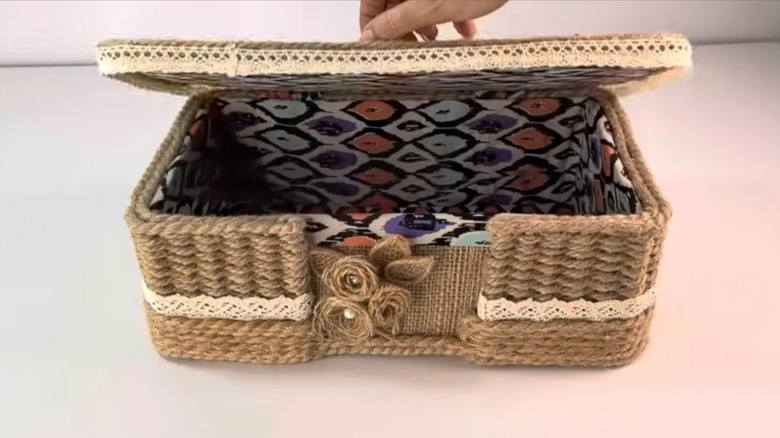
The first step is to remove the lid from the shoe box (do this gently, as you'll need to reattach it later). Next, hot glue scrap cardboard pieces to the bottom and sides of the box to cover any holes and add reinforcement. On the front of the box, glue a rectangular piece of burlap so it's centered. Then, take your decorative fabric and hot glue it to the top outer seam and the inside of the box. To add dimension, glue thin rectangular pieces of cardboard on the outside panels, covering the bottom fourth of the shoe box. Leave a square gap in the middle of the front where you glued the burlap for decoration.
Before putting the dowel rods down, cut them into small pieces so they fit the height of the shoe box. Place them 1 to 2 centimeters apart on the bottom cardboard pieces, ensuring they go all the way around the box. Once they're secure, it's time for the fun part! Wrap the nautical rope around the rods, weaving it under and over each piece. Don't forget to glue the rope down along the way to ensure it stays attached. On the bottom, glue rope or ribbon to cover the seam. You'll then wrap more rope around the bottom to cover the lower parts of the rods, using glue to stick it down. Now, add the lid. Wrap it in fabric, and glue it to the basket with hinges made from small strips of fabric.
Add decoration to make the storage basket your own
Your storage basket is almost complete! You can decorate the blank rectangular piece of burlap that's not covered in dowels with flowers made of fabric or more burlap. To make burlap flowers, you'll need another rectangular piece of burlap and a wooden dowel. Fold the burlap in half, then stick the dowel through the seams. Bunch up the burlap, glue it together on the seams, then remove it from the dowel. Wrap it up to create a dense arrangement of burlap fibers, and cut the bottom of the flower. Then, gently open it with your fingers to reveal the petals. You can glue a small craft gem, pearl, pom pom, or button to the middle as a finishing touch.
Trim your storage box with lace, fabric, or more rope. Ensure no bare cardboard remains so that it's hard to tell your storage basket used to be a shoe box! With a functional lid and lots of storage space, this craft is perfect for decluttering any room in your home. You can also make the project simpler by leaving the lid off entirely. Create a bunch to line a shelf with, or use one as a focal point in your living room.