The Bird House You Can DIY From Scrap Cardboard
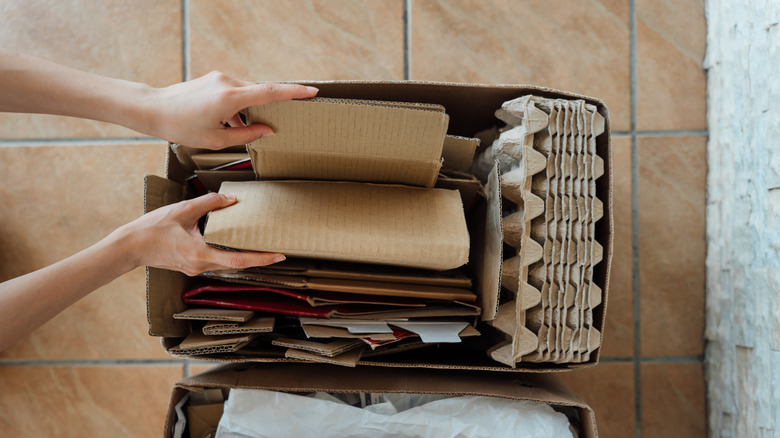
With tens of millions of packages being delivered each day in the United States, it's no surprise that many people have full recycling bins or growing cardboard scrap collections. On the plus side, there are tons of creative ways to reuse cardboard, including by making a bird house. Cardboard bird houses can be used as indoor decor or, if reinforced to survive the elements a bit better, placed outside. This particular bird house has a classic shape that can be any size you choose. It can also be made entirely of cardboard, making it one of the charming DIY bird houses that you can build right now. However, you may want to add some other materials for a different look or better functionality.
The most important material for this DIY project is the cardboard. If you inspect your cardboard collection closely, you might see some differences in the pieces. This is because there are multiple types of cardboard designed for various uses. Corrugated fiberboard is the most common type, and it is quite strong and often used for shipping. It usually consists of two sheets with a wavy layer between them. It can also have multiple layers of fluted material. Corrugated cardboard's durability and strength make it ideal for your bird house project.
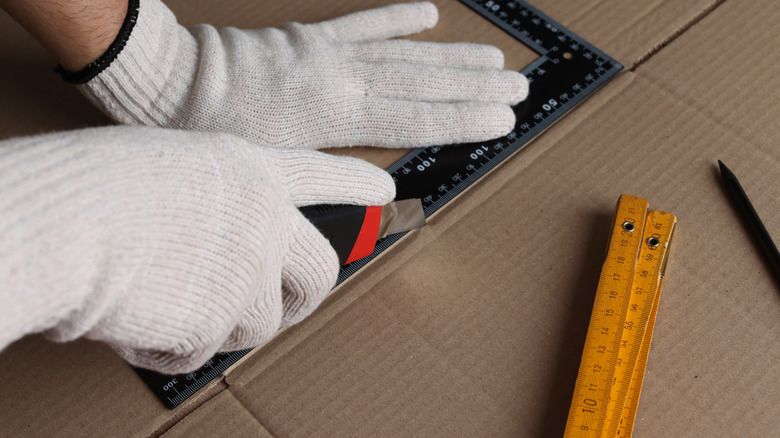
Along with the cardboard, you will need a utility knife, a ruler, a pencil, scissors, and some glue that is safe for birdhouses and works on cardboard, such as Titebond wood glue. If you want to weatherproof your cardboard bird house, you'll need a polyurethane sealant coat, and you may also want some non-toxic materials to use for decorating.
How to build your cardboard bird house
Once you have narrowed down your cardboard scraps by type, look for large pieces. The easiest way to make a bird house involves cutting a single large piece, but you can glue together smaller pieces if needed. Bird houses also have size requirements that change based on the type of bird you want to house. Floor sizes typically range from 4 inches by 4 inches to 6 inches by 6 inches, though some species require more space. Entry holes should be at least 6 inches above the floor, though sometimes more, and the hole typically needs to be between 1 and 2 inches. Check for your birds' requirements before sketching out your shape.
In the center of a large piece of cardboard, draw a square with your desired floor size dimensions. Then sketch out the walls from where they will connect to the floor, extending the lines away from the floor square to your desired height. The result should look like a three-dimensional "+" sign. On two opposite ends of the "+", add a triangle that will support the roof. Be sure to consider what you want the slope of your roof to be.
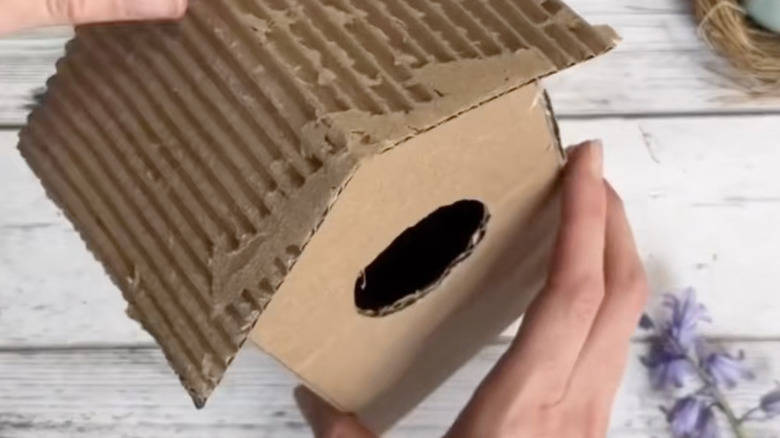
Cut out the "+" shape, and use the utility knife to score along the sides of the square. Also, measure and cut out a hole for the entry point and a smaller hole beneath it to add a perch. Next, cut out a rectangle for the roof. Score a line to divide the rectangle in half widthwise.
Finishing and maintaining your bird house
With all of your pieces cut, fold the arms of the "+" up to form the walls and floor, and secure them with glue. Then, fold the rectangle along its score and glue it in place. Hold the walls and roof in place while the glue dries, and allow it to cure completely before proceeding. Finish the house by rolling a strip of thinner cardboard tightly and wedging it into place to become the perch.
From here you can decorate as you please. You might paint and use some stunning colors on your bird house to attract more flying friends or create some embellishments out of cardboard to glue to the exterior for added detail. Just make sure all materials you use are safe for birds. When you are finished decorating, you can seal the bird house if you want to use it outdoors. To do this, spray or brush on light coats of a polyurethane sealer. Be sure to let the sealer cure completely before allowing birds to use the house. Water-based polyurethane typically has less odor than oil-based polyurethane and dries faster. It requires two to four hours between coats for drying, a couple of days before it can be gently used, and over 21 days to fully cure.
Finally, you can hang your bird house outside. The durability of the house will depend on weather conditions, but it can last at least a month and longer if sealed. Check out the best place to put your bird house to attract more colorful friends so you can get the best results.