How To Give Your Struggling Nursery Clearance Plant A Breath Of New Life
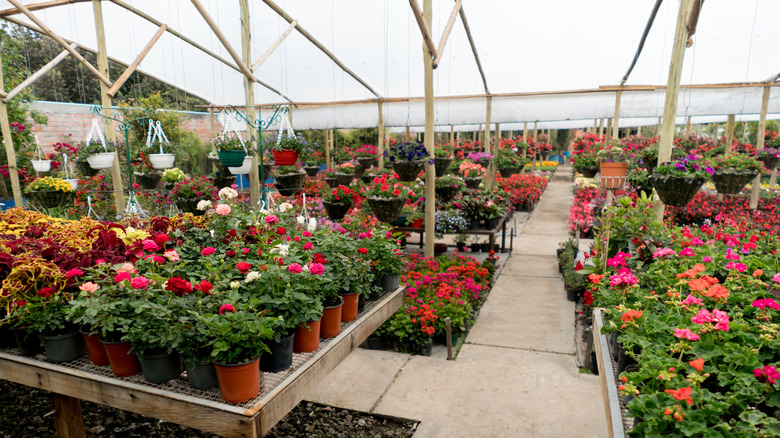
Why buy a few plants when you can purchase many more on clearance? Cheap plants are a budget-friendly way to elevate your outdoor area. As plants grow too big for their pots or decline in health, nurseries will put them on clearance to sell them quickly. Sometimes, a nursery may simply have too many of the same plant, and they want to get rid of the surplus. Whatever the reasoning may be, it's important to inspect these nursery clearance plants to ensure they take off with fresh growth in your garden. A trim, a clean-up job, and good soil, among other things, will ensure your plant grows well for the rest of the year.
The time of year and the type of plant you purchase will help you determine the best care. Trees, for example, need different treatment than herbaceous perennials, and winter care differs from summer care. Generally, you'll want to watch for pests and diseases, inspect for poor growth, and look to replace poor soil. You'll prepare the plant for the upcoming cold months in fall and winter, and you'll set the plant up to thrive in warm weather during the spring or summer.
Refresh a struggling clearance plant with simple care and maintenance
The fresh breath of new life starts the moment you take the plant from the nursery. Its time of suffering is over! Now, it's important to keep the plant separate from your other plants to prevent outbreaks of pests and diseases. Once you take that plant out of the car, move it to an isolated spot in the yard, like a driveway or empty garden bed. It'll stay there, in quarantine, for two or more weeks. Start the refreshing process by hosing off the entirety of the specimen with a hose and by watering the soil. This will knock dust, dirt, and bugs off the leaves so you can further inspect the roots and shoots. Take care when using the hose, as you don't want the stream to be so strong that it damages the foliage or stems.
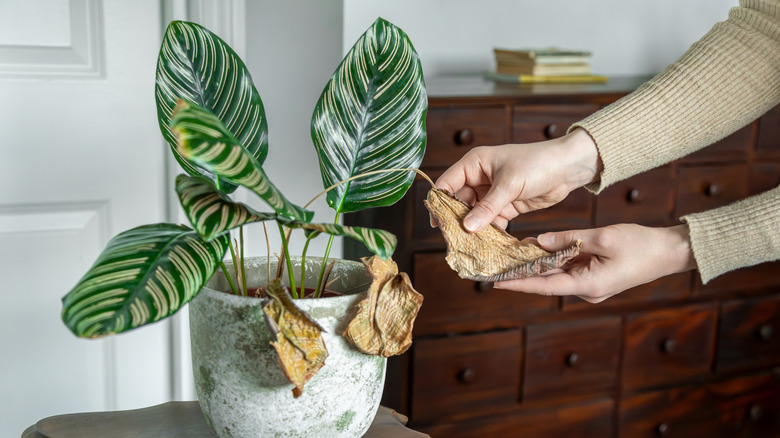
After the water dries, take a close look at the leaves, stems, and flowers, if there are any. Look for bugs like aphids, spider mites, scale, whitefly, and thrips. Some pests are tiny, but you'll be able to notice the stippling marks they make when they feed. Remain on the lookout for signs of disease, such as fungal bodies, leaf spots, and cankers. This is especially important when purchasing saplings, since you don't want to introduce a pathogen to your other trees. If diseases or pests are rampant, it may be best to leave it at the nursery in the first place. For small outbreaks, trim the afflicted foliage and squish harmful pests. Then, apply neem oil, horticultural soap, or horticultural oil to prevent future infections and infestations. Continue monitoring the parts for two weeks to see if any pesky critters or diseases show up again.
Set your clearance plant up for success

After two weeks of quarantine, it's time to move the potted specimen to its final location. Whether you're buying a fast-growing African mask plant for large spaces or a plum sapling for outside, your clearance plant will grow well for the rest of the year when it sits in the right spot and receives the care it needs. Look to its tag for information on watering and sunlight, and ensure you give the specimen full sun, partial shade, or full shade, depending on what it prefers.
You may want to move the plant from its original pot directly into your garden or perhaps transplant it into a larger pot. Whatever you do, never leave the plant in its existing pot, as the roots may circle and grow rootbound. Instead, remove it and free the roots from the old soil. The dirt is likely to be a nutrient-poor mix from the nursery, and it's better to give the roots fresh, rich soil. Loosen the roots without breaking them, then set the soilless specimen aside while you prepare its new home. If you don't want to throw that dirt out, try one of nine brilliant ways to reuse old potting soil.
When planting, choose a soil mix that matches what the roots need, such as a sandy, gritty mix for cacti or a nutrient-dense one for hungry perennials. Set the specimen inside the planting hole, cover its roots with soil, and water it well. And that's all there is to it! You saved money on buying a new plant, and now you saved a plant, too. Give yourself a pat on the back, and try the process again with any clearance plants at your local nursery.