Turn Scrap Concrete Blocks And Wood Into A Simple Shoe Rack
We may receive a commission on purchases made from links.
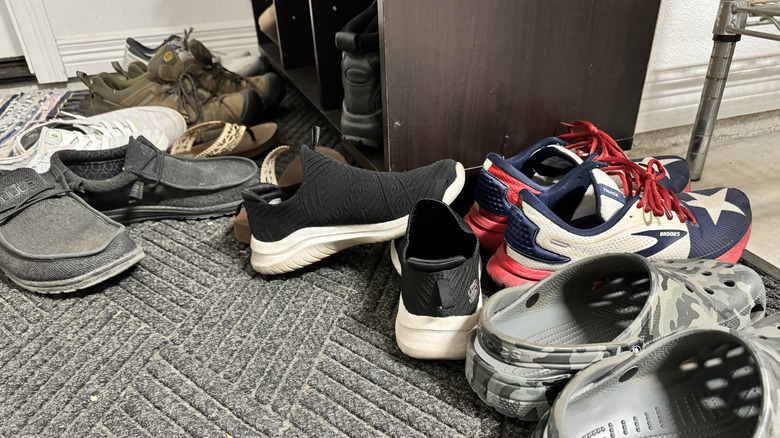
A cluttered entryway can cause a lot of unnecessary stress in your life, especially if shoes collect at the foot of the stairs. Shoes aren't just unsightly; you also risk tripping on them. But you can try a clever storage solution to say goodbye to the eyesore of shoe clutter. You don't even need to order a shoe rack online or purchase one at the store. With cinder blocks and lumber, you can build one yourself in less than an hour. This is an excellent way to repurpose cinder blocks or lumber you have lying around your garage.
If you don't already have these materials, you can find them at your local hardware store. This shelf can be either two or three tiers. Since this project doesn't involve using screws or nails to secure its components together, you probably shouldn't go any higher; otherwise, the shelf could become unstable or tip easily. For your supports, use basic rectangular pavers to elevate the bottom shelf. Then, you'll need concrete cinder blocks (or more pavers to stack), and a hammer and chisel if you want to break the blocks in half for smaller supports. Next you'll need your boards. A 1-inch by 12-inch by 8-foot board is ideal — buy one new, or, use leftover boards you already have on hand to make the project budget-friendly.
You may need to cut these boards to the desired length, so you'll need a measuring tape, a pencil, and either a table saw or a circular saw. Or, check with the home improvement store — many will cut new boards for you. To give this project more of an interesting look, use a product like Furniture Clinic wood stain to customize the color of the wood.
How to assemble your shoe rack using cinder blocks and lumber
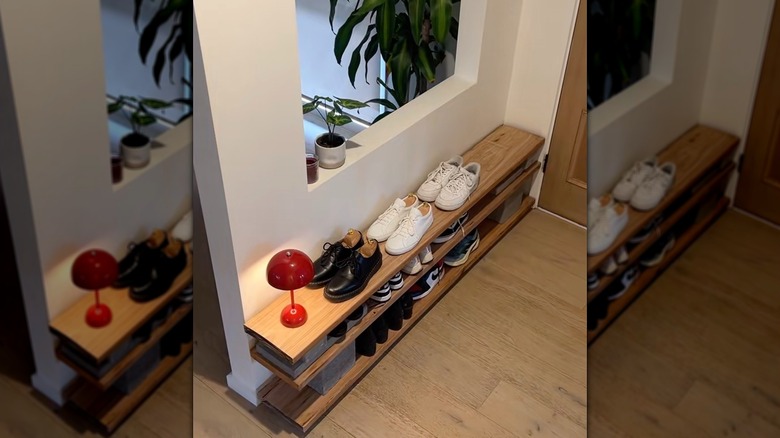
Assembling the shoe rack is a lot more enjoyable, because it allows you to practice some simple carpentry. First, determine the length of your shoe rack. The length of the shelves and the number of tiers should be determined by the number of shoes you need to store and the available space. For this example, the shelf will be 4-feet wide and two tiers tall. Measure one of your boards to 4 feet, mark it, and cut it. Repeat for the second shelf. Stain each board and let them dry.
To assemble the shelf, place pavers on the floor, and put the first board across them. Then, place a cinder block at each end and lay the second board across them. You can also stack a few pavers instead to get the ideal height between shelves. If you want to split the concrete blocks to make them smaller, mark the midway point on your concrete block, place your chisel on that mark, and hit with your hammer until the block splits. The way you configure and stack the shoe rack is flexible — just make sure it's stable.
You should place this shelf wherever you enter your home. Just make sure it's not in your way or blocking the door swing. It's best to place it along a wall for a little extra support. You can add to the aesthetic by placing a plant on the top shelf. If this project doesn't appeal to you, there are plenty of other options, including building a multifunctional shoe rack or maximizing your shoe storage with a DIY rolling shelving unit for your closet made from a plastic basket.