A Simple DIY That'll Give Your Bi-Folding Closet Door A Modern Upgrade
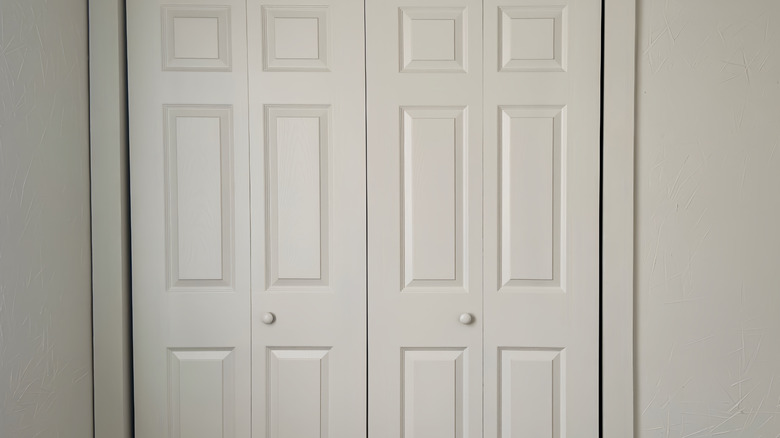
Nothing says dated and cookie-cutter like those plain white bifold doors that you often find in newer suburban builds. While these folding closet doors scream builder-grade, they can be quite functional in small spaces. But let's face it. Just because they might save space compared to other solutions, there's no reason they should be an eyesore in your bedroom design. Thankfully, there are plenty of creative ideas to give basic bifold closet doors new life, and one involves completely refacing the panels. By using hardboard, you can cover up any ugly raised paneling and give your closet doors a much-needed facelift. While you could also use MDF to reface your panels, hardboard is the better choice because it is often sold in thin, lightweight sheets and is sturdier and more durable than other boards.
So, if you don't want to settle for basic, you can transform a boring door to better align with your aesthetic. This DIY project is fairly customizable, as you can choose whatever trim style or paint color best suits your space. Since you are refacing the individual bifold panels, you have a blank slate to create the design you prefer. Another benefit is that this project can be quite affordable, costing under $100. While this DIY can be great for some bifold doors, it may not be ideal for every situation, as the added depth of the panels could interrupt the sliding and folding mechanism.
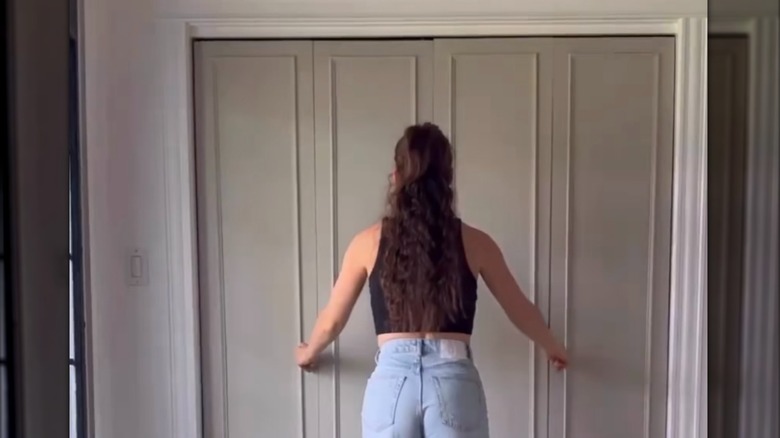
Transform your bifold closet doors by refacing their facade
If your closet doors already have raised paneling, measure and cut hardboard to the same size as each fold in the bifold door, and use an adhesive glue like No More Nails to attach the material and give your basic closet doors a snazzy upgrade. If your current bifold doors already have a flat surface, you can skip this step. Once set, add your primer and first coat of paint. Some folks might prefer to paint after the trim is added, but it's up to personal preference. Next, grab some miter shears like this one from Marshalltown at Lowe's, wood trim, and a nail gun. Your trim can be whatever thickness and design best suit your needs, though a simple beveled trim with a width of 11/16 inch would work for this DIY.
Leave a two-inch gap between the top, bottom, and sides of your doors as you attach your trim pieces, cutting the corners at a forty-five-degree angle with the miter shears. Once attached, caulk or use wood filler to hide any gaps around the trim. Then, add your final coat of paint. Lastly, add your hardware. Keeping hardware minimal will help to give the doors a modern feel. If you want a little more decoration, you could consider adding appliqués or onlays alongside trim pieces for a more custom look. Or get trendy with bobbin trim instead of a classic beveled alternative.