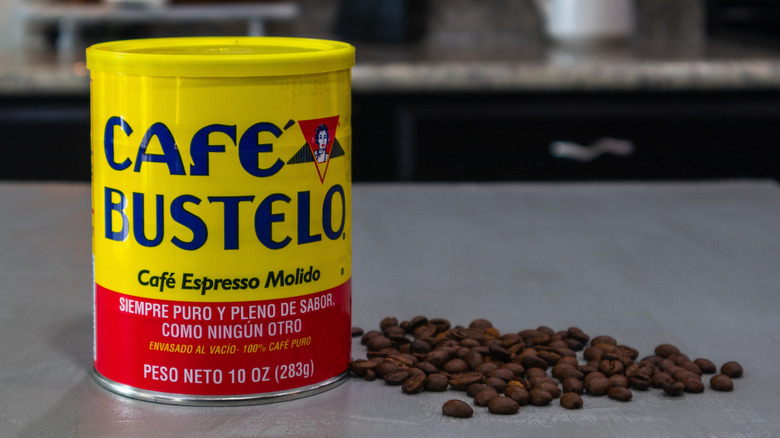
Save Old Coffee Cans To DIY Decorative Faux Pottery Vases
Many shoppers have scrolled through Pottery Barn and West Elm websites, looking for those perfectly imperfect-looking indoor pots and vases. They look stunning on a credenza, shelf, or windowsill. But if you're like most people, a quick look at the price tag is enough to move on with your day. That does not mean achieving the look is out of reach. With an old coffee can and a bit of tile adhesive, you can make your very own luxury-looking vase.
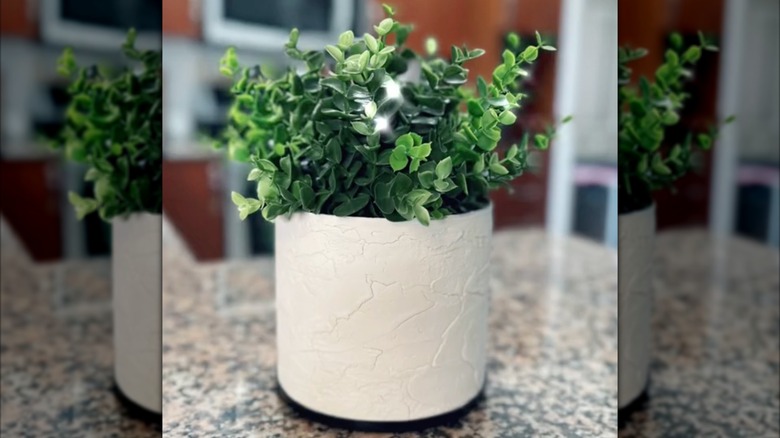
The idea for this hack is to take an old coffee can, remove the label from it, and cover it with tile adhesive. This creates an organic white pottery look that appears high-end. Top it off with a bit of greenery, and you're done. It's a fantastic way to repurpose empty coffee containers instead of tossing them out, especially since they're not always recyclable.
To make your own pottery vase, you'll need a few things. Start with clean, empty coffee containers. Then, you'll also need a bit of tile adhesive. You can use leftovers from a renovation project, but it's important to choose the correct tile adhesive. For this project, we're not talking about grout, but the actual material that goes underneath the tiles to hold them together. Choose an adhesive that's white to give the vase that creamy argile look, like this Ceramic Tile Mastic available on Amazon. When in doubt, don't hesitate to visit your local hardware store and ask for advice on what to use. In addition, you'll need a spatula or trowel to apply the adhesive to the can. For added texture, use a notched trowel to create ridges or organic patterns in the adhesive.
How to DIY a pottery vase using coffee cans
To begin, start by removing the paper that's wrapped around the coffee container. While these cans are sturdy, they're partially made of cardboard, so don't use any water to clean them. This includes canisters with metal bottoms and metal-lined cardboard cylinders. When the container is clean, time to decorate! Wear protective gloves when handling tile adhesive to avoid skin irritation.
@luckyatoms Another great way to reduce some waste and get a little creative. Forgot to mention you could paint and seal your can after sanding. #repurpose #reuse #recycle #upcycling #upcycle #coffee #coffeecan #diy #diytiktok #diycraft #tileadhesive #diyproject #pottery
Use a spatula to apply a generous amount of tile adhesive to one area of the can. Then, use a trowel or spatula edge to spread the adhesive, working your way around it. While doing this, use your imagination to create organic shapes, textures, and patterns. No two vases will look alike, and that's the beauty of it. When you're satisfied with the results, leave the DIY vase to dry completely, up to 48 hours.
Afterwards, use some sanding paper to work your way around the vase and even out some areas. You can sand more if you'd like less texture, or leave the material rough. To finish it up, apply a layer of white paint to the top edge. Since the container is not waterproof, this project works best with artificial plants. You could use it with certain houseplants that barely need water if you keep them in a pot, but even then, you'll want to remove the plant pot from your DIY vase when you water and let it dry before putting it back. The finished piece can also be used to store pens, makeup brushes, chargers, or other small items.