Jump On The Goose Decor Trend With A Thrift Store Upcycle Idea
We may receive a commission on purchases made from links.
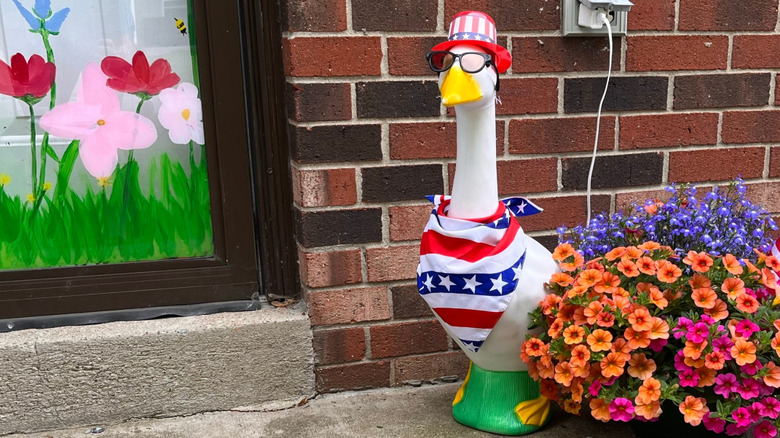
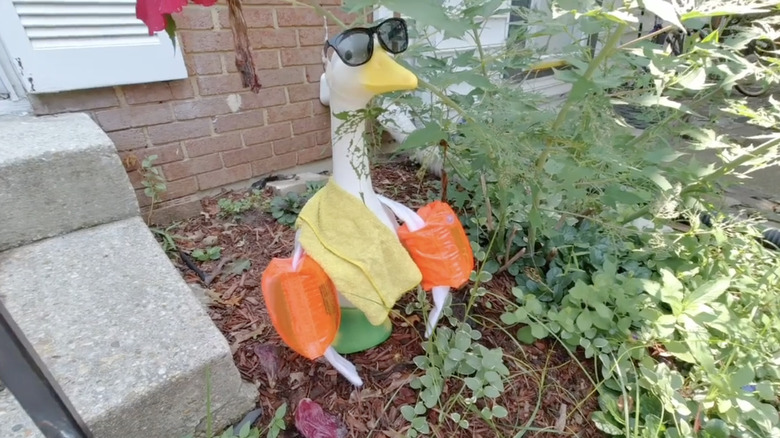
If you grew up in the Midwest, you probably knew at least one house that had a strange goose lawn ornament on its porch with a fun change each season and holiday. Now, this adorable old-school porch decor trend is making the cutest return. The porch goose first gained popularity in the 1980s, when they were typically made of cement to hold up through all of the seasons. However, a porch goose is more than just a sculpture. The special whimsy of them comes from dressing them up, and to make the outfits even better, you can add DIY pliable wings to your goose with some thrift store children's costume wings.
There are tons of valuable thrift store items you shouldn't overlook for your garden, but your search may not always bring you to the children's section. However, you may find a set of fairy, bug, or other wings that are the perfect size for your goose. By reshaping them and wrapping them in a fabric that matches your goose, they can make perfect wings that allow you to pose and dress your goose with more flair and attitude.
For this DIY, you'll need a pair of wings sized for children, scissors, wire cutters, fabric tape, stuffing, and if your porch goose is white, a pair of plain white socks or fabric scraps. You may also want fabric paint or dye if your goose is not white. With your materials ready, you should be able to complete the project in minutes, depending on whether or not you need to color your fabric.
How to give your porch goose wings
To transform your fairy wings into goose ones, start by cutting through the fabric and wire at the center point of the wing set to remove the smaller bottom wings, if your set has them. Then, wrap fabric tape around the center to make the area secure again. Be sure not to catch the elastic loops in the fabric tape, as you will need them to hold the wings in place on the goose. Use the attached wire to mold the wings into a shape that will complement your goose.
When you have a decent shape, you can slide a sock over each wing so that the toe is at the end of the wing and the ankle is at the center. Alternatively, if you're handy with a thread and needle, create a fabric sleeve based on the wing size, and slide it into place. Then, you can push a bit of stuffing down the sock or fabric toward the end of the wing to give it some extra fluff. Secure the socks or fabric with more fabric tape, and enjoy styling your new wings, whether you go for fun and whimsical looks or lean into seasonal changes. For a little maximalist flair, try adding some white feathers like these Soarer craft feathers, using hot glue. Want to make sure your goose is seen at night? Add an indoor/outdoor spotlight like the Lemonbest LED light so she'll shine at all hours. Just make sure to bring your goose inside if it rains or storms to make your DIY wings last many years.