Don't Let Your Old Books Collect Dust, Use Them For This DIY Decor Idea
We may receive a commission on purchases made from links.
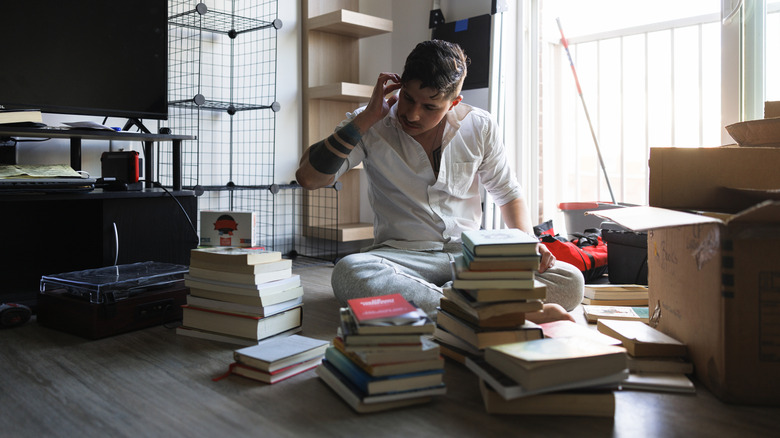
Calling all book lovers: do you have piles of old books collecting dust on your shelves? Sorry, silly question — of course you do. Instead of letting them take up space on your precious to-be-read shelf, take a page from a clever TikToker: repurpose the books you probably aren't reading anymore into cute, bookish decor by simply framing your favorite pages.
Not only is this DIY easy (done in just a few hours), affordable (you already have the books), and fun, but it also celebrates what we love most about books: the story. By framing the pages that mean most to you, you can relive that plot twist, confession of love, or the big reveal over and over, all while creating space on your shelf for more books. And around here, we call that a win-win.
The secret to this DIY decor is finding the right frame. Books generally come in standard sizes, with trade paperbacks and religious texts measuring either 5½ inches by 8½ inches or 6 by 9 inches. Kids' books are typically a little larger, ranging from 6 by 6 inches to 8 by 10 inches. Measuring your book before buying the frame helps ensure you get the perfect fit. Reusing thrift store frames is a great choice for this DIY as they're typically cheaper and can add some personality to your space. Just make sure they feel sturdy and don't have any obvious damage, like major cracks in the frame or glass, or splintered edges.
Frame pages from old books for a unique decor DIY
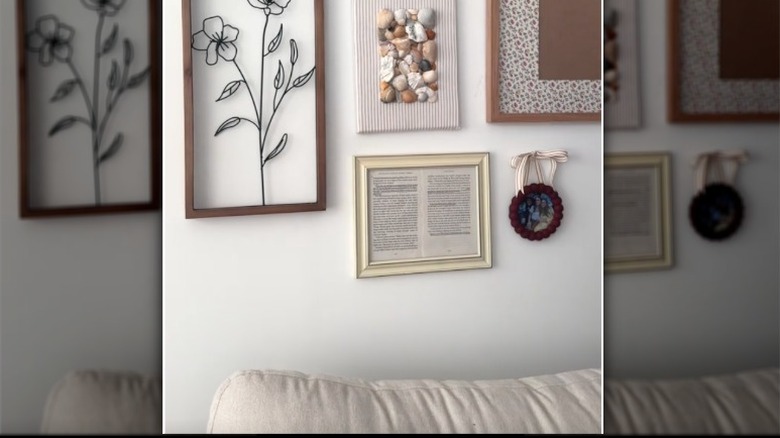
To decorate your home using repurposed books, start by finding the page (or pages) you want to use in your decor. If there is a special passage you want to highlight, grab your favorite annotation supplies: a pen, highlighter, or marker, then remove the page from the book. For a rustic look, gently tear the bag from the binding from top to bottom. Or, for a crisp look, press the book open flat and, holding the pages down, use a hobby knife like Fiskers Detail Craft Knife along the very inside edge of the page to get a clean cut. Position the page or pages in your frame, slide the backing into place, then look at the front of the frame to make sure it looks the way you want.
Finally, it's time to hang. A good rule of thumb is that if the frame feels heavy when you hold it, it likely needs to be nailed into the stud. If it feels light, you can use hanging nails or Command Picture Hanging Strips on drywall.
There are so many ways to personalize this DIY. For example, if you love multiple passages from a book, cut them out and position them on cardstock before framing. Or for a soft wash of color, use watercolors to annotate lines or add a hint of color to the entire page. Make sure to adhere the book pages to watercolor paper with an acrylic binder, like Pebeo Bindex Acrylic Binder, then add two coats of watercolor ground, drying in between, before applying color.