Turn An Old Picture Frame Into The Perfect Storage Solution For Your Hair Clips
We may receive a commission on purchases made from links.
Hair accessories can be difficult to organize. In even the neatest of bathrooms, it's not surprising to see a pile of claw and bow clips threatening to spill over the shelves and onto the floor. Fortunately, you don't have to stuff them into the dark corners of your drawers, where they will, in all likelihood, be forgotten. You can make a storage solution for your hair clips that adds a personal touch to your bathroom or bedroom decor by simply using an old picture frame.
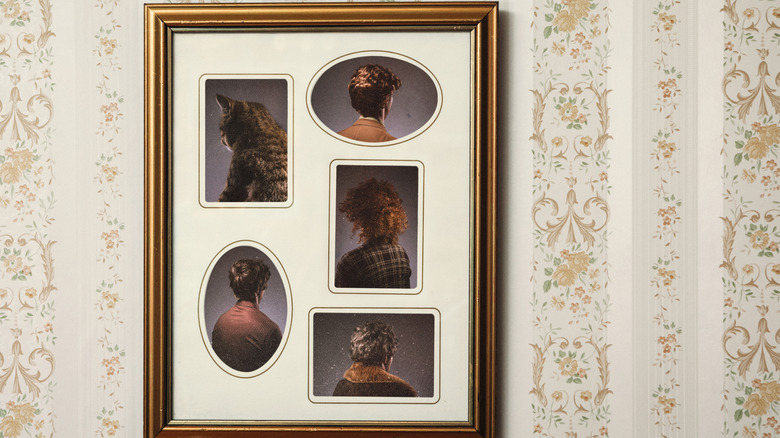
You're probably wondering how on earth a picture frame can turn into a storage device. But believe us when we say that this is one of the best TikTok storage hacks you'll want to try in your home. We got inspiration from @lanoraviruss's TikTok, where she upcycled an old picture frame into a fancy storage solution for her claw clips and scrunchies. This DIY frames your cute hair accessories as the work of art that they really are, making it one of the most creative ways to repurpose old picture frames instead of throwing them away. Unlike bins, a picture frame hair clip organizer also keeps your hair accessories tidy and easily accessible. For this project, all you need is an old picture frame, a half a dozen wood dowels, sand paper, wood filler, a measuring tape or ruler, a pencil, and some spray paint.
Gather your supplies and prep them for this hair clip storage DIY project
To begin, take out that old picture frame in storage. Don't have any? Getting a Dollar Tree picture frame for this home storage hack will only cost you $1.25. The perfect size of the frame depends on the quantity of hair clips you have, but a medium 11-by-14-inch frame is a good size for this project. Now measure the dimensions of your frame so you know the size of dowels you need. The diameter of your frame's inner walls will determine the length of your dowels. If you purchase the dowels from your local hardware store, you might be able to get the pieces cut to the perfect size there (just call ahead and ask). You can also order them online, like these Hapy Shop Wooden Dowel Rods, then cut them to size yourself with a saw.
Now that you have your main materials for this DIY on hand, begin prepping your frame. Turn it over and take out the mounting board, the glass, and the pins holding them in place, if any. If you like your frame as it is, you can skip the next step. But if your frame has any chips or deep scratches you aren't satisfied with simply leaving alone or painting over, use wood filler to cover the damage. Let it dry, then use sandpaper to smooth the filled spots. After that, wipe all the dust away. You're now ready to put together your DIY picture frame hair clip storage.
Creating your DIY fancy picture frame hair clip storage solution
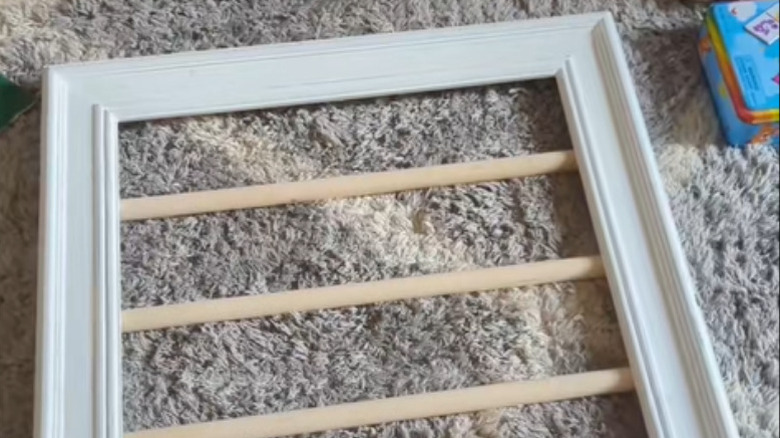
Use your ruler and pencil to mark spots at the back of the frame where you intend to place your dowels. Be careful to space them out to fit your clips on each row. If you have varied sizes of hair accessories, you'll need to position a few dowels close together for your little clips, then give the dowels that will hold your larger claw clips or bows more space.
Next, slot in your dowels. Following them markings you made, press the ends of the dowels down on the groove on the back of the frame that held the glass and mounting board. If the fit isn't snug enough for them to stay there on their own, you'll need to glue them in place. And voila! A creative storage solution for your hair clips and bedroom decor in one go is practically ready. For some final touches, you can paint it. Lay the frame over some old newspapers and spray on the color of your choice. Make sure the color coating is smooth, then leave it to dry. Last, you can screw two dowels into the bottom of the frame to hang your headbands on. If you'd rather keep your DIY project tool-free, add a few adhesive decorative hooks at the bottom of the frame instead to hang your scrunchies and hair ties.