Transform Your Entryway With This Eye-Catching Ceiling Upgrade
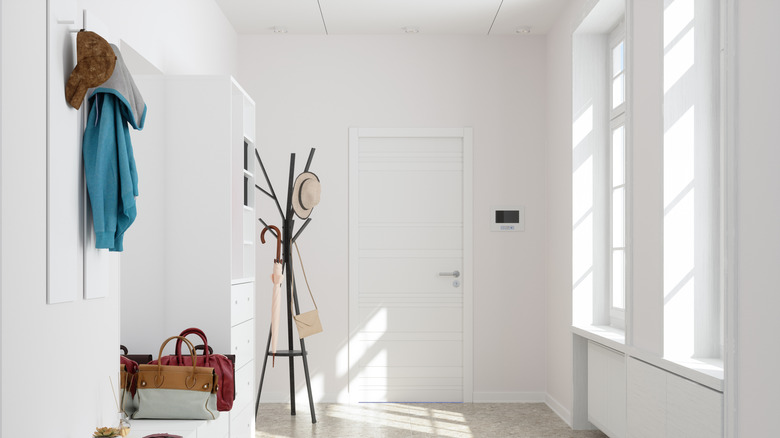
Say goodbye to boring entryways and hello to stunning first impression designs with a stand-out ceiling upgrade you can do yourself this weekend. Maybe you're doing a full remodel and need an idea that pulls it all together. Or perhaps you only have the time and energy to do one thing, so you need it to really pack a punch. Whatever stage you're in, this wood panel ceiling accent DIY checks all the boxes.
If you have a light fixture in the entryway, this feature will help it stand out and elevate the space, almost like a ceiling medallion. We'll be creating a rectangular accent that covers a portion of the ceiling where it hangs, using wood planks and trim. It can be helpful to have a second set of hands to pass supplies while you're on the ladder, but the project can be done solo if needed.
For this project, you'll need trim, such as crown molding or another preferred style, and wood planks rated for interior walls or ceilings, not flooring. Gather up some basic tools like a measuring tape, a pencil for marking off parts of the ceiling, and some construction adhesive, or alternatively, a nail gun and nails. If you need to cut down any of the trim or planks, you'll need a power saw. Of course, you'll also need a step ladder to help you reach the ceiling where you'll be working.
How to DIY an entryway wood accent ceiling upgrade
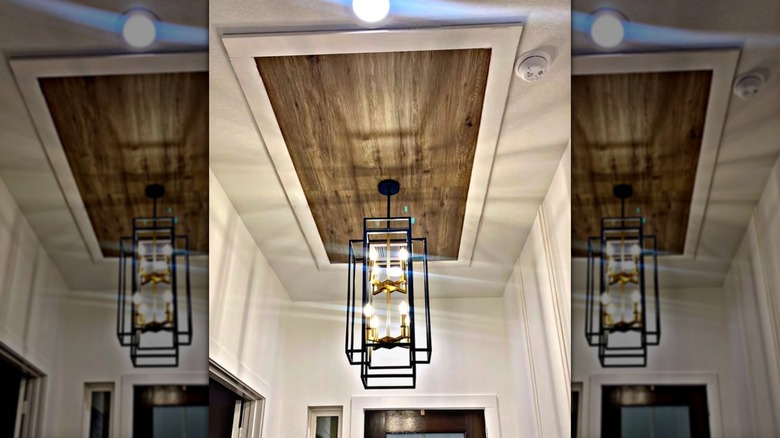
Begin by turning off the power and removing the existing light fixture, then set it aside. Measure the space you'll be using on the ceiling and mark it with a pencil. This project uses a rectangular shape with the light fixture marking the center, but you can use whatever shape you'd like and make it as big or small as you prefer.
Using your measurements, purchase enough trim to outline the space. Cut the trim to size, if needed, using a power saw. For safety, always wear gloves and protective eyewear when using power tools. Attach the trim to the ceiling using a nail gun or hammer and nails, or a strong construction adhesive.
Make sure you have enough wood wall planks to fill in the space outlined by the trim. Cut the planks to size, if needed, so they fit within the outlined area. Use construction adhesive on the back of the planks to attach them to the ceiling. Make sure not to cover the space where your light fixture will be reattached. Once the wood accent is done, reattach the light. If admiring your new entryway ceiling accent has inspired you to do more with the space, check out the three kinds of entryways and how to best decorate them.