Turn An Old Shoebox Into Charming Trinket Storage With This Creative DIY
We may receive a commission on purchases made from links.
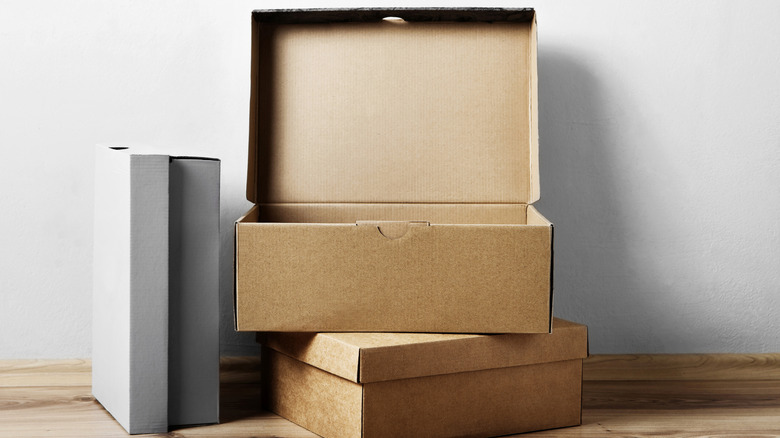
Trinkets, bits, and bobbles can be fun to buy and collect. After accumulating a collection, however, you might find yourself faced with the challenge of finding a spot to store them. Even a perfect trinket shelf can have limited space on it, ultimately leading you to find an alternate storage solution for your knick-knacks and caboodles. While shelves are ideal for creating a display for trinkets without cluttering your home, the ones that didn't make the cut for the display shelf still need a place to live until they have their time to shine. Instead of ordering a set of boxes or plastic storage containers, try out this creative DIY that upcycles an old cardboard shoebox into a charming trinket treasure trove.
To turn an old shoebox into a storage solution, you might have to take a trip to your local craft store for little accoutrements to make your box truly one-of-a-kind. All you'll need for this crafty DIY project is an old shoebox, scissors or an X-Acto knife for cutting, tape, spray adhesive, hot glue, fabric with a cute print of your choosing, ruffle or lace trim, and a leather handle. You can also grab some iron-on patches or fabric-adhering stickers to further personalize and accessorize your unique and charming trinket storage box. Add box or purse studs, like these YankMooM Light Gold Purse Feet Studs, to the bottom of your trinket trunk to further elevate the design and make it feel like a vintage luggage piece for all of your little treasures.
How to assemble and decorate your trinket storage box
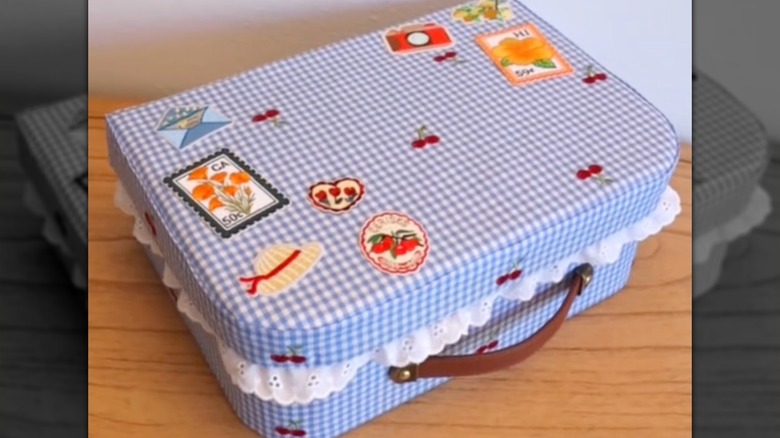
Start by creating rounded edges in your shoebox. This can be done by freehand drawing arches at the bottom of your box or by placing a rounded object, like a paper cup, at the corners of your shoebox and drawing out a round edge. After your edges are marked, disassemble the box and take an X-Acto knife or a similar craft cutter and cut out the cardboard that you marked off to create rounded edges on your storage box. Reassemble your shoebox, and tape it at its seams to maintain its integrity and shape.
Once the cutting and shaping are done, you can now start decorating your shoebox-turned-trinket-box. Measure out your chosen fabric so you have enough to cover the lid of your box. Apply spray adhesive to the outside of the lid of your shoebox, and secure your chosen fabric to it, tucking in any excess edges and adhering it to the box using hot glue. Keep adding your selected fabric to the remainder of the box, making sure all sides are covered. For the interior of your box, you can add felt or velvet lining, again securing your chosen fabric with spray adhesive or hot glue. Add an interior pocket to your trinket trunk by adding another layer of felt or velvet and creating the pocket by lining it with lace or ruffle trim. For the final touches, glue the leather handle to the top of your trinket trunk box, and add the purse feet studs to the bottom. To make it more personal, decorate the exterior with sentimental iron-on patches, stickers, or decorative flowers.