Use Cardboard Scraps To DIY An Ethereal Moon Shelf That Works As Storage
We may receive a commission on purchases made from links.
Whether you like to display them or not, most of us have an abundance of small items, trinkets and other essentials that clutter up our drawers, shelves, and surfaces. Some precious items like jewelry can even be lost or broken if they're not properly organized. If you've got scrap cardboard stacked up in your garage or crowding your kitchen trash can, don't throw it away just yet. Those scraps are perfect for creating a celestial moon-shaped shelf that can solve your clutter woes. By tracing, cutting, and painting a crescent-shaped front, a round-shaped back, and simple shelves in between, you can turn old cardboard into chic decor that doubles as storage. This DIY moon shelf is the ideal craft to make if you have smaller objects you'd like to display on top your furniture or hung on a wall.
To make your shelf, you'll need cardboard scraps, hot glue, paint colors of your choice, and a paintbrush. For tools, you'll also need scissors or a box-cutter and a compass or pencil and string for drawing a perfect circle. These materials are relatively cheap to source — a medium cardboard moving box is just $2.28 at Home Depot — but you likely have cardboard and crafting supplies laying around your home already. This whimsical shelf proves that it is possible to decorate your home on a budget, give throwaway materials a new life, and express your creativity in the process.
Repurpose scrap materials into a dreamy DIY moon shelf
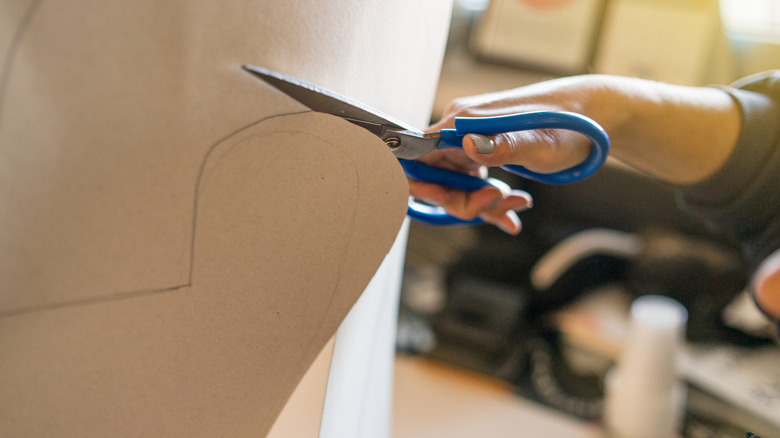
Start by laying the cardboard out on a flat surface. Use your compass or a pencil and string to draw two large circles with the same circumference. Then, flex your design skills to draw a half-moon shape within one of the circles. Outline the moon with a dark pen or marker to make the lines more visible. If you'd like, you can also add a face to the moon and color little craters to make it more realistic. When you're happy with the design, cut out your moon and the big cardboard circle. For the "spine" of your shelf, cut a long carboard strip with the same length as the outside circumference of your moon. For the shelves, cut three rectangular pieces with the same depth as the spine.
Curve the "spine" piece around the outside edge of the moon, attaching it at a right angle with hot glue. Glue the three shelves to big circle backing next. While the hot glue is still malleable, you can make any little adjustments to ensure the shelves are straight. Once this dries, put lines of hot glue on the spine and shelf edges, then press the front moon face piece to the back circular piece, completing the shelf.
The final step involves decorating your DIY craft with a hot glue gun hack that will add texture. This is where your creativity can shine! Use beads of hot glue to line the craters, eyes, mouth, and trim of your moon. The glue will create a raised details that make the shelf pop. Paint the whole shelf in a solid color, then go over these raised details with a metallic craft paint in gold, silver, or bronze.
Enhancing and styling your whimsical moon shelf
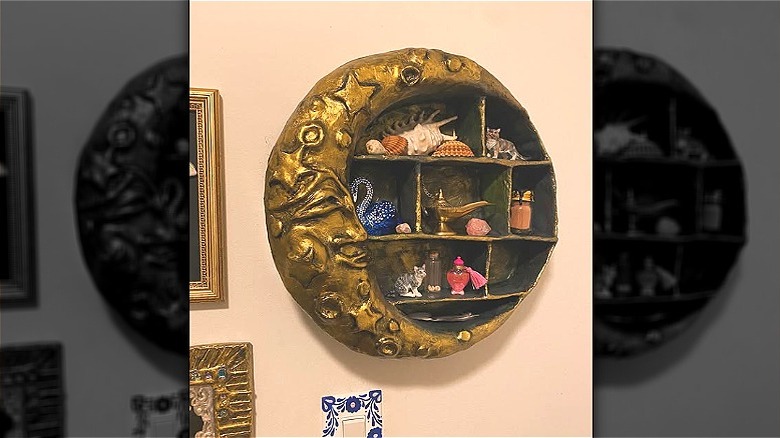
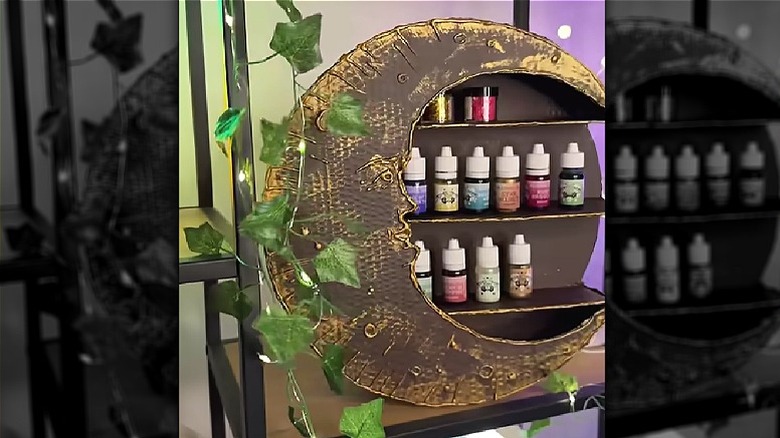
The color scheme you choose for your moon will change its overall impact in your space. A classic dark moon with metallic accents is perfect for a moody, witchy aesthetic, but you could also paint the moon in a light shade like white or beige for a more angelic feel. Bold colors like blue, red, or bright pink may not be traditional, but they'll certainly pop! Besides the 3D hot glue hack, other materials like paper mâché, air-dry clay, beads, sequins, glitter, or lace can also be added to bring a fun tactile element to this craft.
Once its complete, the ethereal shelf fits well in any room. Put it on a bookshelf to display small trinkets in your living room or use it to organize essential oils or crystals in the bedroom. In a closet or next to your vanity, it can be used to display bracelets, rings, and other jewelry. There are no incorrect styling solutions here! If you plan to put the shelf on a bookshelf, table, or other flat surface, you may need to alter your circle and moon cutouts so they have a flat shape on the bottom. To hang the moon shelf on a wall, glue a yarn loop to the back or use a product like Command Picture Hanging Strips to avoid damaging the cardboard.
While the shelf can be styled in lots of ways, it may be best kept out of the bathroom or any other high-moisture areas. It may have a glamorous and gilded surface, but there's nothing magical about deteriorating cardboard. Keep it in a dry space and stick to small, lightweight items to avoid bending or breaking the shelves.