Turn Scrap Wire Into A DIY Bird Nesting Feeder To Support Wildlife
We may receive a commission on purchases made from links.
For avid birdwatchers, nothing completes a backyard better than the sight of colorful birds flying from tree to tree. And more so during springtime, when these avians typically come back from their wintering grounds and get busy constructing nests for their younglings. As you watch the birds engage in their nest-building efforts, you might get inspired to help. Luckily, scrap wire, some natural nesting material, and a little know-how are all you need to put together a creative DIY bird nesting feeder you'll be proud to count as your worthy contribution to wildlife.
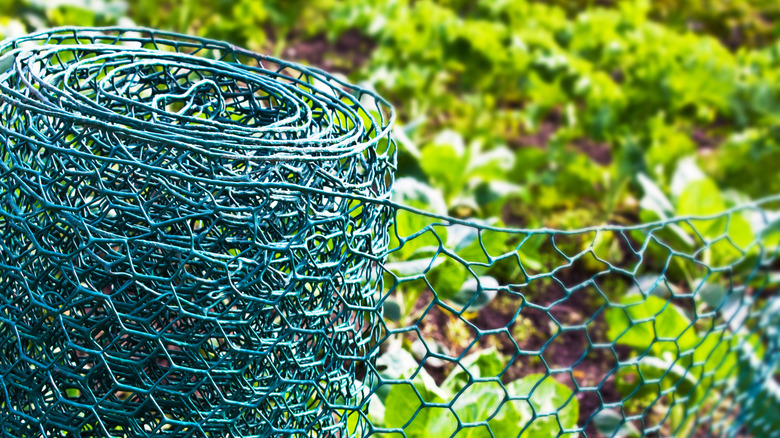
When it comes to nesting material, you should only use natural fibers —things like cotton or wool fiber, fluffy animal fur, jute, pine, and even feathers. Other than the scrap wire (you can repurpose leftover chicken wire), you will only need a few tools, namely a wire cutter, pliers, and a ruler. Now, if you're new to DIY projects, it might seem easier to just purchase a Bird Nesting Material Set from Amazon. But trust us, embarking on a DIY project will be fun and worth the effort. It won't cost you much, or practically nothing, if you already have some scrap wire lying around, and the satisfaction of contributing to nature with your own hands is unmatched.
Measuring and cutting the scrap wire to make a DIY bird nesting feeder
Let's begin by drawing a rough sketch of the bird nesting feeder on a piece of paper, like in @byjaclynrose's TikTok video. This will be your blueprint, with the measurements you need. Have in mind that the final creation will look like a rectangular box measuring 5 by 4 by 1.5 inches (feel free to make a larger or smaller version), and the blueprint is like an unfolded flat version of the box.
At the center of the paper, draw a rectangle measuring 13 by 4 inches. Measure 5 inches from one end along the top length, and from that point, draw a small rectangle extending upwards 5 inches and 1½ inches wide. Do the same along the lower length of the big rectangle so the image looks like a cross.
Next, grab your scrap chicken wire. You can buy this at a local hardware or farm supply store if you don't have any on hand. Lay it flat on a table on top of your blueprint. You can weigh it down to keep it stationary and as flat as possible using something heavy like a rock. Now cut the chicken wire with a wire cutter, following the blueprint as your guide. Your chicken wire should now look like a cross and be ready to fold into the DIY bird nesting feeder.
Turning your scrap wire into a bird nesting material dispenser
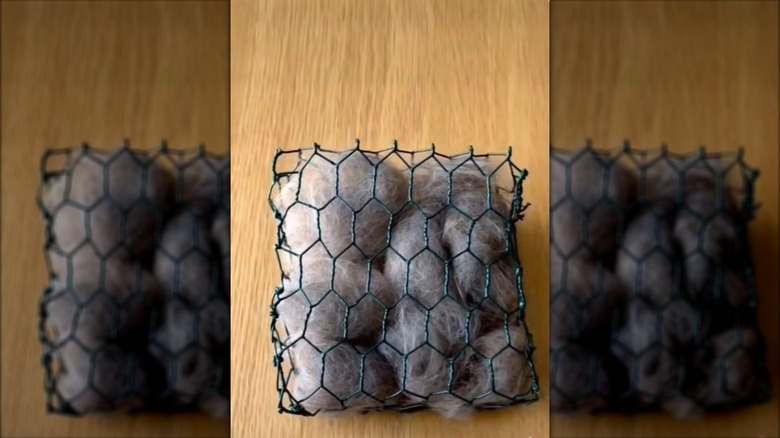
All you have to do with your cutout chicken wire is fold it into a rectangular box. With the aid of the ruler, turn up the flaps at the joints to form a complete box. To close the box, use the pliers to twist the wire ends together along each edge. Then try as much as you can to turn these pointed ends of the twisted wires inwards so there are no sharp ends in your little nesting feeder that might poke the birds.
Now, gathering the nest materials to leave out for the birds is the fun part. You can take this opportunity to groom your cats and dogs and collect all that fur. Any leftover pieces of twine from your crafting ventures can also come in handy here; just be sure to cut them into short pieces. Or collect small sticks and twigs, as well as leaves and dry grass, from your yard. Push all these materials into your box through the wire opening.
Finally, hang your DIY bird-nesting material dispenser outside in your yard. Positioning it next to the feeding and watering station is a great idea, so your avian friends can easily notice it as they're eating and drinking. Even better, hang it close to a nesting box if you have one in your yard. Remember to refill your nesting station as need arises. Otherwise, sit back and enjoy watching those lovely feathered creatures going back and forth as they build their humble abodes.