How To Create A Stunning Plant Propagation Display Using Just Cuttings And A Pinecone
Extra pinecones and plant cuttings combine to make a breathtaking propagation display in this easy DIY craft. It's perfect for any plant lover with leggy plants. You won't have to spend any money on materials if you can find the things yourself, and there's plenty of room for customization. Got pothos, philodendrons, or spider plants? It doesn't matter! They all will function in this neat hack. It works because plant cuttings sprout roots into the cones. Not all plants reproduce asexually by growing roots on their stems, but those that do root in water are good options. Try using the easiest plants to propagate from cuttings and grow for free. Pothos are superb because they're hardy, quick-growing, and shade-tolerant indoors. They're easy to propagate for endless greenery in your home.
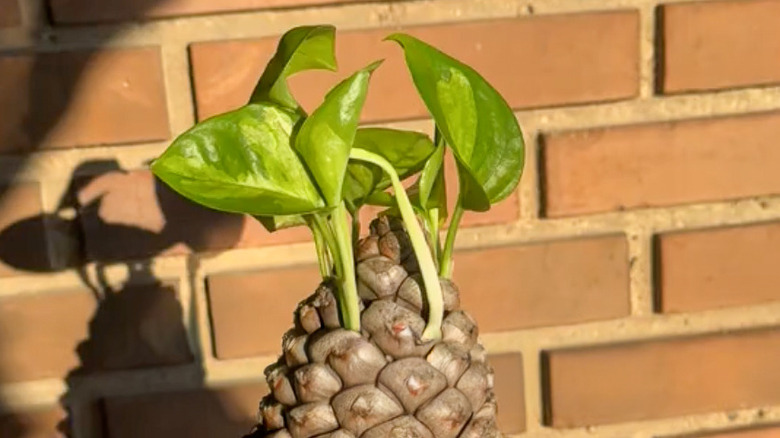
On a basic level, this process works because of how a pinecone closes and opens. When wet, the wood absorbs moisture and parts of the cone's scales bend. When dry, the scales stand erect with open spaces between them. By first placing cuttings in a dry pinecone and placing the unit in water, you'll create a propagation piece that looks like it's out of a fairytale — the pinecone shrinks around the roots, and the plants continue growing out of the top.
How to make a pinecone propagation display
Start by sourcing cuttings from your easiest houseplants to propagate to fill your home with free greenery. Root them in soil or water; water will be easier to transfer. If you root them in soil, rinse the roots and trim any dead or broken parts before putting them in the pinecone. Don't worry! More roots will grow.
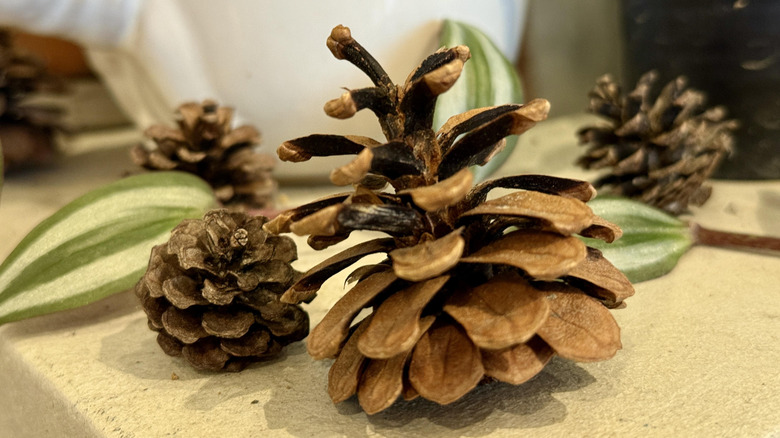
Next, you'll need to clean and sterilize the cone. This prevents lingering sap, pests, or diseases from coming inside your home. Start by soaking it in a vinegar or rubbing alcohol and water solution. Then, remove the pinecone and let it dry completely so no vinegar or alcohol remains.
Once the cone opens up again, you're ready to get going! Gently set it, with the plants in it, inside a bowl or dish with water. Let it sit for two hours or more until the scales close. Once they close, you may remove the cone from the bowl, wrap it in moist moss, and display it. Moss keeps the cone wet enough for roots to grow from your cuttings, though you'll need to moisten it often. Instead, leave the cone in the water-filled bowl you already have and anchor it with textured materials, such as nut shells or pebbles. Try river stones for a natural appearance, or go for crystals and jewels to shift it to a fantasy-like display.