Transform A Dollar Tree Garden Fence Into A Charming Hanging Display
We may receive a commission on purchases made from links.
It's not like there is a dearth of display shelves in the world. Just open up a site like Amazon or eBay and about a gazillion options populate on the screen, all practically begging you to order them. However, sometimes, even with a wide variety to choose from, it's easy to feel like the offerings lack that certain je ne sais quoi that makes you want to hang one on your wall. Welp. You know what they say at times like these: When the shopping gets tough, the tough go shopping — in Dollar Tree's garden section, that is. There, one crafter's garden fence becomes another DIYer's display shelf. All it takes is a little creative alchemy to make the transformation. Compared to some of the options on the market, this handmade display shelf will cost you little more than a widow's mite. Plus, it's the perfect entryway decor that is practical and beautiful.
Dollar Tree's Garden Collection Black Garden Fence has a lot going for it from a design perspective. Although it's made of polypropylene, the black pointed-arrow design looks like wrought iron, making it a shoo-in for homes that embrace farmhouse or industrial design decor. The garden fence is the foundational piece for this DIY shelf. Metal Hangers with Hooks, zip ties, and two Crafter's Square Wood Planks round out your shelf's building supplies.
You'll use a handful of tools for this project. Be sure to have a handsaw ready to go. Also have on hand paint or stain, sponge brushes, a pencil, craft glue, and some heavy-duty cutting shears. Finally, you'll hang the display up with some screws and a drill.
Building a display hanger from a Dollar Tree garden fence
When you're ready to build, snip off the spikes at the bottom of the garden fence (the ones you stick into the ground). Also cut off the protrusions on each site. (Those allow you to snap together several lengths of fence to construct one longer piece to fit around your flower beds.)
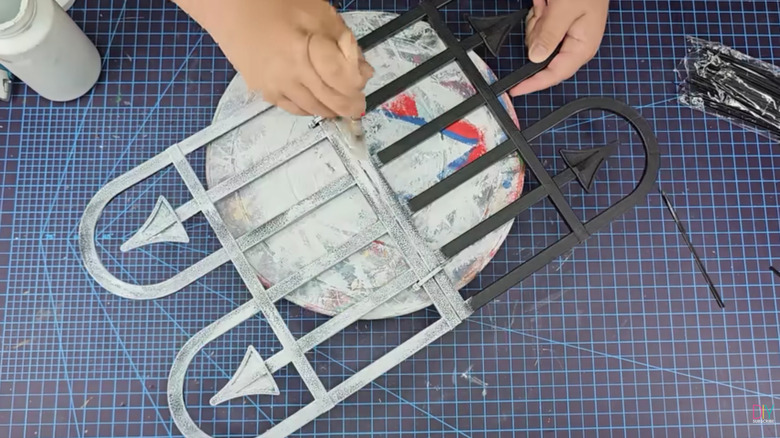
Next, coat the wire hooks with paint. If you'd like to create visual contrast in your display, swap out neutral colors like black or white and go with a snappy red, like Rust-Oleum Gloss Apple Red. Such a color would be reminiscent of the kind of thing you'd see in a classic Montgomery Ward catalog. It's totally retro and fun. After that, lay the two wood planks end-to-end across the bottom of the fence. Trim off the extra with a saw so that the boards stop at each end of the fence.
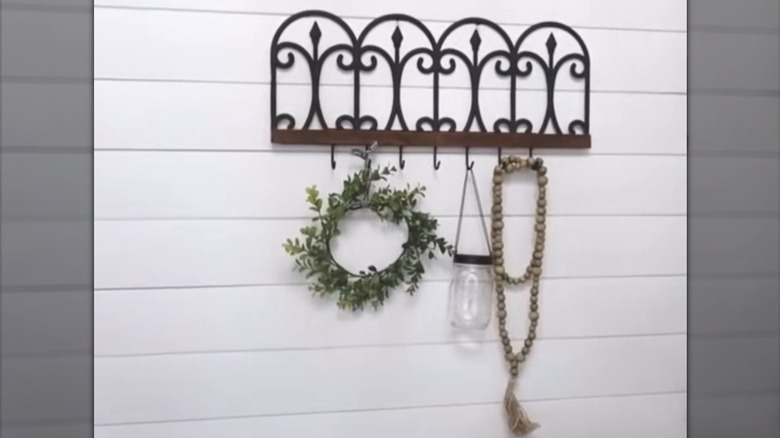
Position the wire hook rack so that it sits in the middle section of the garden fence and then attach it to the fence with zip ties. Paint or stain the boards, and glue the wood onto the front of the rack. If you've painted the wire hooks a bright color like red, you may want to also add that color to the planks to make the piece really pop. Finally, when you're ready to hang it up, put some screws into the wall and slide the arches at the top of the fence to rest on the screws. Now you have a chic DIY wall organizer that holds all your essentials.
Customize the garden fence to fit your home decor
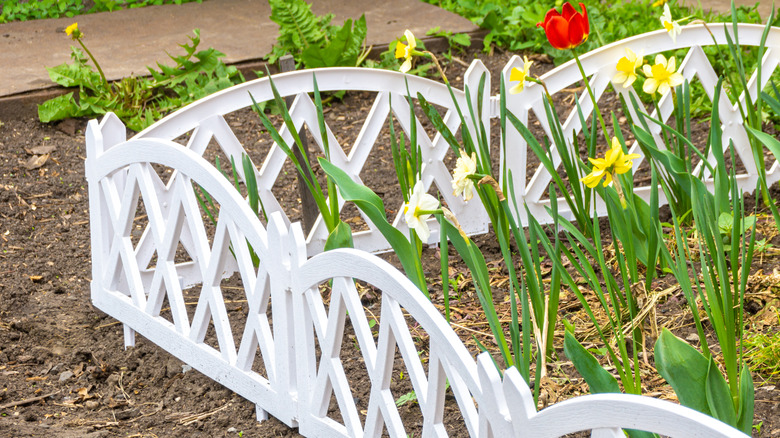
Dollar Tree carries a couple of different types of garden fences, which gives you a few options from a decorative perspective. Aside from the black garden fence, it also carries a Garden Collection White Plastic Short Fence in a latticework style. Dollar Tree also changes out its stock from time to time. That being the case, if you're not crazy about the idea of hanging up a black shelf because it clashes with your decor, think about swapping out one garden fence for another.
Or you could try painting the black one with the arrow design. However, a word of caution is in order. One of the things that makes polypropylene such a tough plastic for the garden is also what makes it challenging to paint. Polypropylene can be painted, but it requires a bit of sanding and primer to make it rough enough for paint to stick to it.
If you do go this route, you may also want to consider buying two of the fences while you're at the Dollar Tree. This gives you room to play around a bit on one of them, including doing patch tests on it until you've mastered painting this type of plastic. If your experiment doesn't work, the extra fence will only set you back a buck fifty. And if you do get one painted (and it's completely dry), follow the construction steps as usual to make this budget-friendly DIY for chic home decor.