Wall Shelves Don't Have To Be Boring: DIY Them With Green Mosaic
We may receive a commission on purchases made from links.
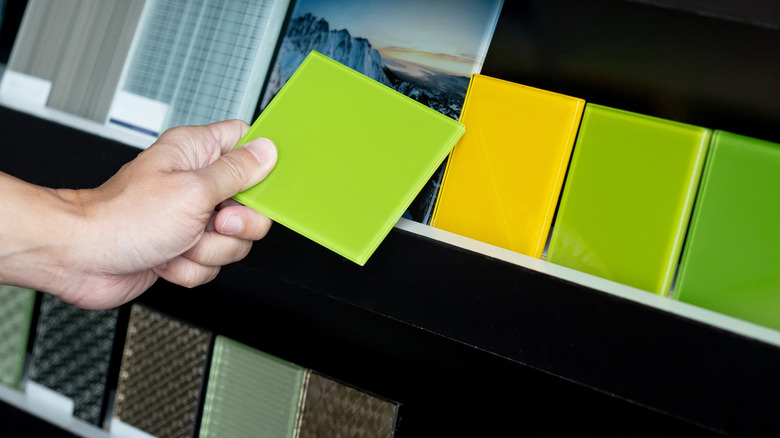
If you want to add a colorful pop to your home, consider covering wooden shelves with green ceramic. This project works particularly well for a kitchen or bathroom because those spaces typically already have some ceramic surfaces. This floating shelf project requires a little bit of technical know-how, but it isn't super advanced. It simply involves building a wooden frame and attaching green mosaic mats. A TikTok account called @antoni_alles offers an excellent tutorial outlining the materials you'll need and how to complete this project. You can use this shelf to display your produce or to support things like a vase of flowers or a stack of cookbooks. The green mosaic works well against an off-white, grey, or beige background.
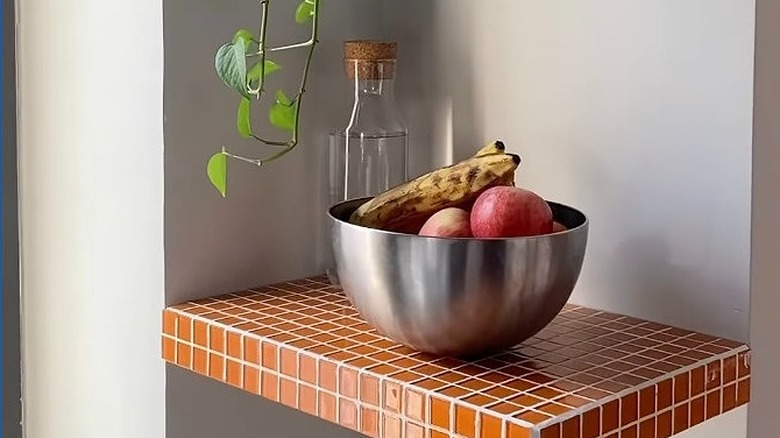
These shelves are designed to be installed in a room's corner. Aside from their glossy look, they also have an interesting visual appeal because they are not supported by shelving brackets. Of course, since this is a DIY, you can pair your shelf with a set of strong brackets and install it somewhere other than a corner — just be sure to keep in mind that the tiles add weight to the shelf. You can purchase your materials at a hardware store or order them online. To construct the frame, purchase a ½-inch-thick piece of plywood and a 2-inch-by-2-inch furring strip. Then you'll need wood glue, one-inch nails, a measuring tape, a pack of 4-inch screws, a table saw, mosaic glue, pre-mixed tile grout, a paint scraper, a roll of paper towels, a box cutter, a level, and tile sheets. Depending on the size of the shelf you choose to build, the measurements for each piece of material will vary.
How to build your mosaic shelf
For this description, the shelf will be 10 inches by 8 inches; you can adjust these dimensions to suit your needs. Cut two pieces of plywood to those dimensions. Next, cut one of your furring strip boards to 10 inches and glue it along the edge of one of your boards. Then cut three furring strip boards to 6 inches each. Glue one along one of the 8-inch edges, glue a second in the middle, and glue a third 2 inches from the edge of the other 8-inch edge. Then place your second piece of plywood on top, perfectly even with the frame, and nail both pieces to the furring strips. Cut your ceramic sheets to match the dimensions of the top and bottom of the shelf, and the two sides that will not touch the wall. Then secure the tile sheets with mosaic glue and let them dry for about a day.
Scoop up some pre-mixed tile grout and spread it over the tiles, carefully working it into the gaps. Before the grout dries, scrub the tiles with a wet rag or paper towel so the grout doesn't dry on the tiles. Allow the grout to dry for a couple of days before proceeding.
Cut two 4-inch furring board segments. Pick a corner spot where you can hang your shelf. Mark a level line on each wall, and then screw in your 4-inch segments along those lines. Make sure to ground them to the joints for stability. On the sides of your shelf that are not covered in ceramic, you'll see gaps where the furring board segments will fit snugly. Simply slide the shelf into place. There are plenty of other shelving ideas that will make your home more functional, including a long DIY floating wall shelf.