DIY A Rustic Bookcase From Old Shutters In Just A Few Easy Steps
We may receive a commission on purchases made from links.
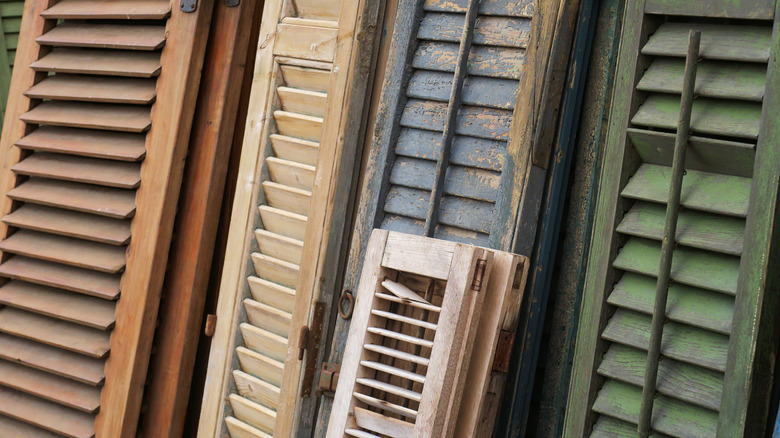
One thing a book lover never has enough of is space for their books. As you increase your hoard, the few shelves you have just aren't enough. Thankfully, instead of buying a big and expensive bookcase, you can DIY your own using some old, abandoned shutters. This design will allow you to make a bookshelf to fit in any part of your home, perfect for holding trinkets and your favorite books, of course.
When building a standalone DIY bookcase, there are a few things you will need. For one, you want two identical shutters. Also necessary is the perfect wood for a DIY bookshelf, about an inch thick. The exact length and width for all of the materials will depend on your shutter sizes and how wide you want to make your case. You need enough to create a backboard, a top for your bookcase, and the shelves themselves.
A nail gun and some wood glue will further add to the stability for most shutters, though you could use screws for thicker ones to really strengthen the bookcase. If you like the look of the shutters but want something that feels a little more modern, some sandpaper and paint or stain can freshen up your vintage finds. It can also help you to color match it to your home and the rest of the wood for this DIY.
Building your DIY bookcase out of shutters
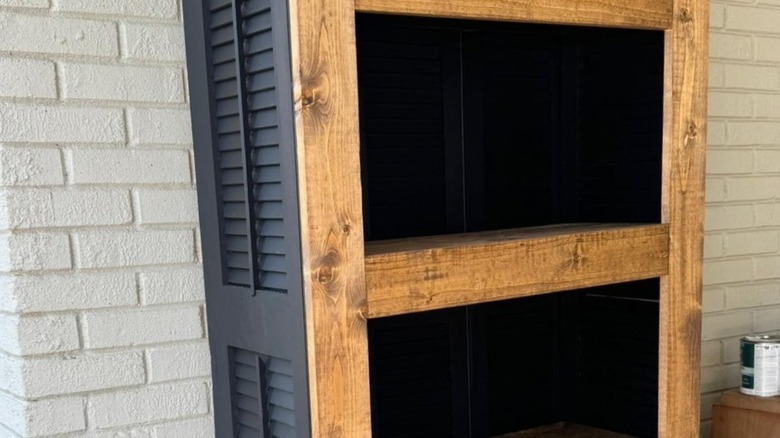
If you want a smooth and clean look, take the time to sand the entirety of both shutters. Wipe or vacuum up the dust, and then you can paint them whatever color you want. Once they're dry, you are ready to make your bookcase. Set the two shutters as far apart as you want. Cut your backboard to size, and attach the board and the shutters together with nails or screws.
Once your base is stable, you need to add the shelves. Depending on the ones you have, you may be able to simply open them and slot in the boards. To keep them in place, you can use a strong wood glue. It's not always the most supportive option and may not hold a lot of heavy items, but it can be a suitable choice if you only have a few books and some other light decorations. To increase stability, you can add a board to the top to ensure everything stays in place and the shutters won't move.
Since bookcases are meant to be sturdier and hold a lot of weight, you may want to add a little extra to this design. For example, you could build a frame around the front. It creates an attractive face and gives you a secure place to attach the shelves so they can hold the weight of bulky books a little more.
Other ways to use shutters for a bookcase
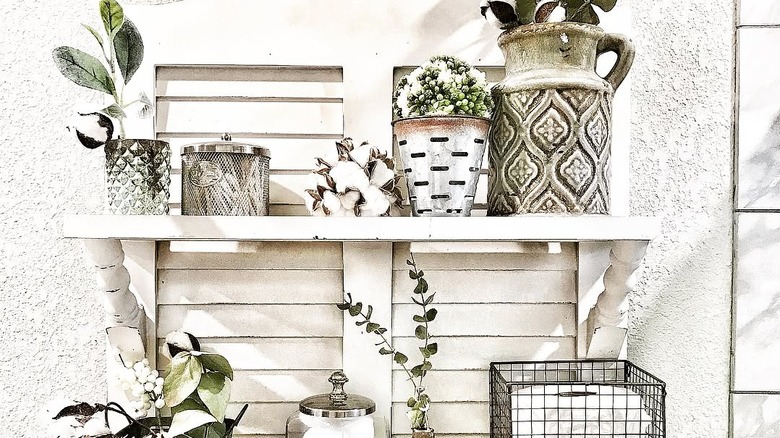
If you don't have enough space to place a full bookcase made from shutters, you can also look at making a smaller hanging bookshelf out of just one. This design is perfect if you only have a series of unmatched shutters or you want a smaller space for books you can attach to a wall. Since the sides are more open in this design, you will need bookends or other props to keep your books that are standing up from falling over. Thankfully, if you don't have any, it's pretty easy to make stunning bookends on a budget.
This build is simple as well, as all you need is one shutter, shelves, and supports, such as a bracket, to add a little strength to the shelves when holding all your favorite books. Overall, the steps are the same, but you attach the board directly to the shutter's frame, and then add the support brackets underneath. You can go with something nice-looking like in the image above or a simple metal bracket like the Floating Shelf Brackets by Starunder Store on Amazon that can hold 150 pounds per pair. Once you have a bookcase you are happy with, the next step is to decorate it. Try out a styling trick to effortlessly arrange decor on a bookshelf, including stacking some of your books horizontally, and adding a few personal touches.