Turn Simple Crates Into Sleek Rolling Bins To Finally Tame Entryway Shoe Chaos
We may receive a commission on purchases made from links.
If your entryway looks like a tornado of shoes and boots each day, it's time for a stylish and practical storage fix. Boot trays or racks leave your shoes out in the open, leaving the disorganization exposed. While you can stop shoe clutter in its tracks with an IKEA shelf, there is another solution for storing shoes: a simple crate DIY. Wooden crates are affordable, versatile, and easy to customize. When you screw in some caster wheels and simple hardware to your crate, it becomes a mobile bin to roll in and out from under a bench or in a closet, making it perfect for high-traffic entryways.
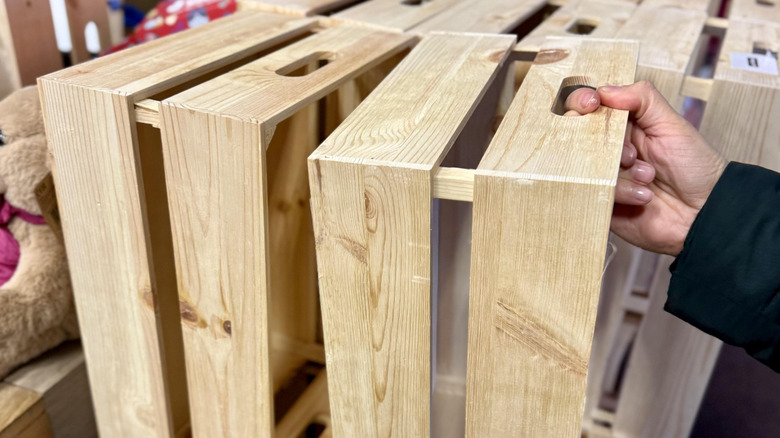
The best part of the rolling wooden crate bins is their mobility. It can be challenging to create an organized entryway space, especially if it's small, but these crates can be tucked away in many nooks and crannies. To make your rolling bin, you'll need to start with some wooden crates big enough to hold shoes, such as this set of three FORBRADS Large Pinewood Crates – you may also be able to thrift them for even less of an expense. You will also need four caster wheels for each crate. Some wheel kits come with all of the necessary tools for installation, such as this ASHGOOB 2-inch Caster Wheels Set. Ensuring the wheels swivel a full 360 degrees will allow your crate to move in any direction. You also have the option to include some hardware handles and colorful paint to make these bins even more pleasing to the eye.
Actionable steps to create rolling bins for shoe clutter
To start, you should check the crate's surface and sand it to remove any splinters – this can also help the paint or stain grip better. If you are going to paint or stain your crate, that will be the next step. Make sure the coats dry completely before attaching your wheels. Once dry, flip the crate upside down to screw in the wheels on each corner. To hide the casters under the crate, measure about 1.5 inches in from the edge of the first wooden slat and add the wheels there. It can be helpful to pre-drill the holes to avoid splitting the wood.
Next, you can add some handles on either side of the crate to give it extra grip. While not necessary, handles are especially convenient when storing your DIY bin underneath a bench or other entryway furniture. The hardware can be simple, like these Ravinte Drawer Pulls. Screw the handles into place on the short sides of the crate — you can even put them over the cut-out handles, if those are present. Repeat with each crate.
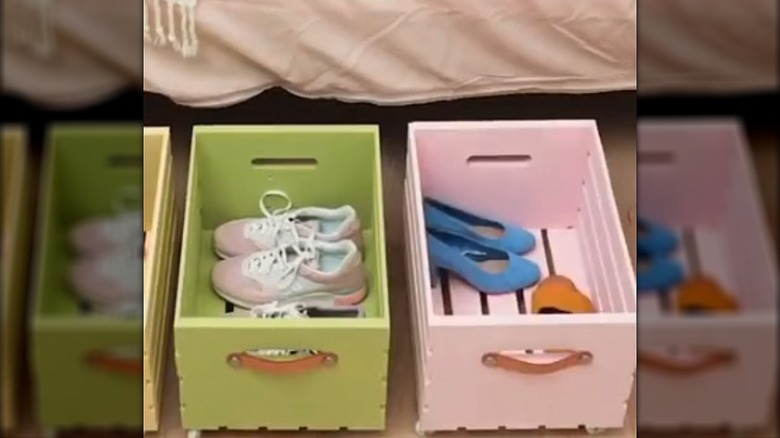
Consider adding some labels to your crates for specific shoes to give them a more customized look. Painting each crate a different color can also add a fun aesthetic. Finally, add your everyday footwear, slide your crates into an empty space in your entryway, and enjoy the freedom of this simple, mobile shoe clutter solution. There are numerous ways you can repurpose wooden crates for home decor and storage, and this DIY is a practical use to keep shoes corralled.