Save Toilet Paper Tubes For A Creative Outdoor Lighting Solution
We may receive a commission on purchases made from links.
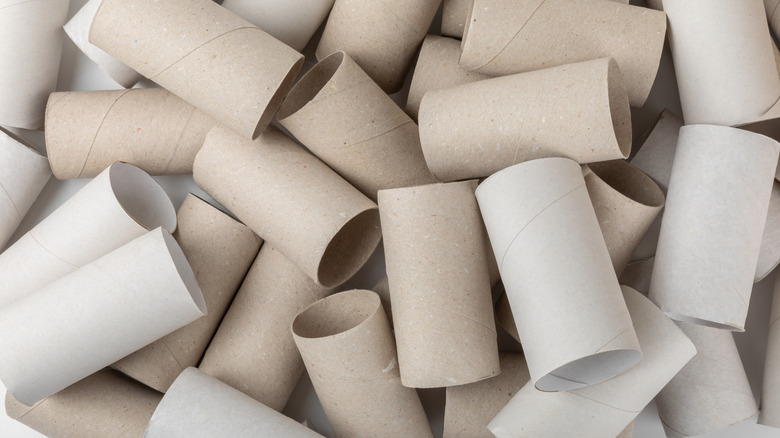
If you're looking to spruce up your yard on the cheap, then stop getting rid of your toilet paper tubes. They're the perfect material for this DIY outdoor lighting solution. You'll turn boring toilet paper rolls into creative lanterns by cutting strips across the middle, lining them with plastic, and placing tea lights inside. Though the craft is for outdoor lanterns, these toilet paper tubes also work well indoors. They brighten the space without adding too much light, creating a cozy area that's welcoming and calming.
For this project, you'll need toilet paper tubes, a pencil, scissors like the Scotch Precision Scissors, a ruler, a glue stick, and clear plastic or fabric. If you have extra tubes at the end of this project, you can upcycle toilet paper rolls around your garden with other effortless DIYs. Are your scissors old and grimy? Instead of buying new scissors, try this easy hack to make yours as good as new. These materials are relatively cheap, and the cardboard tubes should be free if you already have toilet paper. Simply save them and bring them out when you're ready for this lantern craft.
You'll also need battery-powered tea lights, which you can find at a craft store or online. These Amagic LED Tea Lights are less than $4. Try to find tea lights with a circumference that matches the paper tubes so they fit inside without forcing. You'll also want to purchase weather-proof paint to protect the paper from the elements. The paint may not work well in rainy regions where regular moisture will turn the lanterns soggy. Protect yours further by bringing them indoors after parties and events. If you prefer bright colors to neutral ones, consider using a paint of your choice in your favorite hue.
Craft outdoor lanterns using old toilet paper tubes
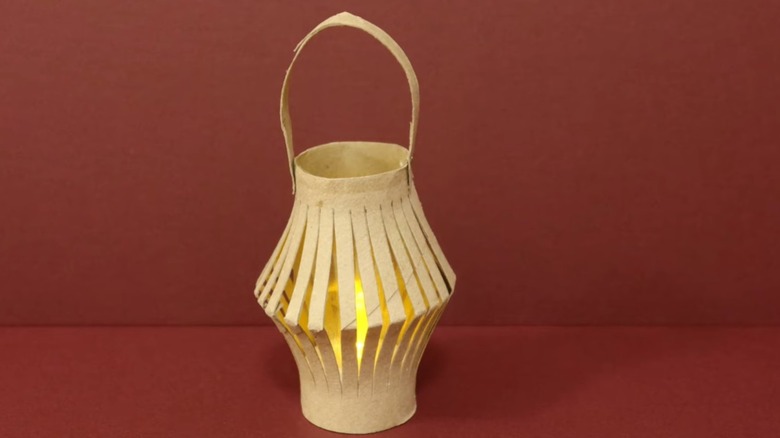
Begin by cutting the tube in half, and unroll it so it sits flat on the table. Fold the resulting rectangle lengthwise (parallel to the longer side), and crease it well so it stays. Grab your ruler and set it below the fold. Mark every 0.2 inches lengthwise on the roll, and leave a 1/2-inch gap on each edge. Now, take your pencil and ruler and draw lines from the fold to where each mark is, stopping the marks before they meet the cut ends of the tube. Cut each line with your scissors, being sure not to cut all the way through. Then, unfold the tube and set it aside.
For the inside, use the clear plastic or fabric film to make a liner. The liner will diffuse the light, much like how lampshades diffuse light. Glue it to the inside of the tube using the glue stick, the one of many types of glue you should have on hand. The liner should match the tube's dimensions. Once the glue dries, use more glue to attach one cut end of the tube to the other by overlapping the two, and staple them for good measure. You should start to see the lantern coming together now — the cut notches form openings for light to shine through.
Now all you need is a hanger! Grab another tube and cut a small circular strip off the top of it. Cut the circular strip, then glue each end to the top of the lantern. Push a tea light through the bottom of the roll, then hang your DIY lantern to enjoy your new outdoor lighting solution. Since you're hanging it outside, paint it with FolkArt Outdoor Acrylic Paint to help it last longer.