Don't Throw Away That Broken Hanger - Use This Clever Dollar Tree DIY To Keep Things Organized
We may receive a commission on purchases made from links.
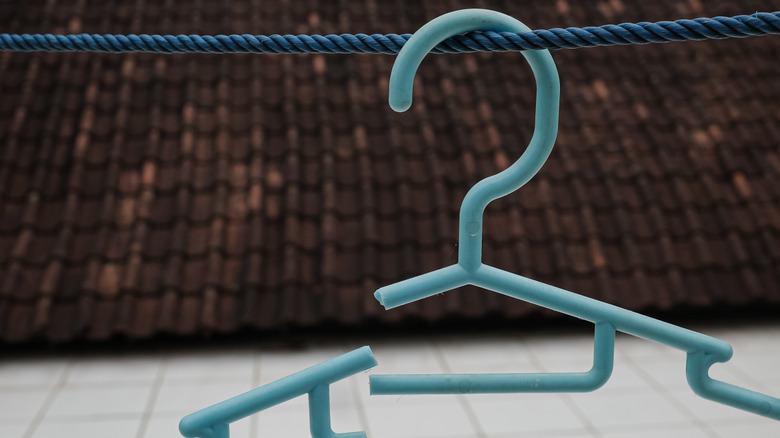
If you've ever broken your plastic hanger, you probably went to immediately throw it away, deeming it a waste. Before you reach for the trash bin, however, know that that hanger can actually help you build a charming, budget-friendly bathroom organizer that elevates your space. It's affordable, sturdy, and the kind of DIY project that any beginner would enjoy.
There are many affordable Dollar Tree hacks that tidy up clutter, but this one should be at the top of your to-do list. One TikTok user, Lizfenwickdiy, demonstrated this hack in her TikTok video. With just a couple of Dollar Tree's small wood crates, some broken hanger pieces, some stain, and some glue, you can easily create a beautiful storage spot to organize small items like cotton pads and swabs, makeup sponges, and more.
For this particular DIY, you'll need to get two of the Crafter's Square Wood Crates, which are available at Dollar Tree. If your hanger isn't already broken, or to even it up, grab some heavy duty shears for cutting. You'll need some paint or stain for the crates. You can get creative with color choices to further complement your room or space. You should also get your hot glue gun and some E6000 Craft Adhesive, which is available on Amazon, to make a good, strong bond.
Steps to building your stylish wood crate stand
Your first step is to stain or paint your Dollar Tree wooden crates how you'd like. Consider adding a pop of color with a bright red or sunny yellow. You could purchase some of this Minwax Special Walnut Stain to keep the crates a natural-looking wood for a more minimalist design. Make sure you let the stain or paint dry completely before moving on to your next steps. Then, take your hanger and use your shears to cut on both sides to create two similar upside-down "u" shapes, so they can act as the stand on either side of your crates.
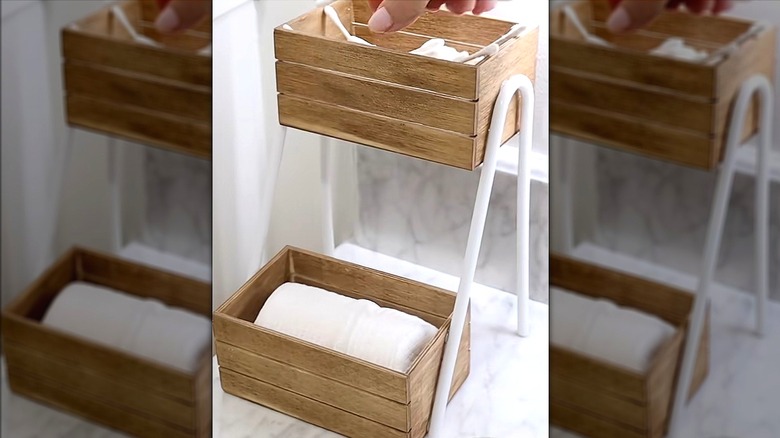
Next, use both the E6000 adhesive and hot glue together, adding them to the bottom inner part of your hangers where it will stand up, on the longer angled out ends (not the straight sides). Fit one of the crates on either side of the hangers, against the glue. Hold it in place for a few seconds so it is secure. Then, take your adhesive and hot glue to the top inside part of the hanger stand, right around the curves. Your second crate will fit inside there, and hold it to set.
Let the stand sit to cure completely overnight. Your mini bathroom organizer is now complete, and you can add in your cotton pads, swabs, makeup, and other essentials. You can use it in other rooms throughout your home, too, including your craft room as a spot to hold glue sticks, or put one in your bedroom to hold hair ties. You might consider using one on a desk to corral office supplies or to organize your messy cords.