Your Winter Boots Need A Proper Cleaning Before You Put Them In Storage. Here's How
Our winter boots take a beating in the colder months as we trudge through seemingly endless amounts of slush, snow, and salt. Once the weather starts to warm up, it's tempting to chuck the winter boots in the back of our closets and make the switch to sandals and flip flops. If you're making plans to spring clean your home, you should add your winter boots to the to-do list before they go into storage.
Winter boots tend to pick up a lot of dirt, mud, and debris. And all the moisture from wet and icy surfaces can create the perfect environment for mold and mildew, as well as smelly odors. If you don't thoroughly clean and dry your winter boots before putting them in storage, they could end up as a breeding ground for bacteria and bad smells over the course of several months. Taking the time to clean your boots based on the material, ensure they're completely dry, and properly storing them for the warmer months can extend their lifespan and make sure they're ready to go next winter.
Cleaning your winter boots based on their material
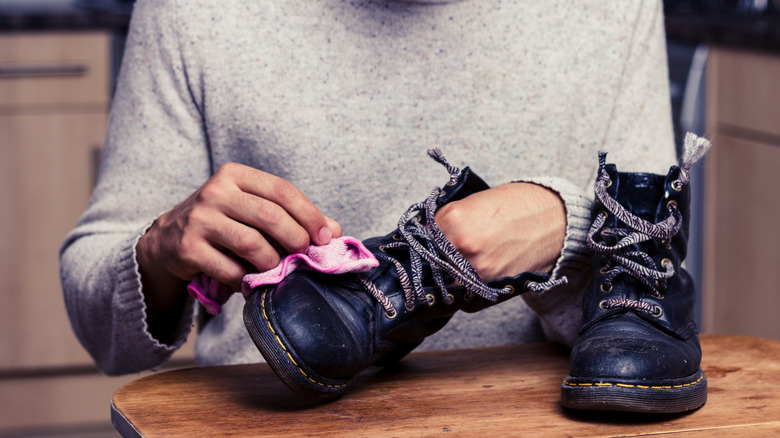
Many winter boots are made from materials like leather, suede, or rubber, and these materials can vary in their cleaning instructions. To start, brush off any obvious signs of dirt, salt, or dried debris. From there, you should work on removing any salt stains from your boots based on their material. Rubber boots are typically the easiest to clean — you can use warm water, mild dish soap, and a sponge or toothbrush to scrub away salt stains.
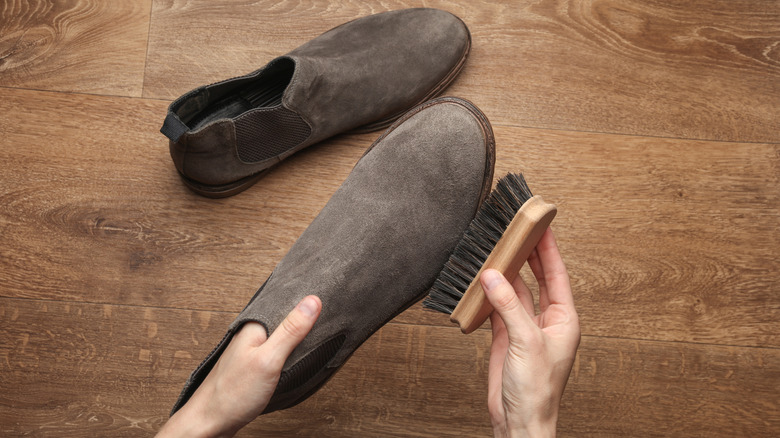
Leather and suede boots are a little trickier because the materials are more porous and prone to salt damage. For leather, you can use a mixture of equal parts white vinegar and water to clean away salt. You can usually remove salt stains from suede boots using a suede eraser or suede brush followed by blotting the marks with dish soap. When cleaning your suede shoes, be sure to brush the boots in the direction the fibers are facing to avoid damaging the material.
After you're finished cleaning away debris and salt stains, let your boots completely air dry at room temperature. This can take between 12 and 24 hours and is a really important step in preventing mold and mildew while they're in storage. You might be able to cut down the drying time by removing insoles and laces or putting a towel in the toe box. Once dry, you can apply a conditioner, oil, or polish to prevent dryness and cracking (but be sure to choose a product that is made for the shoe's material).
How to store your winter boots
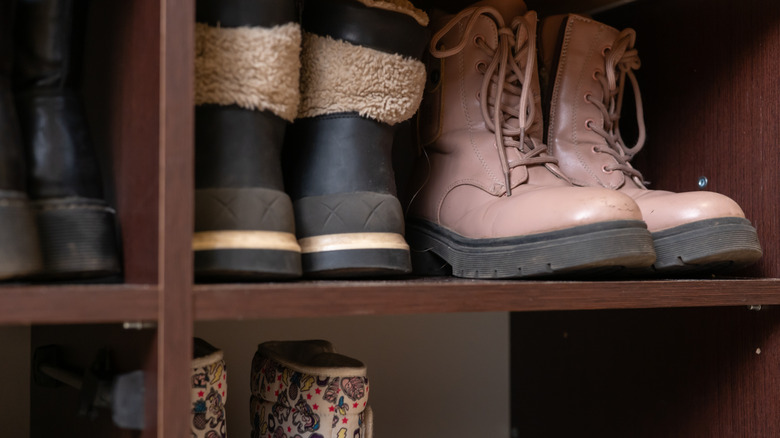
Once you've cleaned your winter boots and allowed them plenty of time to dry, you can keep them neat and organized in a boot rack or store them somewhere cool and dry for successful long-term shoe storage. Try to find a storage spot away from direct sunlight where air can circulate. If you're low on space, you could put them under your bed, which protects them from moisture and still gets some air circulation.
If you're going to store your winter boots in bags, choose a shoe bag made of a breathable material like cloth or canvas. Some shoe bags are water-resistant, which can help to repel moisture and lower the chances of mildew and odors from building up. You can also put silica gel packets or a cedar shoe tree in the toe of your boots before they go into storage, which helps to cut down on moisture and can keep them smelling fresh until next season.