This DIY Turns Plain White Walls Into A Mid-Century Masterpiece With Designer-Level Style
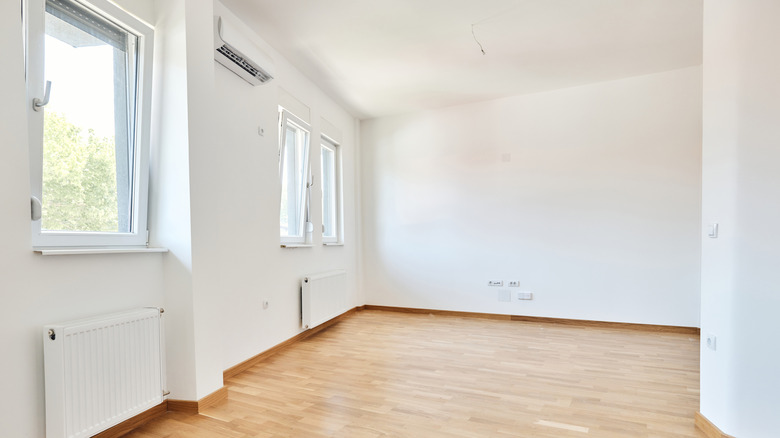
Emerging mostly between about 1945 and the late 1970s, mid-century modern is all about clean lines and unique material choices that create texture. One major part of the design is wood. Wood accents bring in a natural material and contribute to the rich tones found in the style. Plain white walls, on the other hand, are just that. While they might fit the clean and simple aspect of mid-century modern homes, a harsh, cold white often looks sterile instead of warm and neutral, which doesn't quite fit the perfect color palette for your mid-century modern style home. Rather than painting, try installing DIY wood paneling like TikTok user @kiron_akeem did. It is a perfect way to incorporate more wood tones into the space without going overboard on buying new furniture.
For a DIY project like this, first you'll want to measure your space to determine how many panels you need and what size they need to be. You also need to figure out what kind of paneling design you want. Some people prefer narrow slats of wood, others prefer moderately sized panels. To really capitalize on the clean lines and simplicity of mid-century modern, though, using a few large panels should be considered. This also will make the project a bit easier by reducing the number of cuts and installations needed, even if installing the large panels could be cumbersome. Add some trim between the panels and the right stain, and you'll have a gorgeous result. Wood panels can be purchased from your average home improvement retailer, and getting all of your supplies can cost around $200.
Styling DIY wood paneling for a mid-century modern home
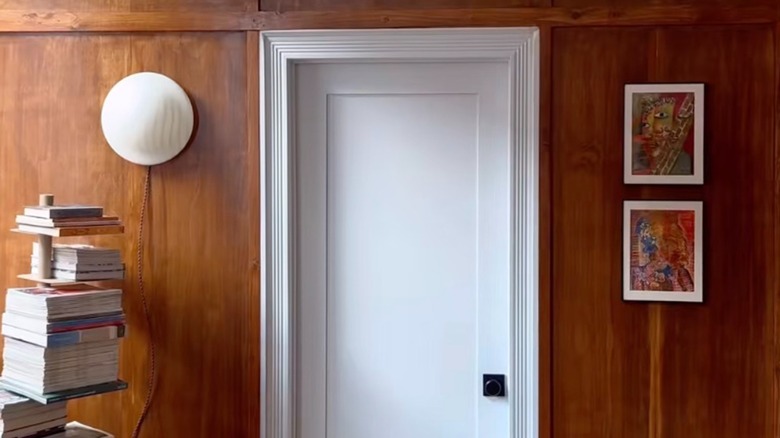
Once you have chosen your paneling shape, it is time to pick a type of wood. Walnut, ash, oak, and teak are all popular woods associated with the style. Installation can be tricky, but a single person can get the job done with a nail gun or hammer. Start by getting the panels in place, and don't worry too much about small gaps. These can be filled in with wood filler or, even better, covered by trim pieces that also help to make any wood grain differences between the panels look more intentional.
After installing the panels and any details, such as trim, to the wall, the next steps are sanding and staining. Most warm-toned brown wood stains will work for the project, but be careful if you land on walnut or teak wood. These wood types, and a few others, can respond strangely to different finishes, so it is important to test an area before widely applying a stain or finish. Check out more helpful tips savvy DIYers will want to know before using wood stain to avoid any mishaps.
After the wood stain has completely dried, be sure to apply a clear finish to protect the wood and color. When the finish dries, you can move on to decorating. Your DIY wood paneling should be secure enough to hold artwork, lights, and other decor, but you may want to use nails that are specifically designed for wood. Also, be sure to know what to keep in mind when styling a home with mid-century modern decor.