Give Dollar Tree Wax Warmers A Luxe Makeover With This Easy DIY
We may receive a commission on purchases made from links.
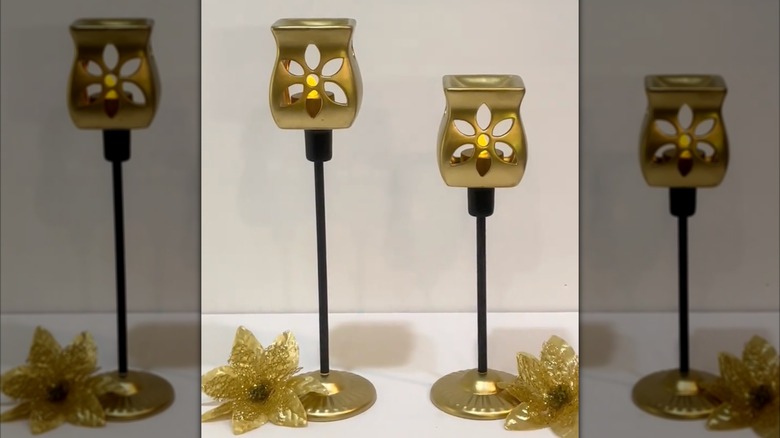
Who said budget dollar store finds can't look high-end? With a fun and creative DIY by TikToker @aprilp079, you can transform a simple Dollar Tree wax warmer into a luxurious candle holder. It's an affordable DIY that gives Dollar Tree finds a high-end upgrade to bring charm, warmth, and character into your home. Simply glue the wax warmer on top of a stemmed candle holder. Add a touch of golden paint and a tea light for a cozy glow, and you'll have a statement decor piece that looks far more upscale than its price tag.
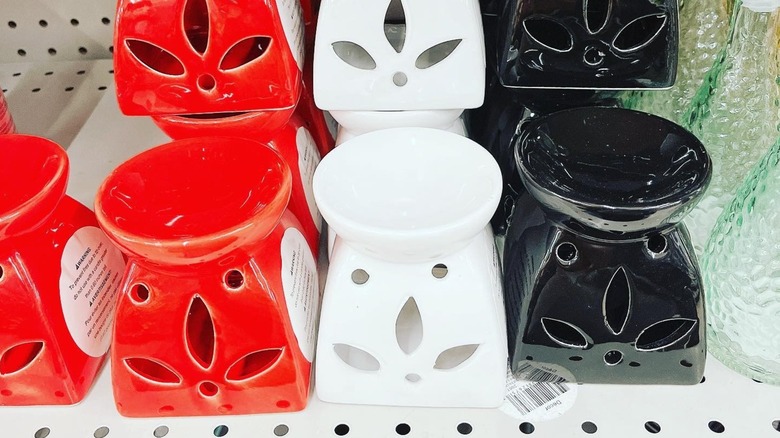
For this project, you'll need Dollar Tree's Ceramic Wax Warmers, which cost $1.25 each. These come in black, white, and gray, but since you'll be painting over them, choose whichever one is available at your local store. While you're there, grab a tall candle holder, such as the Black Iron Candle Holder. For paint, consider using Rust-Oleum's Gold Metallic Spray Paint or another brand if you prefer. And finally, to assemble all the pieces, you'll need a bit of hot glue.
If you'd like, you can adapt this DIY idea by repurposing old tea light holders you already have (instead of using wax warmers) or by swapping paint colors to match your interior. To keep this DIY extra safe and avoid creating a fire hazard, use flameless LED tea lights instead of real ones. That way, you can place the DIY on a mantle or table and not worry about it tipping over when you're not looking.
How to DIY a candle holder with Dollar Tree finds
Before you start painting and gluing, remove all stickers and labels from your Dollar Tree pieces. If you're having a hard time getting the adhesive residue off, use household ingredients that can remove stickers, like white vinegar. Making sure the items are fully clean will help the paint look streak-free and perfect, which contributes to the DIY looking high-end and luxe.
Then, it's time to paint. First, apply an even layer of paint to the exterior and interior of the wax warmers. To paint the candle holders, you have a few options: either paint the entire piece for a monochromatic look, or only paint the base and leave the black stem as is for a two-tone look. If you choose to do this, apply painter's tape to the stem to make sure the cut between the colors is perfectly sharp. Another option is to keep the entire thing black or add glitter spray paint for a sparkly look. To switch things up, use candle holders of different heights or styles, like Dollar Tree's Luminessence Taper Holder, which is thicker and sturdier. Mix and match different designs to create an eclectic collection that looks straight out of an interior design magazine.
@aprilp079 Beautiful Dollar Tree DIY Idea #dollartreediy #dollartreefinds #diydecor #dollartreehacks #dollartreecrafts
When the paint is fully dry, you can assemble the pieces. Apply a bit of hot glue to the top rim of the candle holder, and then carefully place the wax warmer on top. It's absolutely essential to ensure the pieces are perfectly centered when doing this to prevent this top-heavy DIY from being uneven and potentially falling over. If you struggle with this part, you can use a ruler and pencil to mark the exact center of the wax warmer's bottom.