The Clever Wine Cork DIY That Keeps Messy Shoes Off The Floor
We may receive a commission on purchases made from links.
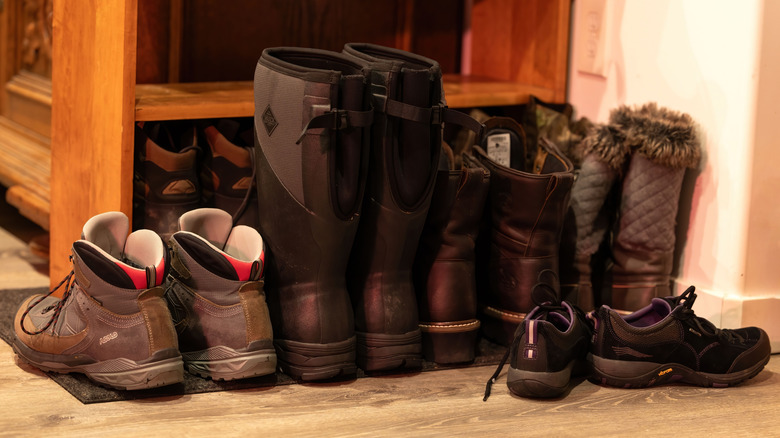
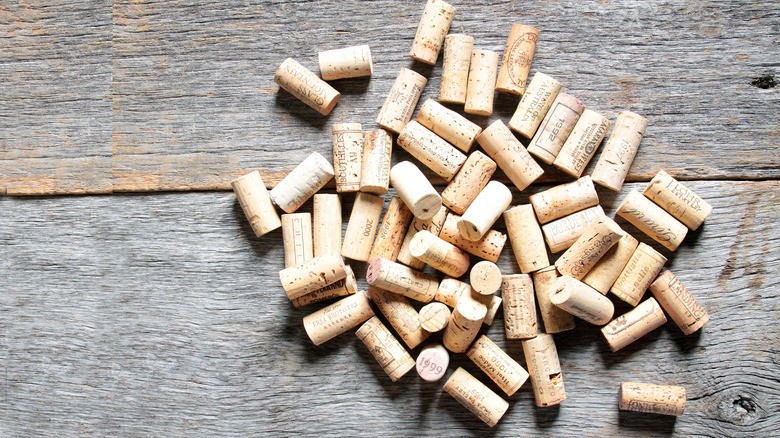
No one likes to see messy footwear scattered on their entryway floor. Besides creating a cluttered look, it makes it harder to keep the space clean. And while you can buy a foyer bench with storage or install shelving that keeps your boot collection hidden and out of the way, for creative organizers, a DIY solution is even better. In particular, a wine cork boot tray might just be what you need. No doubt, this is one creative DIY solution that will keep shoe clutter organized and off the floor. At the same time, think of how much fun it will be to finally repurpose those wine corks you've been collecting for years.
The appeal of this DIY wine cork boot tray is two-fold. Your shoes get propped up on the corks, which allows wet footwear to dry. Additionally, all the water settles in the tray, so no more headache of cleaning up muddy puddles on your entryway floor. Couple that with a minimal budget for the project (especially if you'll be using your saved stash of wine corks), and you have yourself an affordable yet stylish entryway shoe storage solution. To make the cork shoe tray, you'll need wine corks, a boot tray or a simple plastic tray, and a hot glue gun or wood glue.
Upcycling wine corks to make a DIY shoe tray
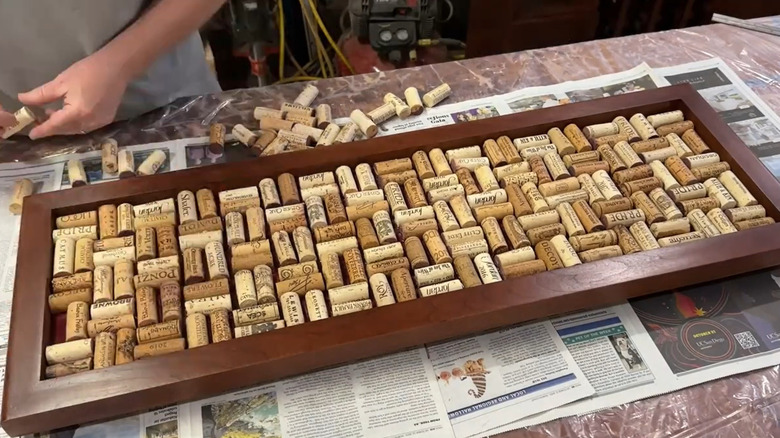
This DIY project is pretty simple, even for beginners. Once you've gathered the materials, you want to be sure you have enough wine corks and that they will fit perfectly in the tray. If all of your corks are of the same size, you can create your boot tray with the corks positioned upright. If their sizes vary, then laying them horizontally on the tray might be a better idea. This way, each row will have wine corks of one size. If you don't have enough wine corks in your collection, you can cut them in half first, either horizontally or vertically, using a serrated knife. In that case, you'll want to boil the corks first to make them soft and therefore easier to cut through.
Once you've arranged the corks and are happy with how the boot tray looks, go ahead and start gluing them to the tray. Heat up the glue gun and apply the glue on one cork bottom or side (depending on whether you're placing them upright or sideways on the tray). Then press the cork firmly to the base of the tray, allowing the glue to set. Do this for each of the wine corks until you fill up your tray. Pack the wine corks tightly together so everything looks nice and neat. Once the tray surface is fully covered with the wine corks, allow the glue to dry fully before using it.
Customizing your DIY wine cork shoe tray
With the rustic home design trend making a comeback, you can embrace the aesthetic with this unique wine cork boot tray. And since this is a DIY project, there's always room for customization to make your piece even more eye-catching. One variation you can try is using color. Mix and match wine corks of different colors, such as alternating light browns with dark tans. And speaking of colors, why not dye the corks and create a completely new look? The most popular way of doing this is using Rit Dye, which you can source on Amazon.
With regard to the tray, think outside the box. You don't have to buy an expensive store-bought boot tray; you can repurpose an out-of-use sturdy kitchen tray, an old baking sheet, or, if you have scrap wood, you can make your own wooden tray. If you go with the smaller-sized trays, make several of these DIY wine cork boot trays so everyone in the family has their own. In that case, make sure you have an entryway plan for these individual items (or it won't feel organized). And finally, if you have just one large tray, you can make it easily movable by adding caster wheels to the bottom and a drawer pull on the side so you can pull it from one spot to another.