Give Your Doors A Custom Shiplap Facelift Without Driving A Nail With This Easy DIY
If your pantry or closet doors look the same and you feel like unleashing your creativity, you'll be delighted to know that you can give them a custom facelift with an easy DIY. The creative project requires faux shiplap, plywood, and a strong glue to hold everything together.
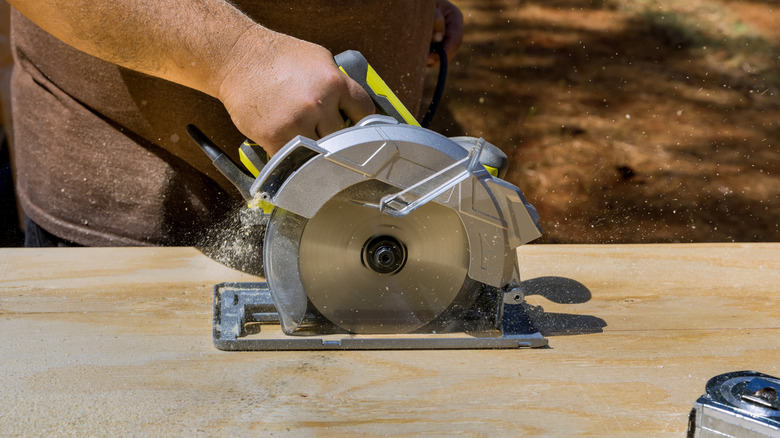
Faux shiplap paneling is widely available at Home Depot, Lowe's, etc. You'll also need some 3/16" or ¼" plywood. Although many hardware stores will cut wood products for you, it's a good idea to be able to do this yourself. A circular saw is one of the must-have power tools for first-time homeowners because of its versatility, and you can use it on everything from narrow lumber to large sheet material. You'll want a sander (or sandpaper wrapped around a scrap block), some wood filler, paintable caulk, and glue. Often, it's a good idea to look for the strongest wood glue for your DIY project, but in this case, something like Unibond No More Nails is easier to use because it doesn't need clamping.
Shiplap paneling is available in several styles and colors. However, we'll be applying a border using plywood, so you'll want a plain MDF or wood fiber product to maintain a consistent tone when finished. On the other hand, you could choose white and just paint everything your chosen shade.
The easy way to put the DIY custom doors together
On TikTok, a video from Liz Pacini runs through the process. First, cut the shiplap panel to fit your door. It can either run vertically or horizontally, but if it's the latter, you'll need to cut two pieces. Scuff up the door surface with sandpaper to help the glue grip, then apply glue and press the shiplap firmly in place. Next, cut plywood strips for the border. Around 3 inches wide gives pleasant proportions. You can leave the ends square or miter them. Glue them on top of the shiplap, butting the ends together as close as possible. Fill any gaps with wood filler.
@lizpacini Doing something fun in Natalie's room today 🤫 were you here when I made these closet doors for her two years ago?! The full tutorial is on my blog www.lizpacini.com! #diyhome #fixerupper
Once the filler is dry, sand it smooth. For a professional finish, run a bead of caulk around the inside of the border where it meets the shiplap to conceal any gaps. When everything is dry (the glue can take up to 48 hours), you can finish the door in whatever way you like. There are several wood stain and paint color combos that look stunning.
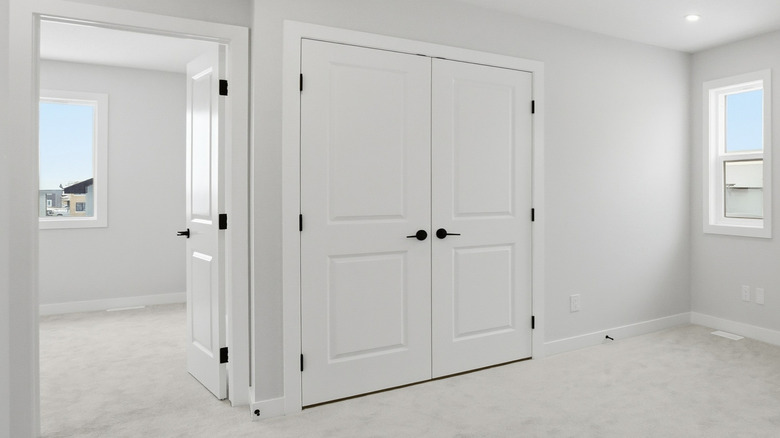
Bear in mind that the DIY can really only be applied to the outside face of pantry or closet doors. Using it on internal room doors might require repositioning hinges and the strike plates, cutting holes in the shiplap for the handles, and trimming the door edges to fit the frame. That would be a job for more experienced DIYers.