Keep Garage Clutter Organized With A Dollar Tree Cooling Rack Solution
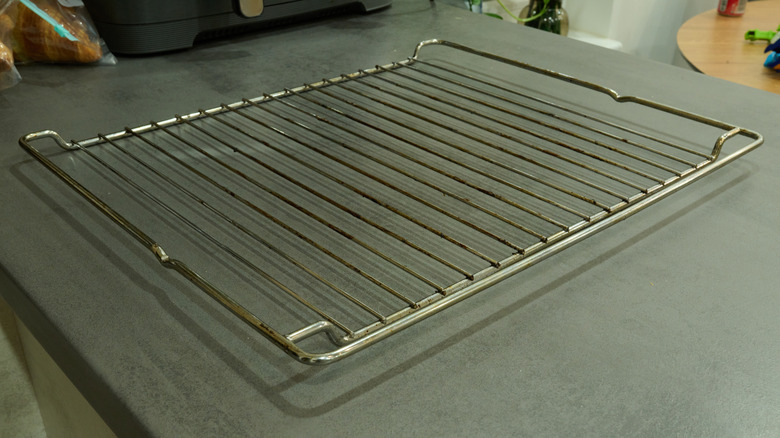
The humble Dollar Tree cooling rack may not seem like much, but it's the perfect starting point for numerous creative DIYs that can help organize your home. While this $1.25 staple is, of course, handy in the kitchen, you can easily transform it into a spice rack, a crafting station, and more. One of our favorite projects, though, is turning Dollar Tree cooling racks into extra garage storage by pairing them with plastic containers and hanging them up on the wall. However, an even faster option that requires no tools and zero drilling is to use the cooling racks to create storage bins for everything from toys to sports gear and gardening supplies.
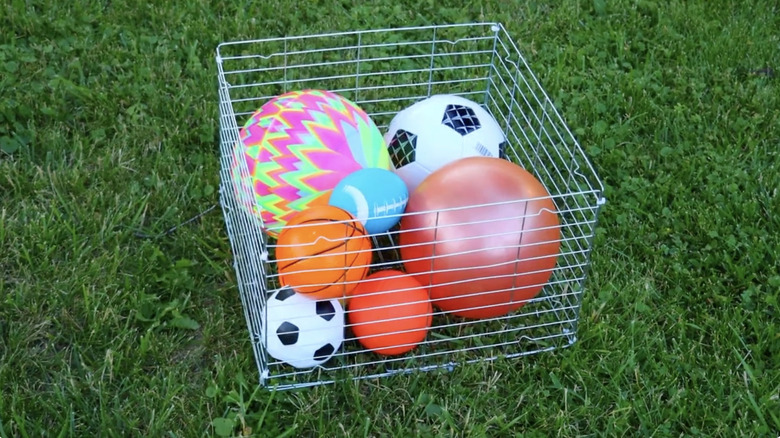
As one DIYer showed off on YouTube, you can quickly DIY a crate by attaching four cooling racks in a square or rectangular shape with zip ties, then use two overlapping racks to create the bottom. Be sure to cut the ends of the zip ties as close to the metal as possible so there are no sharp bits poking out, and you're done. This simple project will give you cheap, versatile crates that are perfect for storing lightweight clutter. Better yet, they're easy to move around and can be taken outside to the garden or yard without worrying about them getting dirty. You can even fill them with toys or gardening essentials and leave them out in the elements, as needed. And, if you're feeling more creative, you can personalize them further.
Turning cooling racks into handy garage storage
The easiest way to keep your garage storage organized is to create a designated space for each item and always place it back. Dollar Tree's cooling racks offer a simple, affordable way to achieve this, as they can quickly be turned into as many lightweight crates as you need. What's more, it's easy to customize their size by zip-tying four or more crates together to create the sides of your container in the exact dimensions you need.
Once finished, you can also run a cooling rack across the middle of the crate, attaching it with zip ties and creating two separate storage compartments. Another great option is to stand the finished DIY on its side, turning the crate into a small shelf that can hold fabric or plastic storage bins and further organize lightweight clutter. Similarly, by running more than one cooling rack across the crate, you can create several shelves perfect for keeping small bits and pieces, like nails and screws, tidy.
Once constructed, personalize your DIY by spray-painting the metal racks a fun color or wrapping each beam in ribbon. Alternatively, you could cover the outer walls with fabric and line the bottom of the crate with a piece of sturdy cardboard covered with matching material to help hide what's inside.