How To Turn A Dollar Tree Cooling Rack Into A Useful Closet Storage Solution
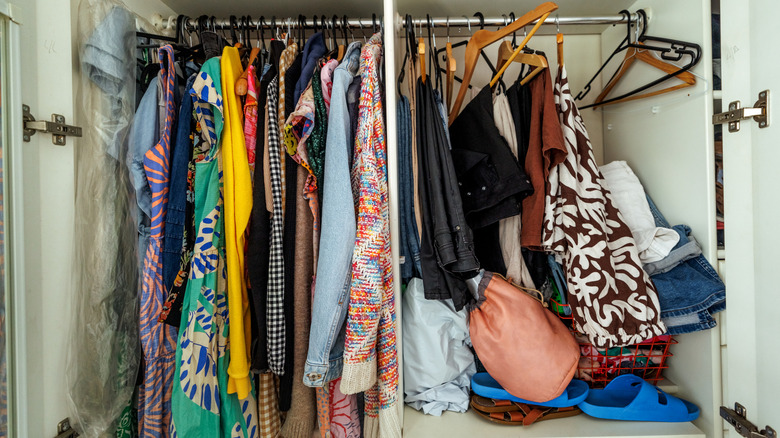
Closet storage can get expensive, and it's not always a one-time purchase. Storage needs change over the years as your fashion evolves, making the up-front costs of custom storage even more daunting. Luckily, there are ways to keep closets organized without expensive custom shelves, including Dollar Tree DIY organizers. There's one innovative and affordable project that transforms cooling racks into a shelf system with fabric drawers for organizing small pieces in your closet. With the ability to add or remove shelves, this versatile organizer could be perfect for you.
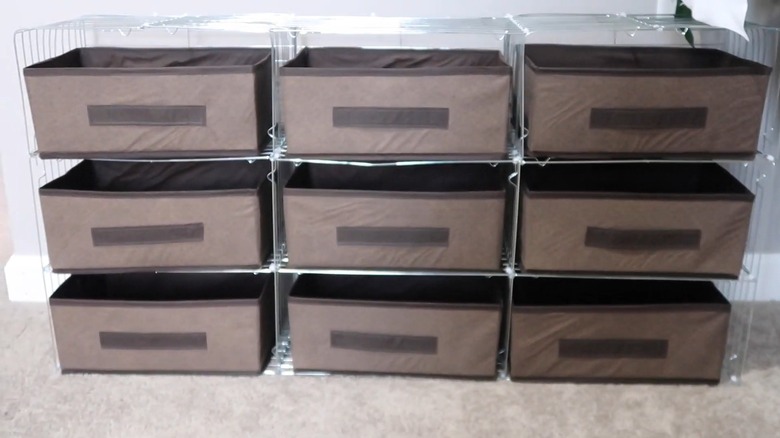
All you need for this DIY are some cooling racks, zip ties, scissors, and fabric storage baskets. Creating a stack of three shelves requires nine cooling racks, and each additional column of three shelves requires at least seven more cooling racks. The final stack of shelves you add requires eight cooling racks, though, to get a rounded top corner. Each rack costs $1.25, and there are plenty of other creative DIYs using a Dollar Tree cooling rack if you end up with extras.
As for the other supplies, Dollar Tree has 65-count packs of 8-inch zip ties that cost $1.50, but the storage baskets or drawers may need to be sourced elsewhere. Collapsible fabric ones are perfect, but you'll need to make sure they are the right height. Cube organizers are too tall for the openings. The cooling racks are 16 inches long, so your baskets should be less than 8 inches tall. The width needs to be under 16 inches, and the length under 10 inches.
How to build and use your cooling rack shelves
To build the shelves, hold the racks together and zip-tie them. Binder clips may help. Start by laying one rack down with the bent-wire feet on the ground. Connect another rack on each short side of the bottom rack. Stand the two pieces vertically so they become the walls of the system, then attach a rack between them, connecting them at the center bars of the two vertical racks to form the second shelf. For the back, secure a rack horizontally to the long side of the bottom and top racks.
Connect another rack to the top of the two vertical racks to create the third tier, and another horizontal rack on the back. Finally, bend two racks into 90-degree angles by gently bringing the short sides of a rack towards one another — this will be the top's sides and roof. Make sure that there are enough zip ties to secure everything. Cut the tails off the ties, insert the fabric drawers, and the unit is done. Repeat the process using one of the existing walls to add another column.
You could also try a simple hack to make fabric bins more organizing-friendly; it involves dividing the drawers with their cardboard bases, or color coordinating and labeling them. The unique wire design keeps the drawers ventilated and lets you attach hooks to hang small items like socks, bras, mittens, and hats. Whether on the floor or a shelf, this DIY can keep your closet tidy.