Turn An Old Colander Into The Cutest Outdoor Planter For Succulents
We may receive a commission on purchases made from links.
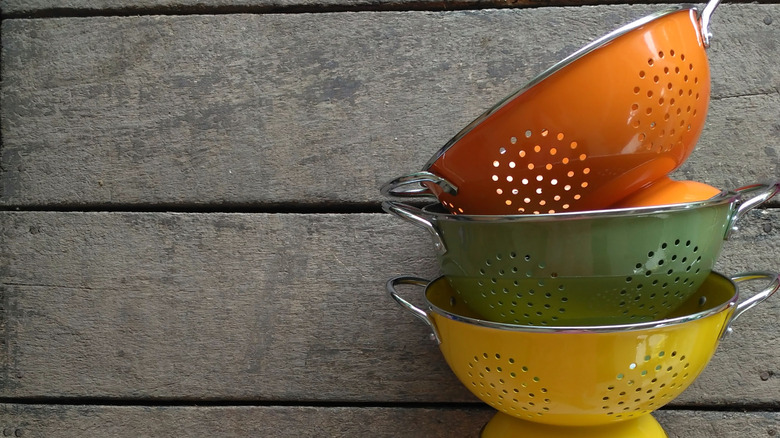
If you've been looking for a unique way to put your succulents on display — because those babies deserve to be potted in fashion — we've got a great DIY for you. Grab that old metal colander that's been collecting dust in the back of your kitchen cupboard (or stop at your local thrift store to find one) because we're going to turn it into a super cute planter for your favorite succulents.
Using an old colander is one of the easiest ways to repurpose items in your home as adorable planters. They already have the drainage holes your succulents desperately need, and making this an outdoor planter allows them to get their valuable sunbathing in each day. With minimal effort and supplies required, this is an easy DIY that's great for beginners or anyone short on time.
You'll need three basic items for this project: a colander, some potting soil, and, of course, the succulents. Simple gardening tools like gloves and a small hand trowel for transplanting might be helpful, too. Additionally, there are optional steps to paint the colander and turn it into a hanging planter, which require spray paint, a hanging kit, and a drill.
How to turn an old colander into a succulent planter
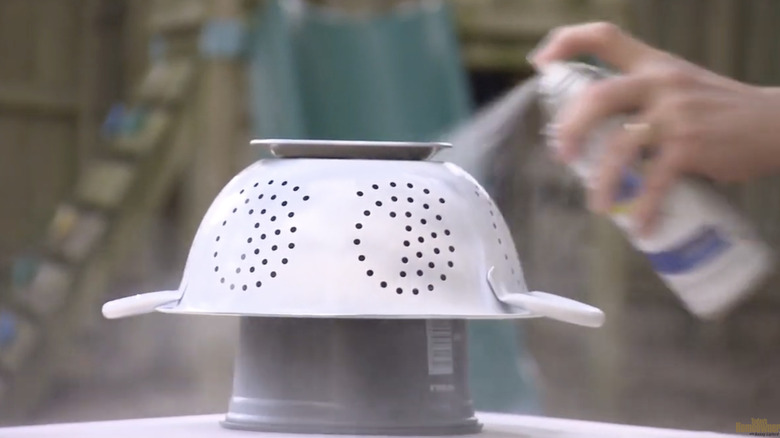
If your colander has been sitting around for a while, start by giving it a quick wash with soap and water to make sure it's nice and clean. Then let it air dry (or use a towel to speed up the process). If you want to paint your colander, now is the time to do it. If you like the way it looks as it is, feel free to skip this step. Select an outdoor-specific spray paint so it can withstand the weather elements, and be sure to paint the colander outside or in a well-ventilated area. Allow the paint to completely dry before moving on to the next step.
This planter can sit outside on a table, a patio, or the ground. But you can also make the cutest hanging planter with this easy DIY, since all you need is a hanging kit, like this one from Fetanten, and a small handheld drill. Use your drill to make three holes spaced equally apart around the outer rim of the colander. Place an S-hook into each hole and attach a chain to each hook. Place the other end of all three chains into a fourth S-hook and use that hook to hang the basket.
How to plant your succulents in a colander planter
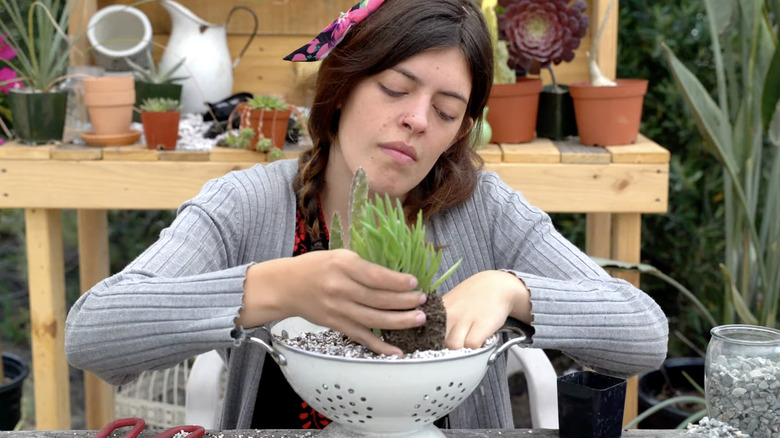
Now that you have the colander planter just the way you want it, the succulents are ready to be planted inside. If your colander has large holes, you might need to take an extra measure to prevent soil from falling through the drainage holes. You can lay a sheet of burlap on the bottom of the colander before pouring in the soil. Alternatively, you can line the bottom with gravel or use a flattened coffee filter. You want it to be something that keeps the soil in while also allowing water to drain effectively.
For the soil, you can purchase something like this Succulent Potting Mix online from the Rosy Soil Store or grab something from your local gardening center. Or you can DIY your own succulent soil with equal parts peat moss and coarse sand. Fill the colander about ¾ of the way full of soil. Using a hand trowel or just your hand, gently move the succulents from their current container into the colander. Add soil as needed to ensure the succulent roots are covered, but leave at least an inch of space between the top of the soil and the top of the colander. This will allow space for easy watering and for adding fun rocks or moss to the top of your new planter.