Turn Scrap Wood Pallets Into An Outdoor Shoe Rack Bench That Boosts Curb Appeal
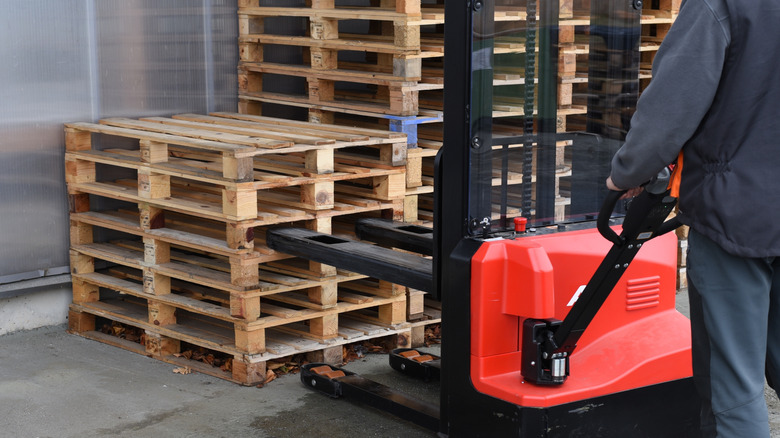
Made up of multiple boards nailed together, wood pallets are used to support cargo during transit and storage. If you've ever been to a Home Depot or an IKEA, you've probably seen plenty of them being used or sitting in stacks. In fact, you may have several kicking around at home. And if that's the case, know that there are plenty of uses for the humble wooden pallet outside of a big-box store or warehouse. For instance, with some simple tools and basic DIY skills, you can repurpose the wood to make an outdoor bench that doubles as a shoe rack and boosts your home's curb appeal.
Wood pallets vary in size and the number of boards they comprise, but you can often get about 15 boards from a single pallet. For this project, you will use three pallets, a circular saw, a pack of 2½-inch screws, sandpaper sheets of varying grit, an orbital sander, a crowbar, and a power drill. Make sure the pallets aren't rotting or broken and check the wood for large splinters that could cause injury. To be safe, wear gloves and a pair of safety glasses.
This process involves cutting the pallets, stacking them, and screwing them together. Before you get started, it's important to have a good concept of the final product. There will be a seat and a back rest, and under the seat, you'll have multiple shelves for storing shoes. This DIY should help declutter the entryway to your home while adding an interesting visual feature. Be aware that there are some wooden pallets you shouldn't use, like those marked with an MB stamp (for methyl bromide).
How to make a bench out of scrap wood pallets
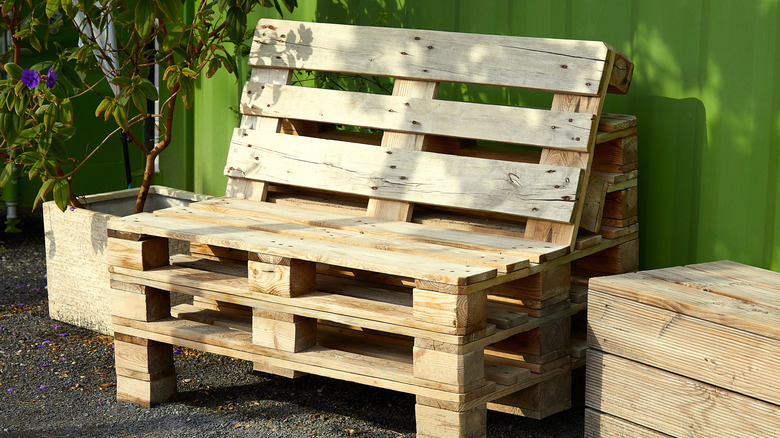
The first step is to cut two of your pallets in half. The cut should be perpendicular to the center board, otherwise neither half will be structurally sound. When cutting, be careful not to hit a nail; this could chip your saw blade. Detach the back boards from each half of one of the pallets using the crowbar and place the nails into a bucket as you work. Then stack the halves on top of each other, leaving enough space in between the boards to store shoes. Now, drilling at an angle, secure these halves together.
To make the back rest, remove all of the deck boards from one side of your third pallet and all but two or three of the deck boards from the other side of the pallet. Then drive three screws into each arm of the backrest along the sides of the bench. You should now sand the bench, starting with the lowest-grit sandpaper and working your way up to the highest grit. To protect it from the elements and improve its aesthetics, stain or paint the wood surface — acrylic paint will work well.
Try adding pillows to your bench to make it a little more comfortable and colorful. Aside from just shoes, you can store frisbees, dog treats, newspapers, and hidden keys in the shelves. Just make sure it's under a ledge, so your stuff doesn't get rained on. If you liked this project, there are several other budget-friendly pallet DIYs that add storage around the house, including one that allows you to upcycle a pallet into a sturdy lock box.