Joanna Gaines' Budget-Friendly Tip For Faux Wainscoting

Whether we're talking about octagonal rooms, which are a unique 19th-century home design you rarely see anymore, or gorgeous ornamental trim, old-world interior detailing often outlives trendy fads. In fact, finishes with antique vibes have been steadily gaining popularity for some time. Wainscoting — the wooden decorative paneling applied to a lower half of a wall — is one such example. A mainstay in Colonial and Victorian décor, wainscoting has endured into the present day. If you live in a historic home with this traditional feature, you know just how charming of a detail it is. If you don't, you can still emulate the aesthetic with a relatively easy DIY. In a clip from "Mini Reni," a show hosted by interior designer and HGTV star Joanna Gaines, posted to YouTube by Magnolia Network and HGTV, the designer shares a tip: how to replicate faux wainscoting on a budget using applied molding.
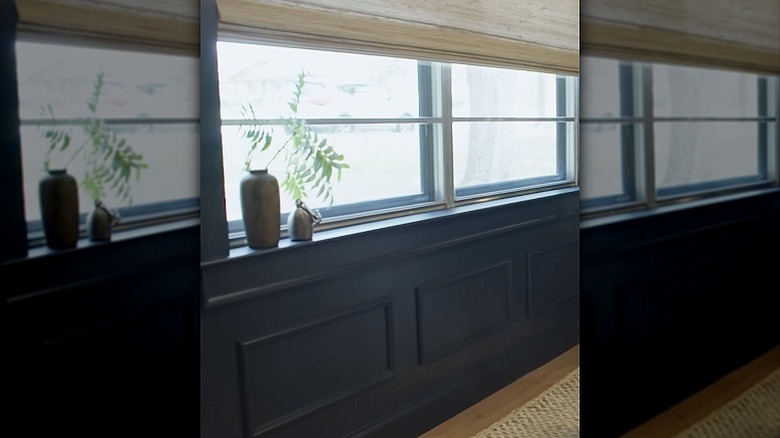
In the episode the clip is taken from, the designer is renovating a client's office. She expresses a need to add layers to the design that are simple yet substantial. Her solution is to apply faux wainscoting to the walls. Traditional wainscoting is typically made from thick wooden panels. If that's not in your budget, there's another option. As Gaines says in the video, "We're gonna just fake it here because the budget's smaller, so we're going to be doing an applied molding." This clever design trick spruces up a space without overdoing it. The result is a gorgeous, timeless architectural feature that adds depth, old-world charm, and visual intrigue to a space.
How to create faux wainscoting on a budget
Wainscoting is a timeless technique Joanna Gaines has used to transform a lifeless room. If you want to replicate the look in your own home, you'll need to know a little bit about how wainscoting is constructed. Classically, the feature has three main components. Your existing baseboard and the central rectangle made of panel mold (the applied molding box) are topped off with chair rail, also known as wainscot cap. Before you get started on this project, you'll also need to shop for your tools and materials. Get some medium-density fiberboard or plywood and some adhesive — either wood glue or liquid nails for affordable options. You'll also need a jigsaw or miter saw, a nail gun, and some brad nails. Though this application is pretty straightforward, it's important that you have basic woodworking skills.
Before you start cutting and adhering the molding to the wall, map out where you want the wainscoting to sit, as well as how much space you want between each box. For an authentic look, the boxes should be thinner than the chair rail and baseboard. You can opt out of redoing your baseboard if you don't want to redo your trim, especially if you don't have the skills to do so. Draw out where you want the wainscoting on the wall using a carpenter's pencil, then take down the measurements for each component. Use your saw to cut out all the pieces of wood per your measurements. You're now ready to assemble your wainscoting. Apply the baseboard with adhesive first, then the chair rail, and then the boxes. Secure each component with brad nails, and, if you're satisfied with the placement, paint the wainscoting in your preferred color.